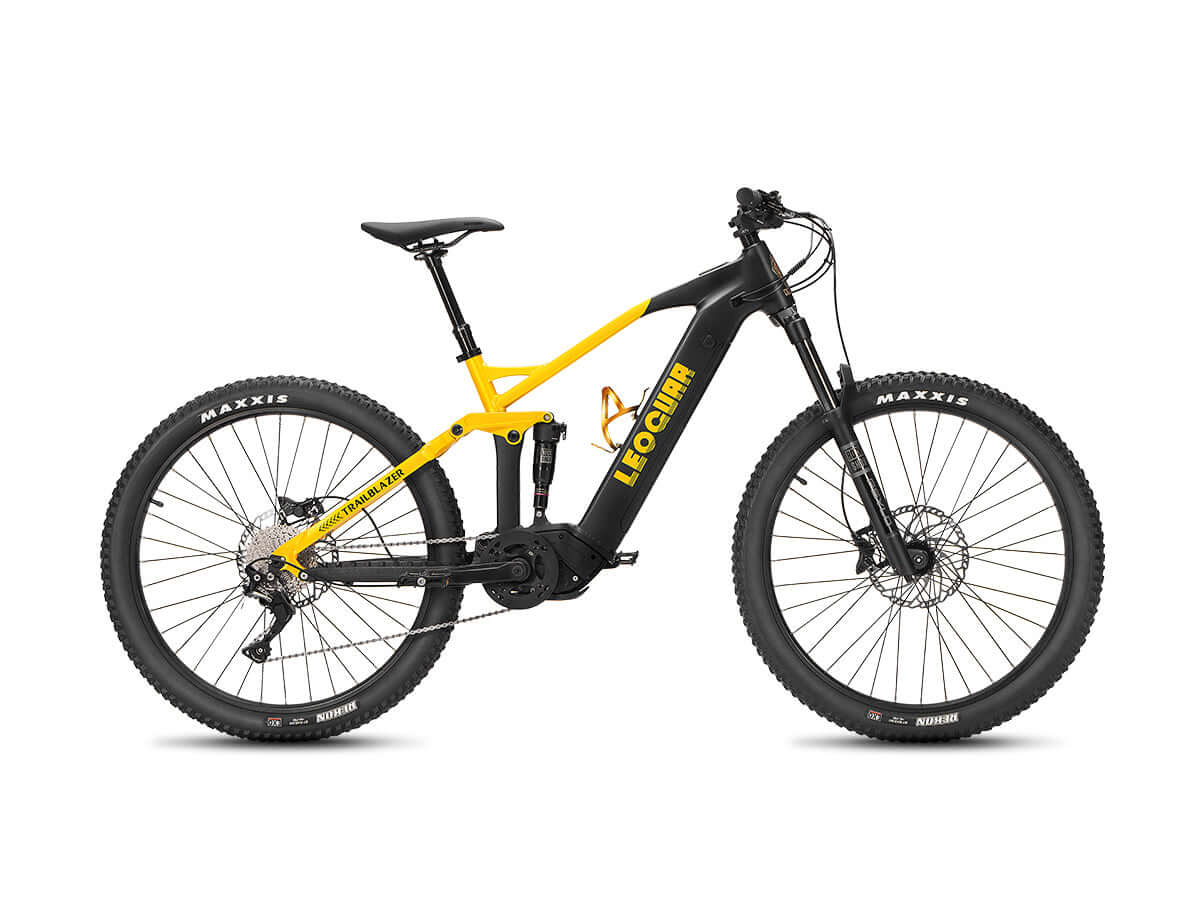
Suspension Seatpost: Boost Your E-Bike Comfort
Why Your E-Bike Feels Harsh
E-bikes are great machines. But they can give you a bumpy and uncomfortable ride because they are heavy and have stiff frames. This problem is especially bad for people who ride for long periods, like commuters and recreational riders. If you feel every pothole and crack in the road, there's an easy fix: a suspension seatpost.
This upgrade can completely change how your bike feels. We'll look at why e-bikes feel harsh, how a suspension seatpost works, what benefits you'll get, and how to pick the right one for your bike. This one part can turn rough rides into smooth, fun trips.
If your e-bike feels more jarring than a regular bike, you're not wrong. Several things about e-bike design make them feel this way, and understanding why helps explain how a suspension seatpost fixes the problem.
Here are the main reasons your ride feels harsh:
Increased Weight: E-bikes are much heavier than regular bikes. A normal bike weighs 20-30 pounds, but e-bikes often weigh 40 to 80+ pounds because of the motor and battery. This extra weight means more force gets sent up through the frame to you when you hit bumps.
Upright Riding Position: Many e-bikes make you sit more upright. The motor helps you go faster and climb hills, so you don't need to stand on the pedals as much. This sitting position means your spine takes all the impact from the seat instead of spreading it through your arms and legs.
Rigid Frame Design: E-bike frames are built very stiff to handle the extra weight and motor power. This stiffness is good for strength but bad for comfort. Unlike flexible frames that absorb some vibration, stiff frames send all those bumps straight to you.

Smoothing Your Ride
A suspension seatpost works like a small shock absorber just for your seat. It keeps your body separate from the vibrations that come through the bike frame, making you feel like you're floating over rough roads. While full-suspension bikes have systems for both wheels, a suspension seatpost focuses only on making you more comfortable.
The system lets your seat move up and down, and sometimes slightly backward, when you hit bumps. This movement soaks up the impact before it reaches your back. There are two main types:
Telescoping (Piston) Design
This is the simplest and cheapest type of suspension seatpost. It works like a pogo stick or office chair. The post has two tubes, with one sliding inside the other and a spring in between for cushioning. When you hit a bump, the post goes straight down and then bounces back. These work well for small to medium bumps and are great for city streets and paved paths.
Parallelogram Design
This fancier system uses connecting parts that link the seat clamp to the main post. When you hit a bump, the seat moves down and slightly backward in a gentle curve. This motion works better at soaking up impacts because it follows the natural direction of force from the rear wheel. It also keeps the distance between your seat and pedals more consistent, which helps your pedaling stay smooth. Experts say a suspension seatpost will greatly increase the amount your seatpost can flex, and the parallelogram design is especially good at stopping both big hits and small vibrations that make you tired.
Benefits Beyond Just Bumps
A suspension seatpost does more than just make bumps feel softer. It improves your whole riding experience in real ways, making you more comfortable, giving you better control, and helping you ride longer.
Reduced Physical Fatigue and Pain
Every crack and pebble in the road sends small vibrations up through your bike. During a ride, your body constantly works to absorb these small but constant impacts. This makes your muscles tense, especially in your lower back, shoulders, and neck. A suspension seatpost filters out this "road buzz." By stopping these vibrations before they reach you, it lets your muscles stay relaxed. You can ride longer distances with much less tiredness and soreness after your ride. It turns a rough 30-minute commute into a smooth, pleasant trip.
Improved Control and Confidence
When your back wheel hits a pothole or rough pavement, the jolt can be scary. It can bounce you in the seat, making you lose your position and focus for a moment. With a suspension seatpost, that same impact feels softer and controlled. Your body stays stable while the seatpost absorbs the hit. This stability helps you keep control of the bike, especially if you're new to riding or not very confident. In our city test rides, we found that riding on streets with lots of potholes was much less jarring. Instead of getting ready for every impact, we could stay relaxed and focus on traffic instead of the road surface. This makes for safer, more confident rides on different surfaces like cobblestones, brick paths, or light gravel trails.
Increased Pedaling Efficiency
This benefit is subtle but important. When you're sitting and your bike hits a bump without suspension, your whole body gets lifted off the seat for a moment. This upward jolt stops your pedal stroke, causing a tiny pause in power. It's like a small stutter in your pedaling motion. A suspension seatpost keeps your hips more stable and your connection to the pedals more steady. By smoothing out the ride, it lets you keep a fluid, unbroken circular pedal stroke, which uses energy better. Cycling experts confirm that the best suspension seatposts absorb big hits and small vibrations, and this ability to handle both saves your energy and lets you apply power more smoothly.
A Practical Buying Guide
Picking the right suspension seatpost might seem hard, but it comes down to a few key checks and preferences. Following this step-by-step guide will help you choose the perfect model for your e-bike, budget, and riding style.
Step 1: Check Seatpost Diameter
This is the most important measurement and the first thing you must check. A seatpost must match the inner diameter of your bike frame's seat tube exactly. Using the wrong size won't fit or will be unsafe. The most common sizes are 27.2mm, 30.9mm, and 31.6mm. The size is almost always stamped on your current seatpost, usually near the bottom below the "minimum insertion" line. Just remove your current post and look for a marking like "ø27.2". If you can't find it, use a digital caliper to measure or check your e-bike's manual.
Step 2: Match Mechanism to Use
Your typical riding terrain and comfort goals will determine which mechanism works best for you. We've made a simple table to help you decide.
| Feature | Telescoping (Piston) Posts | Parallelogram Posts |
|---|---|---|
| Best For | Commuting, smooth paths, budget-conscious riders. | All-terrain, gravel, riders seeking maximum comfort. |
| Feel | Simple up-and-down motion. | Smooth, rearward-arcing path. |
| Price | Generally more affordable. | Generally more expensive. |
| Examples | Basic coil-spring models. | Kinekt, SR Suntour NCX, Redshift ShockStop. |
Step 3: Consider Your Weight
Suspension seatposts are not one-size-fits-all. They work best within a specific rider weight range. Most models do this by using different springs (either metal coils or polymer elastomers) of different stiffness levels. When you buy a post, you'll often pick the spring that matches your weight. Using a spring that's too soft will make the suspension bottom out easily, while one that's too firm won't give any cushioning. Getting this right is essential for the best performance.
Step 4: Suspension Travel and Adjustability
"Travel" means the maximum distance the seatpost can compress, typically ranging from 20mm to 50mm. For city commuting and light trail use, 20-40mm is usually enough. If you ride on rougher gravel or unpaved paths, 50mm of travel will give more cushioning for bigger hits. Many posts also have a "preload" adjustment, usually a cap at the bottom of the post. This lets you fine-tune the initial stiffness of the spring, preventing it from feeling too bouncy during normal pedaling. While a suspension seatpost adds a few hundred grams, for comfort-focused riding the trade-off is almost always worth it. As one review concludes, when asked, "Do the benefits beat the weight penalty? Yes."
Installation And Fine-Tuning
One of the best things about upgrading to a suspension seatpost is that it's a simple DIY project that most e-bike owners can do at home in under 15 minutes. Here's how to do it correctly for maximum comfort.
-
Mark Your Current Saddle Height: Before you remove anything, use electrical tape or a marker to mark the current height of your seatpost where it enters the frame. This gives you a perfect starting point for the new post.
-
Remove Your Old Seatpost and Saddle: Loosen the seatpost clamp on your bike frame and pull the entire seatpost and saddle assembly out. Then turn it upside down and loosen the bolts holding the saddle rails to the seatpost head. Remove the saddle.
-
Install the Saddle on the New Post: Attach your saddle to the head of the new suspension seatpost. Make sure to get the saddle angle roughly level to start. You can fine-tune this later. Tighten the saddle rail bolts securely.
-
Grease and Install the New Post: Apply a thin layer of bicycle grease to the lower portion of the new seatpost. This prevents it from seizing inside the frame over time. Carefully insert the new assembly into your bike's seat tube.
-
Set Height and Tighten: Align the new seatpost to the height you marked in step 1. Make sure the saddle is pointing straight ahead, and then tighten your bike's seatpost clamp firmly.
Once installed, take a short test ride. You may need to slightly adjust the preload (if your model has it) to prevent unwanted bobbing while pedaling. A few minutes of fine-tuning will ensure you get the full benefit of your new upgrade.
The Ultimate Comfort Upgrade
For any e-bike rider who values comfort, a suspension seatpost isn't just a minor accessory. It is a fundamental upgrade that transforms how your bike feels. It directly fixes the main comfort problems of e-bikes—their weight and stiffness—by separating you from the harshness of the road. The result is not just fewer jarring impacts, but less physical tiredness, greater confidence and control on rough surfaces, and a more enjoyable ride every time. Considering the big improvement in ride quality for a relatively small investment, installing a suspension seatpost for ebike is one of the most rewarding changes you can make to your bike.
Frequently Asked Questions
Q: Will a suspension seatpost make my e-bike feel bouncy when I pedal?
A: A properly adjusted suspension seatpost should not feel bouncy during normal pedaling. Most quality posts have preload adjustments that let you fine-tune the stiffness to prevent unwanted movement while still absorbing bumps.
Q: How much weight does a suspension seatpost add to my e-bike?
A: Most suspension seatposts add between 200-500 grams (0.4-1.1 pounds) compared to a standard rigid post. Given that e-bikes already weigh 40-80+ pounds, this small weight increase is usually worth the comfort benefits.
Q: Can I install a suspension seatpost on any e-bike?
A: Most e-bikes can accept a suspension seatpost as long as you match the correct diameter and have enough seat tube length. However, some bikes with integrated seatposts or unusual frame designs may not be compatible.
Q: How often do suspension seatposts need maintenance?
A: Basic suspension seatposts require minimal maintenance. You should occasionally clean and lubricate the moving parts and check that bolts remain tight. More complex parallelogram designs may need service every 1-2 years depending on usage.
Q: What's the difference in price between telescoping and parallelogram suspension seatposts?
A: Telescoping posts typically cost $50-150, while parallelogram designs range from $150-400. The higher price of parallelogram posts reflects their more complex engineering and generally superior performance in absorbing impacts.


Leave a comment