


E Bike Rear Brake Pads: Long-Term Value and Replacement Costs
E-Bike Brakes: A Special Case
It's tempting to think all bike brakes are the same. But an e-bike rear brake system operates under a different set of rules that make maintenance more complex. The added forces at play mean that standard bicycle components can wear out prematurely, costing you more in the long run. Understanding these differences is the first step toward making smarter maintenance decisions. Here's why your e-bike's rear brake is a special case that requires special attention.
Increased Weight & Speed: An e-bike can easily weigh 50-70 pounds or more, double that of a non-electric bike. When you're braking from a motor-assisted speed of 20-28 mph, that extra mass generates much more kinetic energy. Your rear brake pads must work harder to convert this energy into heat, leading to faster wear and a greater risk of overheating on long descents.
Rider Habits & Weight Distribution: Many riders, especially in stop-and-go urban traffic, use the rear brake for controlling speed and making smooth stops. This is a safe habit, but it puts more wear on the rear pads. Because the battery and motor often add weight over the rear wheel, there's more traction available, encouraging more frequent rear brake use compared to a traditional bicycle where the front brake does most of the work.
Motor Power & Torque: The instant torque from an electric motor gets you up to speed quickly. This higher average speed profile means you brake more often and from a faster pace than you might on a regular bike. Each time you apply the brakes adds to the wear on your pads.
Regenerative Braking: While not on all models, some e-bikes feature regenerative braking, where the motor helps slow the bike down and recharges the battery. This can reduce wear on your rear brake pads, but it also changes the feel and performance of your braking system.
These factors together create a demanding environment where generic pads may fail to perform. This is why many manufacturers now produce e-bike specific disc brake pads, which are engineered with materials designed to handle higher temperatures and greater loads.
The 3 Telltale Signs
Knowing when to replace your rear brake pads is crucial for both safety and preventing more expensive repairs. Don't wait for a total failure. Your bike will give you clear signals when it's time for a change. Learn to recognize these audible, tactile, and visual cues.
1. The Sound Test
Your ears are often the first line of defense. A temporary squeal after riding through a puddle is normal, but persistent noises are a red flag. Listen for a high-pitched, metallic squeaking that occurs every time you brake. This sound is often caused by a built-in wear indicator on the pad.
If you hear a harsh, deep grinding noise, stop riding immediately. This usually means you've worn completely through the pad material and the metal backing plate is grinding against the brake rotor, causing severe and costly damage.
2. The Feel Test
Pay attention to how your brake lever feels. If you have to pull the lever much further than you used to for the same stopping power, or if it feels spongy and soft, your pads are likely worn thin. This happens because the brake pistons have to travel further to make contact with the rotor.
Another tactile warning is a pulsating or vibrating sensation through the lever and frame during braking. This can indicate that your rotor has been warped, often as a result of overheating from using worn pads.
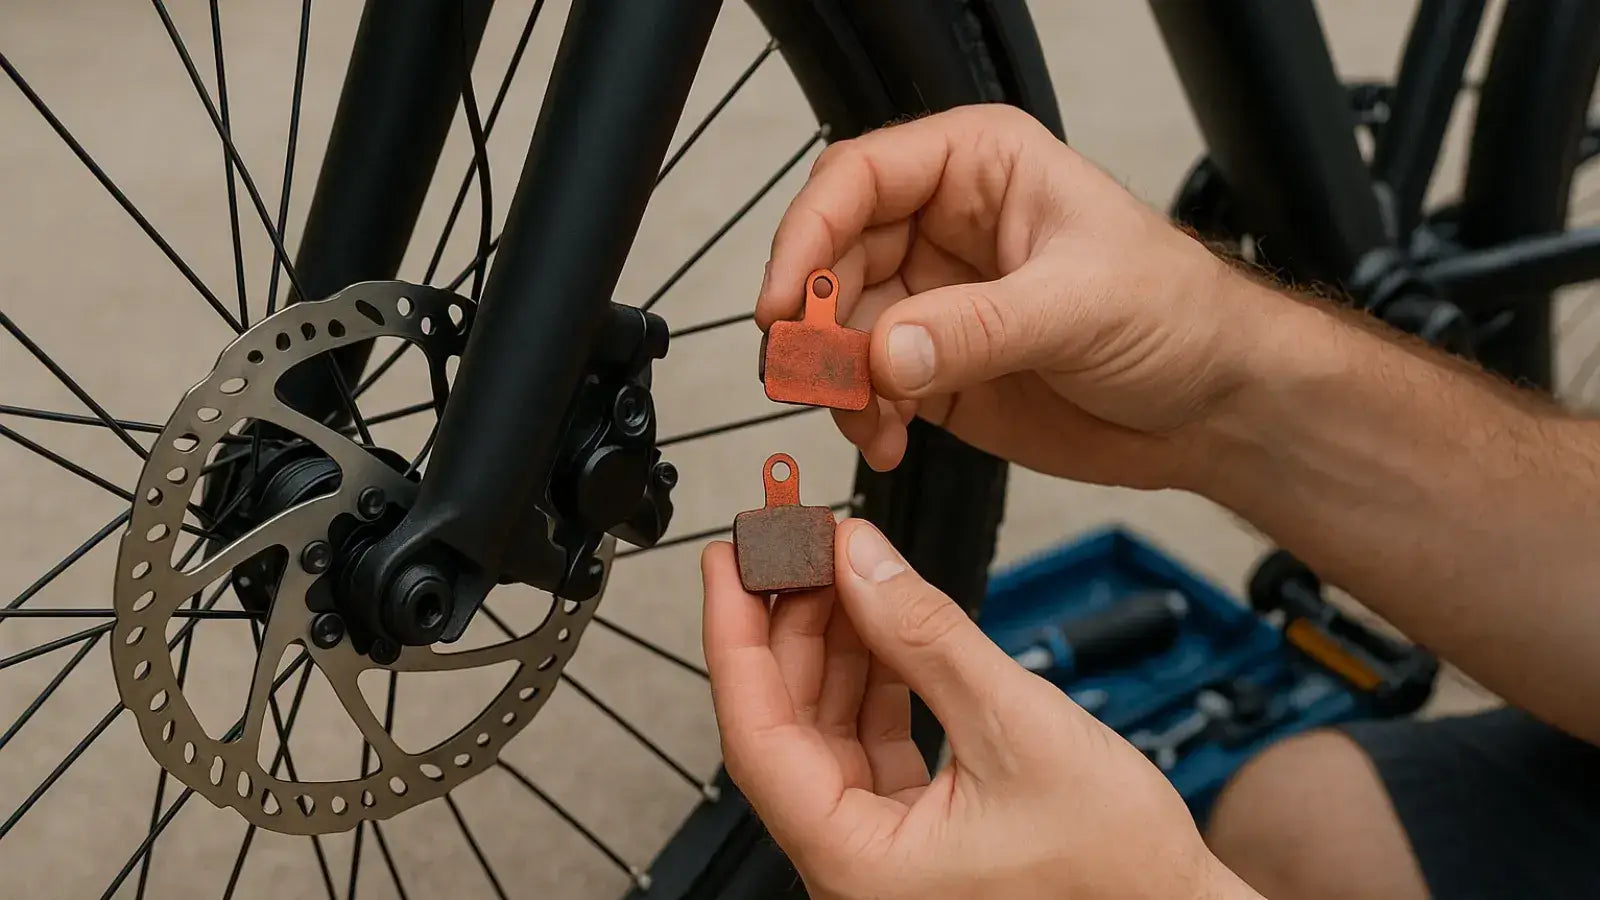
3. The Visual Inspection
A direct visual check is the most definitive way to assess your pads. We recommend using a flashlight and looking directly into the brake caliper where it sits over the rotor. You'll see the pad material pressed against the metal backing plate.
If the braking compound is less than 1.5mm thick (about the thickness of a dime), it's time for a replacement. While you're there, check for uneven wear, where one side is thinner than the other. This can signal a misaligned caliper or sticky pistons, an issue that should be addressed during replacement.
Choosing Your Brake Pads
The type of brake pad you choose has the single biggest impact on your e-bike's stopping power, noise level, and long-term maintenance costs. The choice comes down to three main compound types: Organic (Resin), Semi-Metallic, and Sintered (Metallic). Understanding the material science behind these different brake pad compounds helps you match the pad to your specific needs as an e-bike rider.
| Pad Type | Best For (E-Bike Use Case) | Pros | Cons | Typical Price Range (per pair) |
|---|---|---|---|---|
| Organic (Resin) | Daily commuters, casual riders in dry climates, budget-conscious riders. | Very quiet operation, quick break-in period, minimal wear on rotors. | Wears the fastest, poor performance in wet/muddy conditions, can fade (lose power) on long, steep descents due to heat. | $15 - $25 |
| Semi-Metallic | All-around performance, heavy commuters, recreational trail riders. | Good balance of durability and power, better performance in varied conditions (wet & dry), good heat management. | Can be noisier than organic pads, causes more rotor wear over time. | $20 - $35 |
| Sintered (Metallic) | E-MTB, downhill, heavy cargo e-bikes, riders in consistently wet climates. | Highest stopping power, longest lasting, excellent performance in extreme conditions (wet, mud, high heat). | Can be loud, requires a longer break-in period, hardest on rotors, often the most expensive option. | $25 - $50+ |
For most e-bike commuters, a semi-metallic pad offers the best blend of performance and value. For those carrying heavy loads or tackling aggressive terrain, investing in sintered pads is a worthwhile upgrade for safety and control.
The Real Cost Breakdown
Deciding whether to tackle the job yourself or head to a bike shop comes down to a trade-off between money and time. Here's a detailed breakdown of what to expect for each path.
The DIY Cost
If you have some mechanical confidence and the right tools, replacing your own rear brake pads is a very cost-effective option. The primary expenses are the parts and, if you don't already own them, a few essential tools.
- Brake Pads: $20 - $50, depending on the compound you choose.
- Tools: This is a one-time investment. You'll need a good set of hex wrenches (Allen keys), a piston press (or a wide, flat-head screwdriver), and isopropyl alcohol for cleaning.
- Time: For a first-timer, set aside about 30-45 minutes. An experienced mechanic can do it in 15. Your time has value, so factor that into your decision.
The total cash outlay for a DIY job is minimal, especially after the initial tool purchase.
The Professional Service Cost
Taking your e-bike to a shop provides peace of mind and the assurance of expert service. Mechanics can also spot other potential issues with your braking system. Most shops charge a flat labor fee plus the cost of parts.
| Service Item | Estimated Cost (per wheel) | Notes |
|---|---|---|
| Labor for Pad Replacement | $25 - $50 | This is the base charge for swapping the pads. |
| Brake Bleed (Hydraulic) | $30 - $60 | Often recommended or required if the system feels spongy or is being opened. |
| Rotor Truing/Replacement | $15 - $30 (Truing) / $40 - $100+ (Replacement) | Necessary if your rotor is bent or worn below its minimum thickness. |
| Total Estimated Pro Cost | $75 - $150+ | This range covers a standard pad swap up to a more involved service with a brake bleed and new rotor. |
For those who aren't confident in their mechanical skills or simply prefer an expert eye, getting a professional brake service is a smart investment in safety and performance.
DIY Replacement: A 5-Step Guide
Ready to change your own rear brake pads? It's a straightforward process that builds confidence and saves money. Follow these five steps for a successful replacement.
1. Preparation
Gather your supplies. You'll need your new brake pads (ensure they are the correct model for your brake calipers), a set of hex wrenches, isopropyl alcohol on a clean rag, and a piston press tool or a tire lever. Work in a well-lit area and consider using a bike stand if you have one.
2. Remove Wheel and Old Pads
First, remove the rear wheel from your e-bike. This gives you much better access to the brake caliper. Next, locate the retaining pin or bolt that holds the pads in place.
It will have a small clip or cotter pin on one end. Remove the clip and unscrew the pin. The old brake pads should now be loose enough to pull out from the top or bottom of the caliper. Note how the metal spring (the v or h shaped clip) sits between them.
3. Clean and Reset Pistons
With the old pads out, you'll see the circular brake pistons. They will likely be extended and dirty. Spray isopropyl alcohol on your rag and thoroughly clean the inside of the caliper and the faces of the pistons. Now, you must gently push the pistons back into the caliper body until they are flush. Use a plastic tire lever or a dedicated piston press tool. Never use a sharp metal object like a screwdriver, as this can damage the piston surface.
4. Install New Pads
Take your new brake pads and place the spring between them, ensuring it's oriented correctly. Slide the new pad-and-spring assembly back into the caliper body. The fit should be snug but not forced. Align the holes in the pads and spring with the hole in the caliper, then re-insert the retaining pin and screw it back in. Don't forget to secure it with its clip.
5. Reassemble and Bed-In
Re-install your rear wheel, making sure the brake rotor slides cleanly between the new pads. Squeeze the brake lever a few times. It will likely feel soft at first, but will firm up as the pads move into position. Before you ride, you must bed-in the new pads. Find a safe, open area and get up to a moderate speed (10-12 mph). Apply the brakes firmly and consistently until you slow to a walking pace—do not lock up the wheel. Repeat this process 10-15 times.
This crucial step transfers a thin layer of pad material onto the rotor, ensuring quiet, powerful, and consistent braking from the very first ride.

A Focus on Long-Term Value
Maintaining your e-bike's rear brake pads isn't just about replacing parts when they fail. It's about proactive care that ensures safety and saves money over time. By performing regular visual inspections—a quick 30-second check before a ride—you can catch wear before it leads to rotor damage.
Investing wisely in the right type of electric bike brake pad for your riding style pays dividends. A commuter may spend less upfront on organic pads but will replace them more frequently, while a heavy-duty rider who invests in sintered pads gets longer life and superior performance when it matters most. Ultimately, whether you choose the DIY path to learn more about your machine or trust a professional for guaranteed results, understanding the unique demands on your e-bike's brakes empowers you to make the best decision for your safety, your wallet, and your ride.
Frequently Asked Questions
1. Q: How often should I replace my e-bike rear brake pads?
A: Most e-bike rear brake pads need replacement every 1,000-3,000 miles, depending on your riding style, terrain, and pad type. Heavy commuters or riders who frequently tackle hills may need replacements more often, while casual riders in flat areas can expect longer pad life.
2. Q: Can I use regular bike brake pads on my e-bike?
A: While regular bike brake pads may fit, they're not recommended for e-bikes. E-bike specific pads are designed to handle the extra weight and higher speeds of electric bikes, providing better performance and safety.
3. Q: What's the cost of changing rear brake pads at a bike shop versus doing it myself?
A: DIY replacement typically costs $20-$50 for parts only, while professional service ranges from $75-$150+ including labor. The professional option includes expertise and often catches other potential issues.
4. Q: How do I know if my brake rotor needs replacement along with the pads?
A: Check your rotor for deep grooves, warping, or thickness below the minimum specification (usually marked on the rotor). If you hear grinding noises or feel pulsing when braking, your rotor likely needs attention.
5. Q: Is it safe to ride with worn brake pads?
A: No, riding with severely worn brake pads is dangerous and can damage your brake rotor. Replace pads when they reach 1.5mm thickness or less, and stop riding immediately if you hear grinding noises.


Leave a comment