Kenda Fat Tire Pressure Guide: What’s the Max PSI?
The Straight Answer on Max PSI
Let's get straight to the point. The maximum tire pressure for a Kenda fat tire is printed directly on the tire's sidewall. For most models, this number is typically between 20 and 30 PSI. For example, the popular Kenda Juggernaut Sport often lists a max pressure of 30 PSI.
A more specialized model like the Kenda Gigas might have a lower maximum of 20 PSI. However, this number is the single most misunderstood value on a tire. The max PSI is a safety rating, not a riding recommendation.
It represents the highest pressure the tire can safely hold when mounted on a compatible rim under standard conditions. Riding at or near this pressure on a fat bike will result in a harsh, uncomfortable ride with dangerously low traction. The key to unlocking your bike's performance isn't hitting the maximum pressure, but finding your optimal pressure.
This is the pressure that is tailored to you, your bike, and where you ride.
Understanding Your Sidewall
Your tire's sidewall is a technical manual in miniature. Learning to read it makes you a more informed and capable rider. Beyond the "Max Press." marking, you'll find other crucial pieces of information that tell the story of your tire.
Here's what to look for:
- Tire Size: Displayed as something like "26 x 4.0," this indicates the wheel diameter (26 inches) and the tire width (4.0 inches). This is fundamental for understanding tire volume, which directly impacts pressure choices.
- Directional Arrow: Many Kenda fat bike tires have a tread pattern designed to perform best when rolling in a specific direction. An arrow marked "Rotation" shows you the correct orientation for mounting the tire.
- TPI (Threads Per Inch): This number indicates the density of the threads in the tire's casing.
A higher TPI (like 120) generally means a more supple, lighter, and faster-rolling tire, while a lower TPI (like 60) suggests a more durable, stiffer, and puncture-resistant construction. Understanding these details helps you appreciate why different tires require different pressures. For more detailed information on specific models, you can always refer to Kenda's official specifications.
Finding Your "Goldilocks Zone"
Your ideal Kenda fat tire pressure is not a single number but a dynamic range. This zone is determined by several key factors. Mastering them is the most significant upgrade you can make to your ride.
Rider and Gear Weight
The total weight on the tires is the primary factor. A heavier rider needs more air pressure to support the load and prevent the tire from collapsing or feeling "squirmy" in corners. A lighter rider can get away with much lower pressures for better traction and float.
As a general rule of thumb, for every 20-25 lbs of system weight (rider + bike + gear), you can expect to adjust your pressure by approximately 0.5 to 1 PSI. This is just a starting point for your own experimentation.
Terrain is King
Where you ride is the most critical variable for fat bike tire pressure. The goal is to let the tire conform to the surface for maximum grip without creating excessive drag.
| Terrain Type | Starting PSI Range (4.0" Tire) | Ride Characteristic |
|---|---|---|
| Pavement / Hardpack | 12 - 18 PSI | Low rolling resistance, efficient, but less forgiving. |
| Mixed / Loose Trails | 8 - 12 PSI | Balanced grip for roots and rocks, good all-around performance. |
| Soft Sand / Snow | 4 - 8 PSI | Maximum "float" and traction, tire spreads out wide. |
Tire Volume and Width
Not all fat tires are created equal. A wider 4.8-inch tire has significantly more air volume than a 4.0-inch tire. This larger volume means it can run at a much lower pressure to achieve the same level of support and grip.
If you switch from a 4.0" tire to a 4.8" tire, you'll likely need to drop your pressure by 1-3 PSI to achieve a similar feel.
Tubed vs. Tubeless Setup
Running a tubeless system is a game-changer for fat bikes. By removing the inner tube, you eliminate the risk of "pinch flats"—where the tube gets pinched between the tire and the rim on a hard impact. This single advantage allows tubeless riders to safely run much lower pressures, unlocking incredible levels of traction and bump absorption on technical terrain.
If you are running tubes, you'll need to keep your pressure slightly higher (by 1-2 PSI) to mitigate this risk. For more on this, check out this comprehensive guide to fat bike tire pressure.
The E-Bike Difference
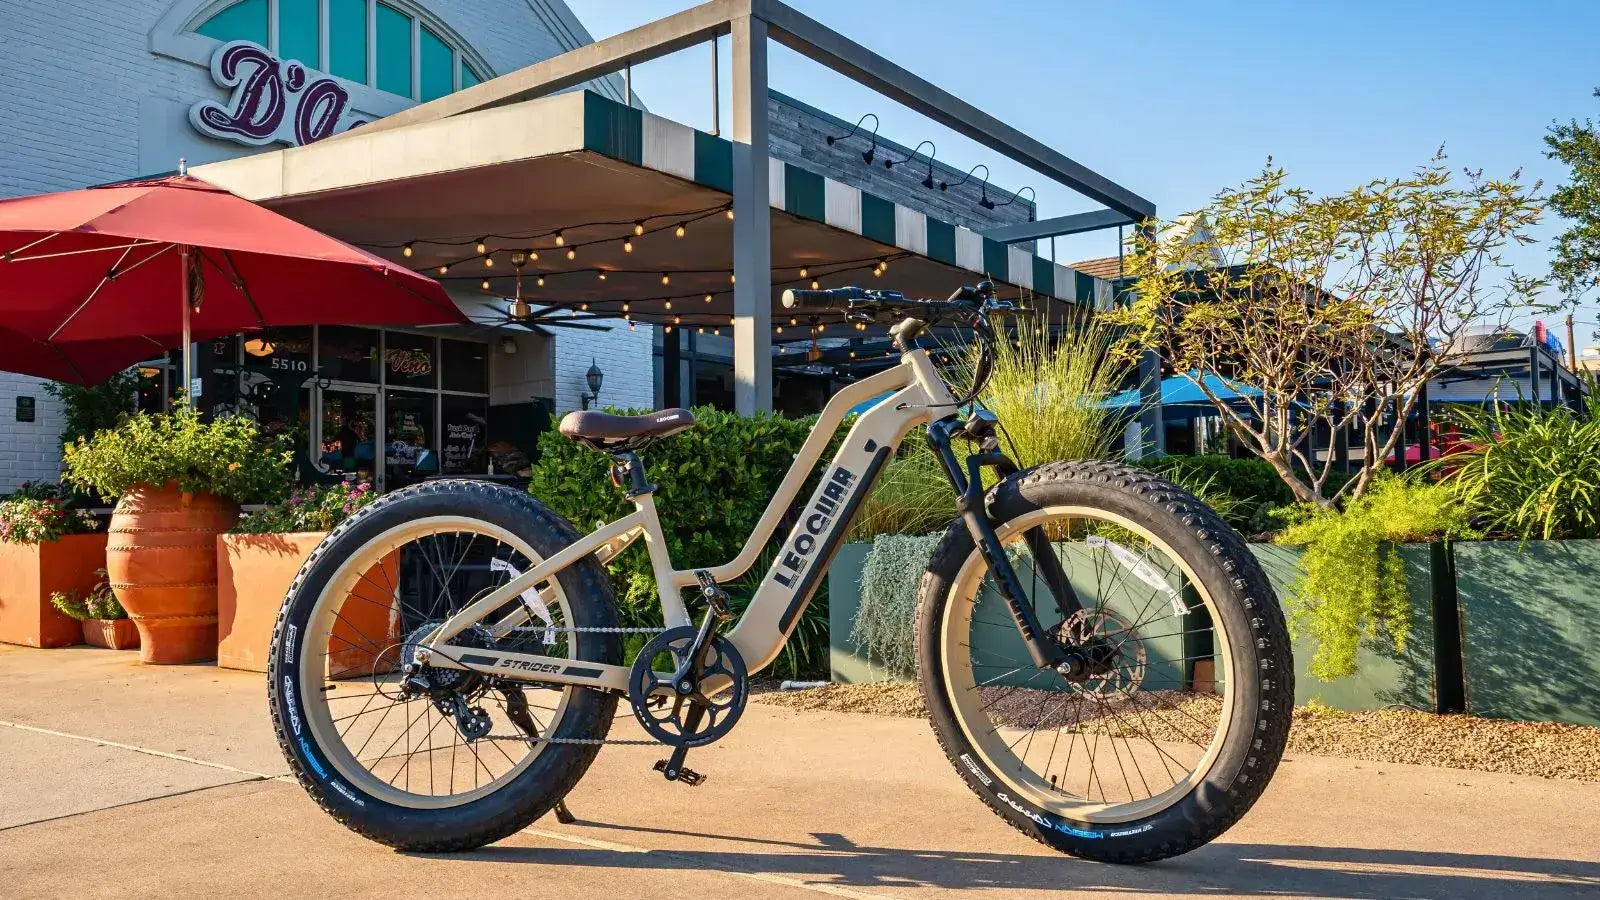
Fat tire e-bikes require special consideration when it comes to tire pressure. The added weight and power of the motor fundamentally change how the tires interact with the ground. Simply using the same pressure as a non-electric fat bike is a common mistake.
An e-bike can easily be 20-30 lbs heavier than its analog counterpart. This extra mass has several effects:
- Increased Bottoming Out: The bike's weight makes it more susceptible to hard impacts that can cause pinch flats (with tubes) or damage the rim, even at pressures that feel fine on a lighter bike.
- Tire Casing Stress: The instant torque from the motor puts additional rotational stress on the tire's casing and tread, especially during acceleration. The right pressure helps the tire maintain its shape and handle these forces.
- Pronounced Handling Effects: Tire pressure has a much greater impact on the handling of a heavy e-bike.
Too little pressure can make the bike feel vague and unresponsive in corners. Too much can make it feel skittish and lose traction under power.
When we test fat tire ebikes, we typically start by adding 2-4 PSI to the recommended pressure for a non-electric fat bike of a similar setup. This provides a better balance of support and grip, preventing that "squirmy" feeling in corners that can happen with a heavy bike on under-inflated tires. This higher baseline gives the tire the structure it needs to cope with the extra mass and motor torque.
To better understand how e-bike weight affects tire pressure, it's helpful to grasp the physics of tire pressure.

Step-by-Step Tuning Guide
Finding your perfect pressure is a process of methodical experimentation. Follow these steps to dial in your ride.
- Get the Right Tool. A standard floor pump gauge is not accurate enough for the low-pressure range of fat tires.
- Invest in a quality, low-pressure digital gauge. This is the most important tool for consistently setting your pressure.
- Start with a Baseline. Use the table in the "Goldilocks Zone" section above.
- Find the row for your most common terrain and use the corresponding PSI range as your starting point, adjusting for your weight and whether you're on an e-bike.
- The Pre-Ride "Thumb Test". Before you ride, give the tire a firm press with your thumb.
- This isn't for measurement, but for a quick feel. A properly inflated tire should have noticeable give but still feel supportive.
- It shouldn't feel rock-hard or so soft that you can easily press it to the rim.
- Test Ride and Feel. Go for a short ride on your target terrain.
- Pay close attention to how the bike feels. Is it bouncing off small bumps?
- The pressure is likely too high. Does the steering feel slow or do the tires "fold" in corners?
- The pressure is too low.
- Fine-Tune and Record. Adjust the pressure by 0.5 PSI increments and ride again.
- The changes will be subtle but noticeable. Once you find a pressure that feels right—offering a blend of grip, comfort, and efficiency—make a note of it.
- Record the pressure, terrain, and your gear weight for future reference.
Common Mistakes to Avoid
Even experienced riders can make mistakes. Watch out for these common pitfalls when setting your Kenda fat tire pressure.
- Over-inflation: This is the most frequent error, often caused by trusting the max PSI on the sidewall. It leads to a harsh ride, reduced traction, and a feeling of being bounced around on the trail.
- Under-inflation: While low pressure is good, too low is a problem. It results in a sluggish, high-drag ride, an increased risk of rim strikes, and poor cornering stability.
- With tubed setups, it's the leading cause of pinch flats.
- Ignoring the Terrain: Using your "pavement pressure" on a snowy trail will leave you spinning your wheels. Forgetting to air up after a trail ride will make your commute home feel like you're riding through mud.
- Adjust your pressure for the ride ahead.
- Using the Wrong Gauge: Relying on the gauge of a high-pressure road bike pump to set 8 PSI is a recipe for inaccuracy. A dedicated low-pressure gauge is essential for repeatable results.
Conclusion: Your Perfect Ride
The max PSI on your Kenda fat tire is a safety ceiling, not a target. The true secret to an amazing ride lies in finding the optimal pressure for you. By considering your weight, terrain, tire setup, and whether you're on an e-bike, you can move beyond generic numbers.
Treat tire pressure as a tunable component of your suspension. Experiment, take notes, and trust what you feel. By investing a little time in this process, you will unlock a new level of performance, control, and comfort, transforming your fat bike into the ultimate all-terrain machine.
Frequently Asked Questions
1. What is the maximum PSI for Kenda fat tires?
Most Kenda fat tires have a maximum PSI between 20 and 30, printed on the tire's sidewall. However, this is a safety limit, not the pressure you should actually ride at. Your optimal riding pressure will be much lower, typically between 4-18 PSI depending on terrain and rider weight.
2. How much should I inflate my fat tire e-bike?
Fat tire e-bikes need 2-4 PSI more than regular fat bikes due to their extra weight and motor torque. Start with the baseline pressure for your terrain type and add this extra amount. For example, if you'd normally run 10 PSI on trails, try 12-14 PSI on your e-bike.
3. What tire pressure should I use for sand and snow?
For soft sand and snow, use 4-8 PSI to maximize float and traction. This low pressure allows the tire to spread out wide and conform to the surface. You may need to adjust within this range based on your weight and how soft the conditions are.
4. Do I need a special gauge for fat bike tires?
Yes, you need a low-pressure digital gauge for accurate readings. Standard floor pump gauges are designed for high-pressure road tires and aren't accurate in the 4-18 PSI range that fat bikes use. A quality low-pressure gauge is essential for consistent results.
5. How do I know if my fat tire pressure is too low or too high?
If your pressure is too high, the bike will feel harsh and bouncy, with reduced traction. If it's too low, the steering will feel sluggish, the bike will feel slow, and you risk pinch flats or rim damage. The right pressure provides good traction while maintaining responsive handling and comfort.


Leave a comment