


Electric Bike Seat That Is Comfortable: What to Look for and Top Picks
Why E-Bike Saddles Differ
An electric bike promises easy rides and long trips. But that promise goes away fast when you deal with pain, numbness, or rubbing from a basic saddle. A bad bike seat can turn your dream ride into painful work. We know this problem well. This guide gives you our best answer to fix it. We'll explain why finding a comfortable electric bike seat is hard, what to look for in a new one, how to fix your current setup, and give you our top picks to help you get back to pain-free, fun rides.
Finding the right saddle for an e-bike is different from a regular bike. Electric bikes put different stress on your body and your seat. Knowing these differences helps you find what works.
More Upright Riding: Most e-bikes make you sit up straight. This puts most of your weight right on your sit bones. Too much pressure in one small area makes good support very important.
Longer and Faster Rides: The motor makes it easy to ride for hours at higher speeds. This means more time on the seat and more bumps from the road. A good saddle helps with this, and some studies show that the right build can absorb road shaking better, making rides more comfortable.
Less Standing Time: Mountain bikers and road riders often stand up to climb hills or handle bumps. E-bike riders stay seated much more because of the motor help. This constant pressure makes numbness and pain more likely if the saddle is wrong.
Anatomy of Comfort
To pick the best comfortable bicycle seat, you need to shop smart. It's not about the softest or most expensive choice. You need to match the saddle design to your body and how you ride. Here are the four things that matter most.
Saddle Width is Key
Good saddle comfort starts with the right width. The saddle should be wide enough to hold your sit bones. A narrow saddle makes your sit bones hang off the sides. This puts pressure on soft areas between them. A wide saddle can rub and hurt your inner thighs.
You can measure your sit bone width at home. Put cardboard on a hard, flat chair. Sit on it and lean forward like you're riding, then stand up. You should see two dents. Measure between the centers of these points. Women usually measure 100-140mm, while men often measure 90-120mm. But these are just averages - your own measurement is what counts.
Padding and Firmness
This is where new riders make mistakes. It seems like a big, soft saddle would be most comfortable. It might feel great for five minutes, but it's often bad for longer e-bike rides.
We've tested this a lot. On one ride, we used a thick, oversized saddle. For 20 minutes, it felt great. But at 45 minutes, the soft foam had pressed down under our sit bones, making new pressure points and feeling wobbly. We changed to a firmer saddle with dense foam. The cushy feeling was gone, but after an hour, the support stayed steady, and the numbness went away. The goal of padding is support, not just softness.
- Gel: Shapes to your body and relieves pressure well but can get hot and may shift or get hard over time.
- Foam: Most common material. Dense foam gives great support for long rides without pressing down completely. Memory foam feels plush but can have the "too much cushion" problem.
A firm but gentle saddle is almost always the best comfortable bicycle seat for rides over 30 minutes.

Shape and Cutouts
Saddles come in different shapes, and the right one depends on how flexible you are and how you sit.
- Flat: Lets you move and change positions easily.
- Waved: Has a raised back and slightly dipped nose, helping keep you in a stable spot. This often works well for upright riders.
- Curved: Gives good support but can lock you in one position.
Many new saddles have a center cutout or relief channel. This is important, especially for e-bike riders who sit for long periods. This design takes weight off your soft tissue, reducing pressure and helping blood flow to prevent numbness. For most casual e-bike riders, a saddle with a good relief channel works best.
Cover and Rails
The final details also help with comfort and how long the saddle lasts.
- Cover Material: Fake leather is most common. It's strong, handles weather well, and needs little care. Real leather is a fancy option that can shape to you over time but needs care and a break-in period.
- Rail Material: Rails are the bars under the saddle that attach to the seatpost. Most affordable comfort saddles use steel rails, which are strong and reliable. Expensive options like chromoly or titanium can reduce shaking a little and weigh less, but for most e-bike users, steel works fine.
Tune-Up Your Current Seat
Before buying a new saddle, spend 15 minutes making sure your current one fits right. Many comfort problems come from poor fit, not a bad saddle. We've seen many riders fix their problems with these simple, free changes.
Check Saddle Height: Use the heel-to-pedal method. Sit on your bike and put your heel on the pedal at its lowest point. Your leg should be almost straight. When you move your foot to the right pedaling spot, you'll have the perfect slight bend in your knee.
Adjust Saddle Angle: Start with your saddle level. A phone app with a level works great for this. If you feel too much pressure on the front, tilt the nose down very slightly - just one or two degrees. We once helped a rider who was ready to quit because of numbness. A simple two-degree downward tilt fixed the problem completely.
Set Forward/Back Position: Loosen the clamp under the saddle and slide it forward or back on its rails. A good start is to have your pedals level. The bony bump below your kneecap on your forward leg should be right over the pedal spindle.
Wear Right Clothing: This isn't a seat change, but it's important. Padded bike shorts or liners aren't just about adding cushion. Their main job is to give a smooth surface that moves with your body, cutting down on rubbing.
Give It Time: After making a change, take a short 15-20 minute ride. Don't change multiple things at once. Your body needs time to get used to it. A saddle that feels strange at first may become perfectly comfortable after a few rides.
Our Top Picks for 2025
If changes don't fix the problem, it's time for an upgrade. We've ridden, tested, and studied dozens of options to find the best comfortable electric bike seats. Here are our top picks, balancing comfort, support, and value.
| Saddle Model | Best For | Key Features | Price Range |
|---|---|---|---|
| Leoguar Electric Bike Saddle | Comfort & Everyday Riding | Pressure Relief (O-zone cut, wide channel), ARC-TECH Suspension, Universal Fit | $ |
| Cloud-9 Cruiser Select | Maximum Cushioning | Dual-Density Gel, Spring Suspension | $ |
| Selle Royal Respiro | Long-Distance Commuting | Ventilation Channel, Firm Support | $$ |
| Ergon SMC Core | Performance & Support | Ergonomic Core, Pressure Relief | $$$ |
| Bikeroo Oversized Seat | Budget-Friendly Upgrade | Wide Profile, Universal Fit | $ |
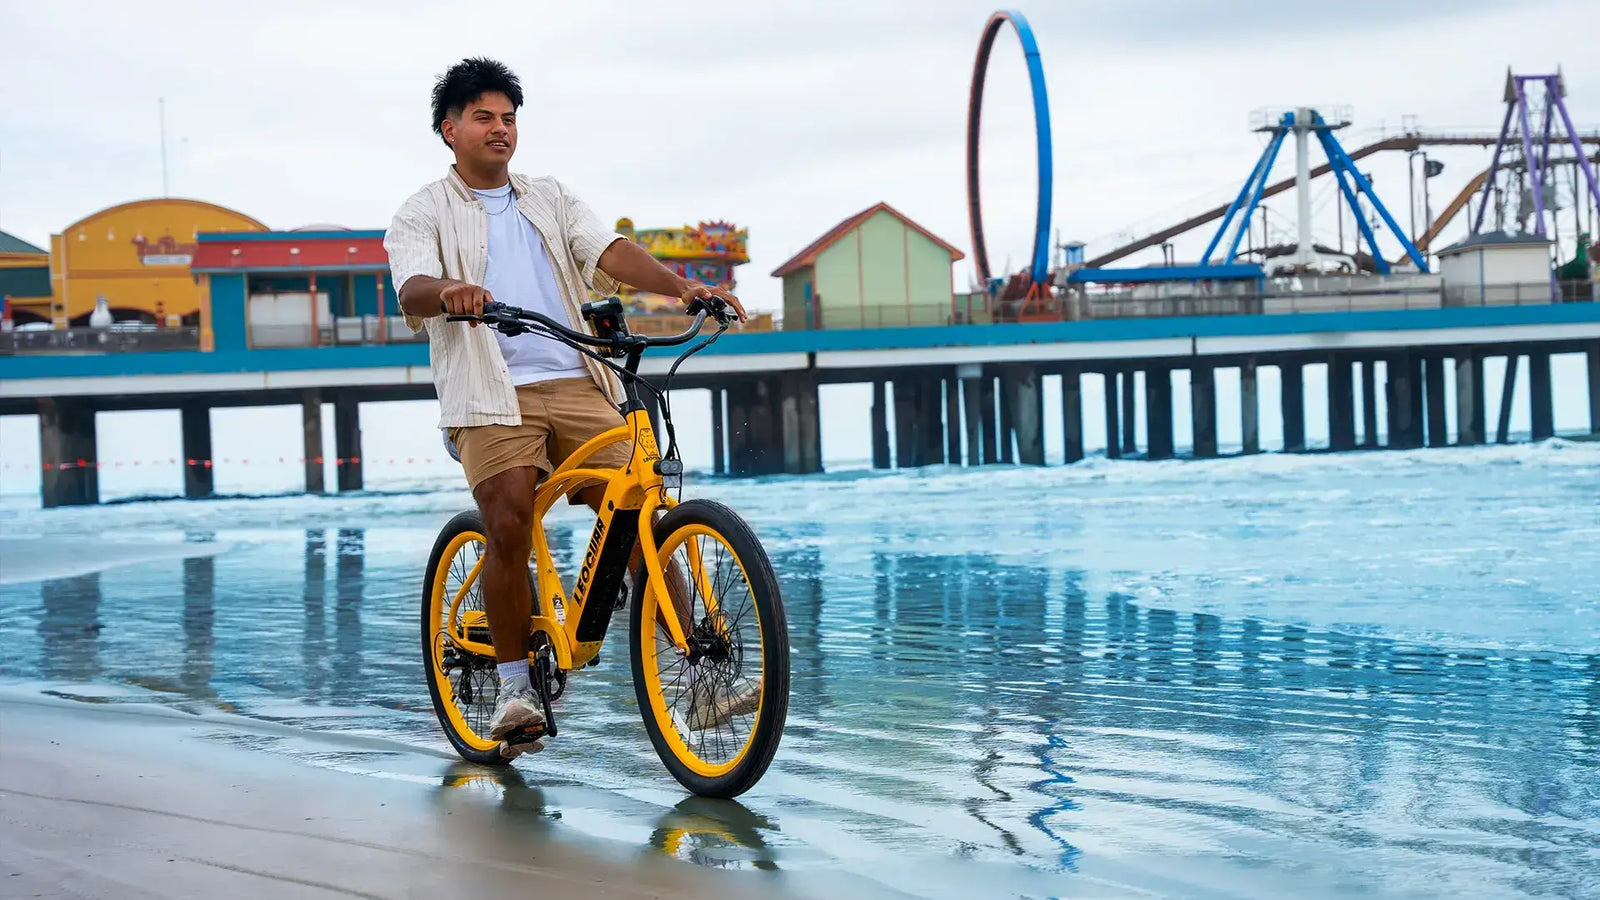
Overall Best Comfort: Leoguar Electric Bike Saddle
- Best for: Riders of electric bikes who want a balance of long-lasting comfort, shock absorption, and universal compatibility—ideal for daily commuting as well as leisurely weekend rides.
- Pros: Specially designed with an O-zone cut and wide channel to relieve pressure points and improve airflow, reducing discomfort on longer journeys. The ARC-TECH suspension system offers excellent shock absorption, smoothing out bumps and vibrations for a noticeably softer ride. Its moderate profile ensures it fits a wide range of riders and bike models without being bulky. Lightweight construction makes it easy to handle, while the durable material withstands daily use.
- Cons: While it provides broad comfort, performance-focused riders who prefer a narrow, aerodynamic saddle may find it less suitable for high-intensity rides.
Top Pick for Everyday Comfort: Cloud-9 Cruiser Select
- Best for: Riders who sit upright on cruiser or comfort e-bikes and want maximum cushioning for casual rides.
- Pros: Uses dual-density gel foam that feels very plush. The spring system underneath does a great job absorbing shocks from potholes and bumps.
- Cons: It's heavy and very wide, which may be too much for some riders and could cause inner thigh rubbing on longer or faster rides.
Best for Commuting: Selle Royal Respiro
- Best for: Daily commuters and e-bike tourers who need firm support and pressure relief for hour-long rides.
- Pros: The best feature is its large air channel, which relieves pressure and promotes airflow to keep you cool. The support is firm enough to prevent sinking, which is key to avoiding numbness on long commutes.
- Cons: The firmness might feel too hard at first for riders used to very soft saddles. It needs a short break-in period for your body to adjust.
Best for Performance: Ergon SMC Core
- Best for: Riders on performance e-bikes with a slight forward lean, or anyone who is very sensitive to soft tissue pressure.
- Pros: This saddle has a unique foam core that floats between the shell and main padding, cutting you off from road shock. The pressure relief channel is scientifically designed and very effective. Different models for men and women ensure a good fit.
- Cons: It has a high price tag because of its advanced design and materials.
Best Budget Option: Bikeroo Oversized Seat
- Best for: Budget riders looking for a big comfort upgrade over a hard, narrow stock saddle.
- Pros: It offers lots of padding and a wide profile at a very low price. It often comes with tools and adapters, making it an easy DIY upgrade.
- Cons: While comfortable, the cover and foam may not last as long as premium brands. The padding may press down too much on very long rides.

Your Pain-Free Journey
Finding the perfect bike seat that is comfortable is personal. Your ideal saddle depends on your body, and how you ride e-bikes. Start by fixing your current setup, and if pain continues, use this guide to choose a new saddle with confidence. A comfortable ride isn't extra - it's needed. By spending a little time finding the right fit, you can unlock countless hours of happy, pain-free cycling.
FAQ
1. Q: How do I know if my saddle is the right width?
A: Your sit bones should rest fully on the saddle without hanging off the sides. You can measure your sit bone width at home using cardboard on a hard chair. The saddle should be about 20-30mm wider than your sit bone measurement.
2. Q: Why does a softer saddle sometimes feel worse on long rides?
A: Very soft padding compresses under your weight during long rides, creating pressure points and instability. A firmer saddle with good padding provides consistent support throughout your ride, preventing numbness and pain.
3. Q: How long should I try a new saddle before deciding if it works?
A: Give a new saddle at least 3-5 rides of 30 minutes or more. Your body needs time to adjust to the new shape and support. Small adjustments to height and angle during this period can make a big difference.
4. Q: Do I really need a saddle with a cutout or relief channel?
A: For most e-bike riders who sit upright for long periods, a relief channel helps reduce pressure on soft tissues and improves blood flow. This is especially important if you experience numbness during or after rides.
5. Q: Can padded bike shorts replace the need for a comfortable saddle?
A: Padded shorts help reduce friction and add some cushioning, but they can't fix a poorly fitting saddle. The best approach is to start with a properly fitted, comfortable saddle and then add padded shorts for extra comfort on longer rides.


Leave a comment