


Bicycle Tire Repair Kit Guide: What’s Inside and How to Use It
Don't Let a Flat Stop You
Getting a flat tire far from home feels terrible for all cyclists. But flats don't have to end your ride. You just need some knowledge and the right tools to turn a flat into a quick break. This is when a bicycle tire repair kit becomes your best friend on any ride.
Why Every Cyclist Needs One
Flat tires will happen to you eventually. Sharp glass, thorny branches, or deep potholes can cause problems anytime. A bicycle tire repair kit gives you the power to fix things yourself.
- Be Independent: You won't need friends to rescue you or have to walk your bike home.
- Save Time & Money: Fixing a flat on the road is much faster and cheaper than going to a bike shop.
- Keep Riding: Turn a big problem into a small delay and get back to enjoying your ride.
What This Guide Covers
We're going to make the whole process simple for you. This guide will help you understand your repair tools, give you clear steps for fixing both regular inner tubes and tubeless tires, and share expert tips from years of cycling experience.
Anatomy of a Repair Kit
Opening a bicycle tire repair kit for the first time might confuse you. All these small pieces serve different purposes. Let's look at what's inside the two main types: classic patch kits for inner tubes and modern plug kits for tubeless systems.
For Traditional Inner Tubes
This classic kit has saved countless bike rides over the years. It works by patching holes in rubber inner tubes.
| Tool | Function |
|---|---|
| Tire Levers | Strong plastic tools that help you remove the tire from the wheel rim. |
| Scuffer | A small piece of sandpaper that roughens the tube surface. |
| Patches | Flexible rubber pieces in different sizes that cover punctures. |
| Vulcanizing Solution | Special rubber cement that creates a chemical bond, not just regular glue. |
| Chalk/Crayon | Sometimes included to mark where the puncture is located. |
For Tubeless Tires
Many modern mountain, gravel, and road bikes use tubeless tires. These need a different fix using plugs to seal punctures from outside.
| Tool | Function |
|---|---|
| Reamer/File Tool | A sharp tool that cleans the puncture and makes a uniform hole for the plug. |
| Plug Insertion Tool | A fork-like tool that pushes the repair plug into the tire. |
| Repair Plugs | Sticky strips, often called "bacon strips," that seal holes. |
| Small Blade | A sharp knife that trims extra plug material flush with the tire surface. |
Glueless vs. Glued Patches
Tube repair kits have two types of patches. Glueless patches work like high-tech stickers - they're fast, clean, and great for quick fixes to get you home. Traditional patches with glue create permanent, reliable repairs. As expert reviews often compare, the chemical bond from glued patches lasts much longer and works better over time.
How to Fix a Flat Tube
Here's the complete process for patching an inner tube step by step. Follow these directions and you'll be riding again soon.
Step 1: Remove and Locate
First, you need to take the tube out of the tire to find the leak.
- If you have gears, shift to the smallest gear on the back. This makes the chain loose and wheel removal easier.
- For rim brakes, open the brake by using the small lever on the brake part.
- Open the quick-release or loosen the nuts and carefully take the wheel out.
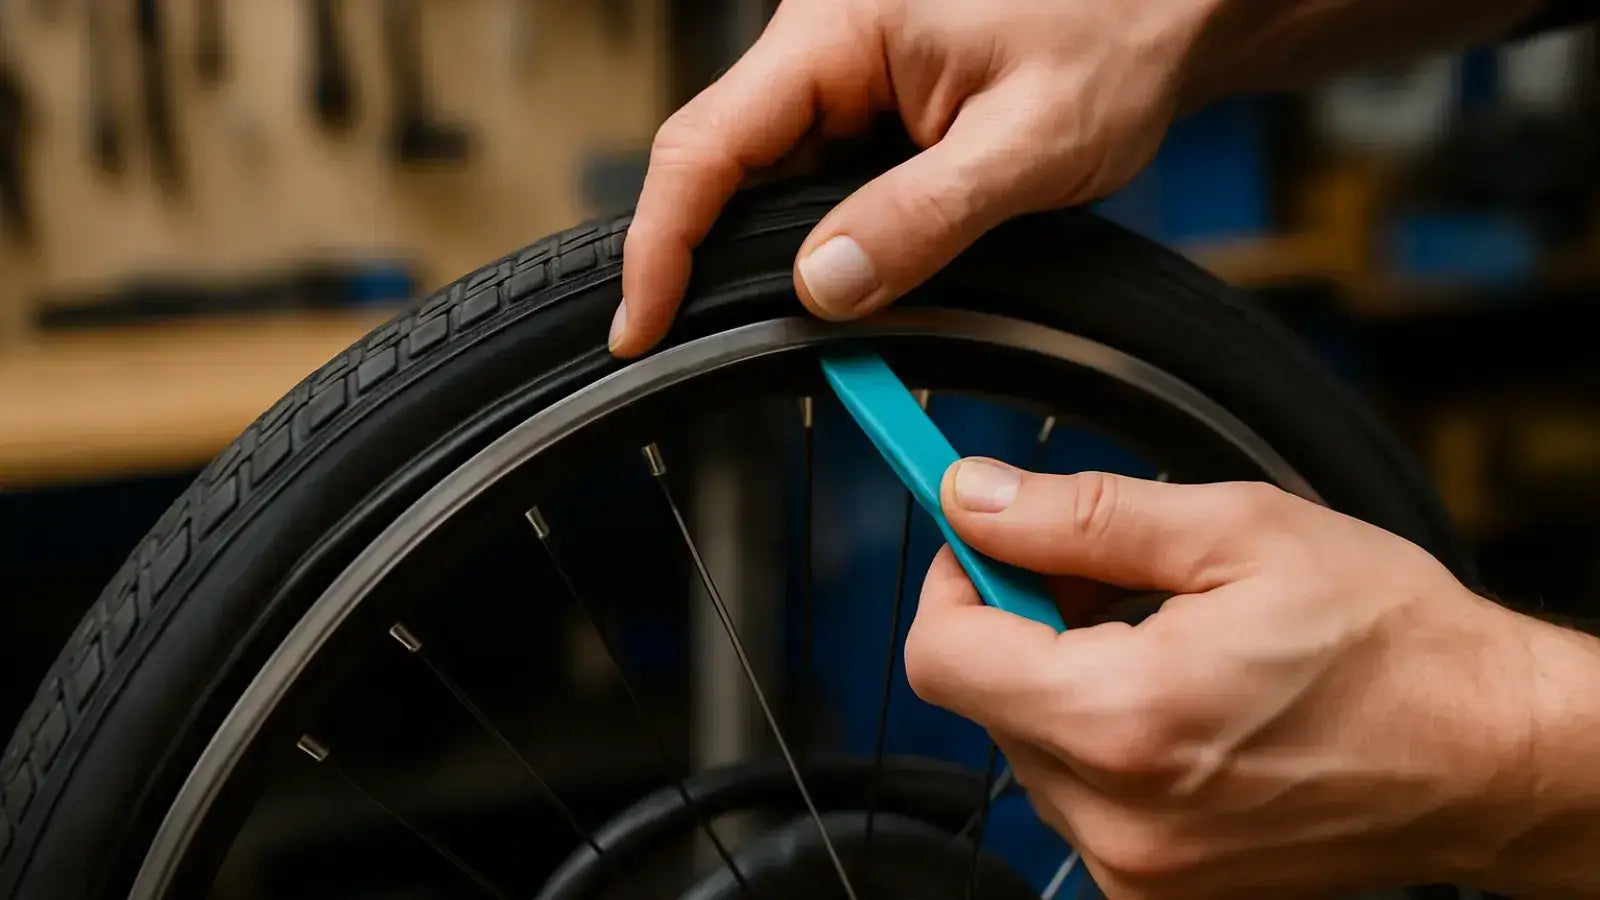
- Use one tire lever to hook under the tire edge and pry a section over the rim. Hook this lever onto a spoke. Use a second lever a few inches away to work more of the tire off the rim.
- Once one side of the tire comes off the rim, reach in and pull the inner tube out completely.
Pro Tip: To find the hole, add a little air to the tube. Hold it near your ear to listen for air escaping, or hold it near your cheek to feel the air. If the hole is too small to find, put the tube in water and look for bubbles.
Step 2: Prepare and Patch
This step makes the repair work properly. Don't rush these steps because good preparation makes patches that last.
- Roughen Up: Use the scuffer from your bicycle tire repair kit to scratch the area around the hole. You need to make a rough area slightly bigger than your patch. The shiny tube surface will become dull and matte. This removes factory coating and creates a textured surface for bonding.
- Apply Vulcanizing Fluid: Squeeze out a small amount and spread a thin, even layer over the rough area. A thin layer works better than a thick one.
- Wait! This is the biggest mistake beginners make. You must let the fluid dry. Wait 3-5 minutes until the shiny, wet look becomes completely matte. When you touch it lightly, it should feel sticky, not wet. This lets the chemicals evaporate and prepares the rubber for bonding.
- Apply the Patch: Remove the backing from the patch (don't touch the sticky side) and press it firmly onto the prepared area. Start by pressing hard in the center, then work toward the edges to push out air bubbles. Hold firm pressure for at least one minute. As repair experts note, a proper vulcanizing process creates a permanent chemical bond that makes the patch part of the tube.
Step 3: Reassemble with Care
Before putting everything back together, do one final check.
- CRITICAL STEP: Carefully feel along the inside of the tire with your fingers. You're looking for the sharp object - glass, thorns, or metal - that caused the flat. If you don't remove it, you'll get another flat right away. Also check that the rim strip covers all spoke holes.
- Add just a little air to the patched tube to give it shape. This prevents twisting inside the tire.
- Put the tube back in the tire, starting with the valve stem.
- Use your hands and thumbs to work the tire back onto the rim. Start opposite the valve and work both sides toward the valve. For the last tight section, use your palms to roll the tire on. Try not to use tire levers because you might puncture your newly fixed tube.
- Add air to the recommended pressure printed on the tire side. Put the wheel back on, close the brake, and you're ready to ride.
Troubleshooting and Pro Tips
Sometimes things don't work perfectly. Here are solutions to common problems and tips from experienced cyclists.
What to Do When...
| Problem | Likely Cause & Solution |
|---|---|
| The Patch Won't Stick | Cause: The fluid was still wet, or the surface wasn't rough enough. Solution: Remove the failed patch. Start over on a fresh spot, waiting longer for the fluid to dry. |
| You Can't Find the Puncture | Solution: The water trick always works. On the road, add extra air to the tube and hold it close to your lips or cheek; your skin easily feels moving air. |
| You Get a "Pinch Flat" | Explanation: This shows as two parallel cuts, called a "snake bite." It happens when the tube gets pinched between the rim and an object, usually from low tire pressure hitting a pothole. Solution: You'll need two patches. Keep your tires properly inflated to prevent this. |
Pro Tips for Smoother Repairs
- The Pre-Glued Patch Debate: Glueless patches work great for emergencies. However, think of them as temporary fixes to get you home safely. For permanent repairs you can trust for hundreds of miles, traditional kits work better. Extensive testing confirms that vulcanizing patches form stronger, more durable bonds that flex with the tube.
- Check Your Rim Tape: A common cause of repeated flats is worn or shifted rim tape. This exposes sharp spoke hole edges inside the rim, which can easily puncture tubes. When you have the tire off, always inspect it quickly.
- Always Pack a Spare Tube: Even with the best bicycle tire repair kit, the fastest road fix is often swapping in a new tube. You can patch the punctured tube at home in a clean, relaxed setting. Think of the patch kit as backup for your backup.
The Tubeless Revolution
Tubeless tires use liquid sealant instead of inner tubes and automatically heal small punctures. But for larger holes that sealant can't handle, you need a tubeless plug kit.
When to Use a Plug
You'll know you need a plug when sealant sprays from your tire and the hole won't close. The hissing sound will be obvious, and the tire will lose air quickly. Plugs physically fill holes that are too large for liquid sealant to seal.
Step-by-Step Tubeless Plug Repair
This process is fast and often works without removing the wheel from your bike.
- Find the Leak: Locate the puncture. If possible, leave the sharp object in the tire for now; it helps keep air from escaping while you prepare.
- Prepare the Tool: Thread one sticky "bacon strip" plug through the insertion tool eye, centering it.
- Clean the Hole: Remove the object from the tire. Immediately use the reamer tool and push it into the hole, working it in and out several times. This cleans the puncture and creates a consistent channel for the plug.
- Insert the Plug: Push the insertion tool with the plug forcefully into the hole until about half the plug is inside the tire.
- Remove the Tool: Carefully pull the insertion tool straight out, leaving the plug in the tire. The tool releases the plug as you withdraw it.
- Trim and Inflate: Use the small blade to trim excess plug material so it's nearly flush with the tire surface. Add air to your desired pressure. Spin the wheel to help internal sealant coat the new plug and create a perfect seal.
Tubeless Pro Tips
- Sealant is Key: Tubeless systems need liquid sealant. It dries out over time, so add more every 3-6 months.
- Carry a Spare: Sometimes plugs leak slightly at first. Having a small bottle of sealant or CO2 inflator helps you add air and sealant for full sealing.
- The Ultimate Backup: For huge tire cuts too big for any plug, the final option is installing a regular inner tube. You'll need to remove the tubeless valve from the rim first. This is why some tubeless riders still carry spare tubes.

Building Your Ideal Kit
Now that you understand the tools and methods, you can build the perfect bicycle tire repair kit for your needs. Well-prepared cyclists are confident cyclists.
The Essential On-the-Go Kit
For every ride, your bag or pocket should have the absolute basics. This kit is your main defense against flats.
* A spare inner tube (correct size for your tires)
* A classic patch kit or tubeless plug kit, depending on your setup
* Two tire levers
* An inflation device: either a small pump or CO2 inflator with cartridges
The At-Home Workshop Kit
Having better tools at home makes maintenance and complex repairs easier. This can include a floor pump for accurate inflation, a full box of patches, extra vulcanizing fluid, and spare tubes. This is also the perfect place to patch tubes you swapped out during rides.
Final Encouragement
Fixing your first flat might feel scary, but this skill gets easier every time you do it. We strongly recommend practicing at home first. Take a wheel off, remove the tire, and put everything back together. Building this skill in a stress-free environment gives you confidence to handle any puncture on the road. Keep riding and enjoy your adventures!
FAQ
1. Q: How long does a patched inner tube last?
A: A properly applied vulcanizing patch can last as long as the tube itself, often years. The key is proper surface preparation and allowing the vulcanizing fluid to fully dry before applying the patch.
2. Q: Can I use a bicycle tire repair kit on any type of bike tire?
A: Traditional patch kits work on all inner tubes regardless of bike type. However, tubeless plug kits only work on tubeless tire systems. Always check whether your bike uses inner tubes or tubeless tires before choosing your repair method.
3. Q: What's the difference between CO2 inflators and mini pumps for roadside repairs?
A: CO2 inflators are faster and more compact but have limited cartridges and don't work well in very cold weather. Mini pumps take more effort but provide unlimited inflation and work in all conditions. Many cyclists carry both for maximum flexibility.
4. Q: How often should I replace the vulcanizing fluid in my repair kit?
A: Vulcanizing fluid can dry out or thicken over time, especially if the tube isn't sealed properly. Check your kit every 6-12 months and replace the fluid if it's thick, dried out, or the tube is damaged. Fresh fluid ensures reliable repairs.
5. Q: Should I remove the object that caused the puncture before or after removing the tire?
A: For tubed tires, it's often easier to locate the puncture if you leave the object in place until you remove the tire, as it helps you find the exact spot. For tubeless tires, you may need to leave it in temporarily to prevent rapid air loss while you prepare your plug repair.


Leave a comment