


How to Operate an Electric Bike: Complete Beginner's Guide
Welcome to the exciting world of electric bikes! You've made a fantastic choice by getting an e-bike. E-bikes are becoming more popular because they make cycling easier, help you ride up hills, and turn boring trips into fun adventures. They help you get more exercise too. This can make you feel better and improve your overall well-being.
So, what exactly is an e-bike? It's a regular bicycle with an integrated electric motor used to assist propulsion. It's not a motorcycle because you still need to pedal. The motor just gives you a helpful boost when you pedal. This boost is called pedal assistance, and it feels like having a tailwind or superpower that makes riding easier and more fun. This guide will teach you everything you need to know about how to operate an electric bike. We'll go through each step carefully to make sure your first ride is safe, smooth, and really enjoyable.
Essential Pre-Ride Check
Before you turn the power on, you need to learn an important habit that all good riders use: the pre-ride safety check. This quick routine takes only two minutes but keeps you safe and prevents problems later. We call it the "ABC-E" check, and you should do it before every single ride.
-
A is for Air: Check your tire pressure first. E-bikes weigh more than regular bikes, so proper tire pressure is really important for staying balanced, using battery power well, and avoiding flat tires. You can find the right pressure range printed on the side of your tires in PSI (pounds per square inch). A quick squeeze will tell you if they feel firm, but using a floor pump with a gauge works better.
-
B is for Brakes: Squeeze both brake levers hard to test them. They should feel solid, not soft, and stop before they touch the handlebar. Lift each wheel one at a time, spin it, and press the matching brake to make sure the wheel stops quickly and completely. E-bike brakes work harder than regular bike brakes because they have to stop a heavier, faster bike, so making sure they work perfectly is very important.
-
C is for Chain and Cranks: Look at your chain quickly to make sure it's clean and has a little oil on it. It shouldn't be covered in dirt or have any rust on it. Grab a pedal and wiggle the crank arms from side to side - they should feel tight with no loose movement.
-
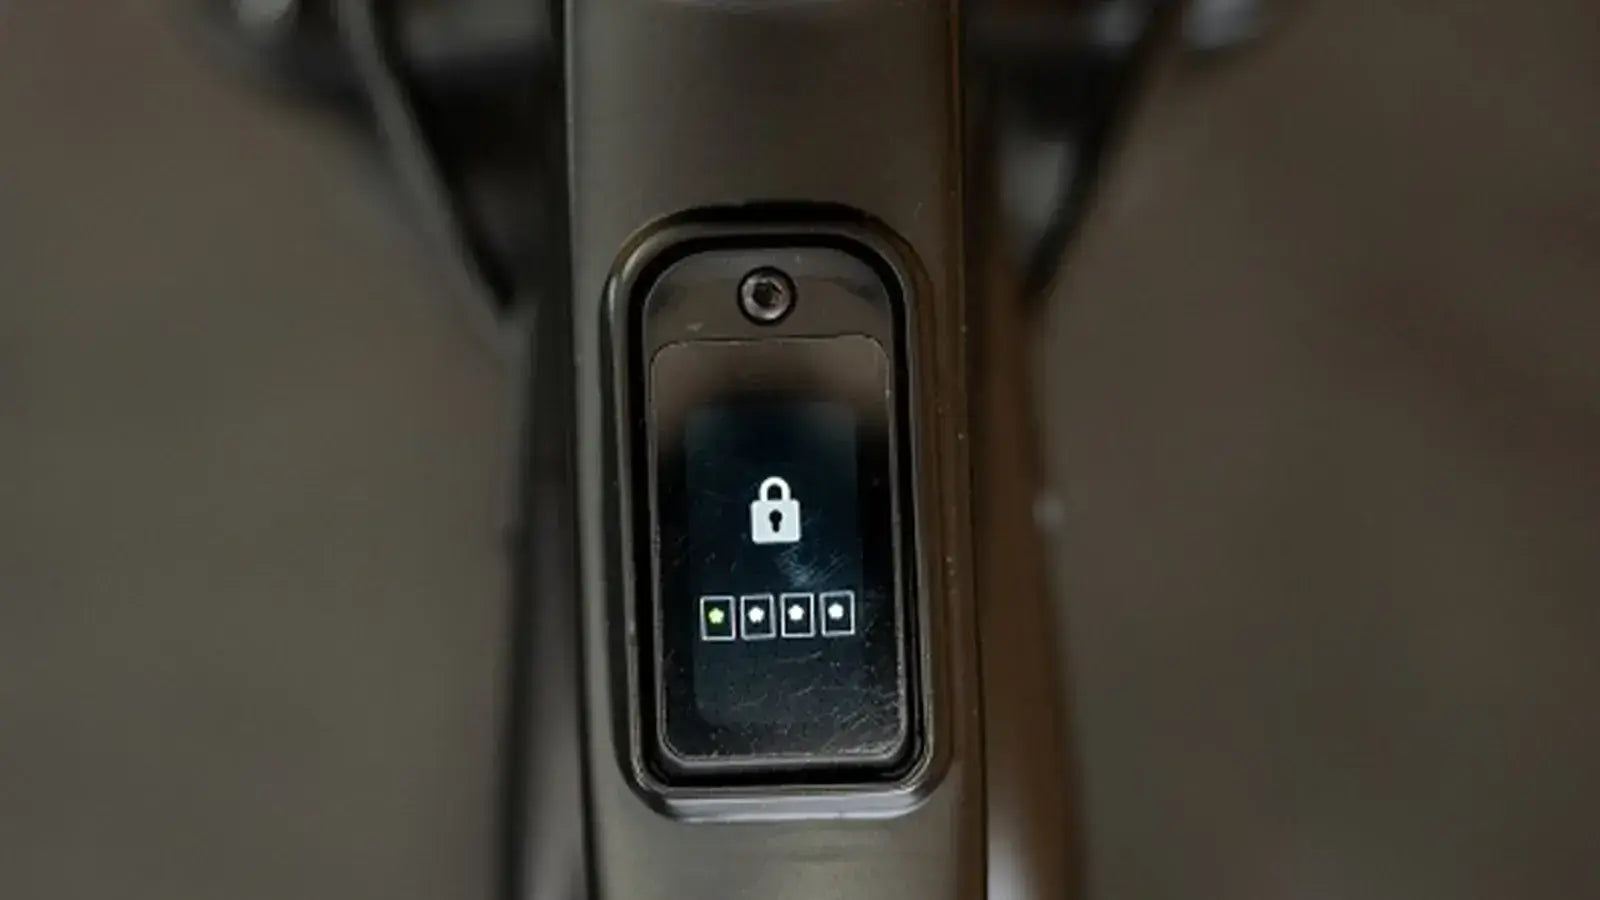
E is for Electronics: This step is special for e-bikes only. Check your display to see how much battery you have left and make sure it's enough for your planned ride. Make sure the battery is locked securely into its spot on the frame. Turn the system on to check that the display lights up and works correctly. You should Regularly safety check your bike to find problems before they get worse.
Understanding Your Controls
The electronic parts make your e-bike different from regular bikes, and they might seem scary at first. But don't worry - we'll make them easy to understand. Think of the small computer on your handlebar as your e-bike's control center.
Your controller or display is like a command center. It usually has just a few simple buttons: a power button to turn everything on and off, and plus (+) and minus (-) buttons to change how much help the motor gives you. The screen shows important information like your speed, how much battery is left, what assist level you're using, and how far you've traveled.

E-bikes give you power in two main ways:
Pedal-Assist System (PAS): This is the most common type and feels the most natural. The motor only helps you when you are pedaling, so when you start turning the pedals, a sensor tells the motor to start helping you. It feels smooth and many people say it's like having super strong legs or an invisible hand pushing you gently. Most e-bikes have several levels of pedal assist with names like:
- Eco or 1: The lowest level that gives gentle help, saves the most battery, and works great on flat ground or when you want a good workout.
- Tour/Normal or 2/3: A balanced setting that works well for small hills and daily rides.
- Sport/Turbo or 4/5: The highest level that gives maximum power and makes steep hills feel almost flat, but it uses battery the fastest.
Throttle: Some e-bikes also have a throttle, which can be a twist grip or a button you push. A throttle gives you power right away, even if you aren't pedaling, and works like a scooter. This helps when you're starting from a stop at an intersection or when you need a quick burst of speed. As a beginner, use the throttle carefully until you get comfortable with how fast the bike can go.
It helps to know that e-bikes are put into legal groups called classes, which decide where and how you can ride them. This three-class system for e-bikes is used in many places.
| E-Bike Class | Assist Type | Top Assisted Speed |
|---|---|---|
| Class 1 | Pedal-Assist Only | 20 mph (32 km/h) |
| Class 2 | Pedal-Assist & Throttle | 20 mph (32 km/h) |
| Class 3 | Pedal-Assist Only | 28 mph (45 km/h) |
Your First Ride
Now comes the fun part - actually riding your e-bike! Reading about it is one thing, but feeling the bike move is completely different. You absolutely must do this for the first time somewhere safe with no cars or people around. Find a big, empty parking lot or a quiet paved area with lots of space.
Step 1: Ride with the Power Off
Before you turn the system on, just get on the bike and pedal around for a few minutes like a regular bike. E-bikes are heavier than what you might be used to, so this step helps you feel the bike's weight, balance, and how it handles without the surprise of motor power. Practice turning and braking gently to get comfortable.
Step 2: Power On, Lowest Assist
Stop completely and press the power button on your controller. Use the minus (-) button to pick the lowest pedal-assist level, usually called Eco or 1. Take a deep breath and start pedaling - you'll feel a gentle, smooth push from the motor that won't jerk or surprise you. It will feel like the bike really wants to help you move forward, so focus on pedaling smoothly and just ride in a straight line to get used to this new feeling.
Step 3: Practice Starting and Stopping
This is the most important skill you need to learn well. Pedal for about 20-30 feet, then gently squeeze both brake levers at the same time to stop smoothly and safely. Do this at least 5-10 times until it feels natural and you remember how to do it without thinking. Most e-bikes have a special feature called a motor cutoff sensor that instantly stops the motor power the moment you touch the brake levers, so you never fight against the motor when you need to stop.
Step 4: Experiment with Assist Levels
Once starting and stopping feels comfortable in the lowest setting, it's time to feel how different power levels work. While you're riding, press the plus (+) button to move up to the next assist level and feel the immediate increase in power and speed. Ride for a bit, then shift up again to feel how the bike responds differently. Practice shifting both up and down while riding so you understand how each level feels, and always expect the bike to speed up or slow down when you change levels.
Step 5: Test the Throttle (If Equipped)
If your bike has a throttle, test it while completely stopped with your feet on the ground or ready to touch down. Keep your hands firmly on the grips and very gently press the throttle lever or twist the grip to feel how the bike moves forward without pedaling. A light touch is all you need, so practice using it to start moving, then begin pedaling and let go of the throttle.
Mastering E-Bike Dynamics
Learning how to operate an electric bike is simple, but getting really good at it means understanding how the extra weight and speed make it different from regular bicycles. The heavier weight and faster speeds change how the bike acts and responds.
Respect the Weight and Speed: Your e-bike weighs more and goes faster than any bike you've probably ridden before. This means it takes longer to stop completely, so you can't stop as quickly as you can on a lightweight regular bike. Always leave more space between you and cars, people, or anything else in front of you.
Braking Technique: The secret to safe braking on an e-bike is to start braking earlier and do it more smoothly than on regular bikes. Always use both brakes at the same time because your front brake does most of the stopping work (about 70%) while the rear brake helps keep you stable and in control. Don't grab the brake levers hard and fast because this can lock up a wheel and make you skid, but instead squeeze the levers gradually with steady pressure to slow down smoothly.
Cornering with Confidence: The extra weight and speed of an e-bike mean you need to be more careful and thoughtful when turning corners. The most important rule is to do all your braking before you start the turn, not during it. Go into the corner at a safe, controlled speed and look where you want to go - through the turn and out the other side - because your bike will follow where your eyes look. Don't brake or steer suddenly while you're in the middle of a turn because this can make the bike lose balance.
Shifting Gears Properly: Remember that your e-bike still has regular gears like other bikes, and using them correctly makes your ride much smoother and more efficient. The motor helps you, but it doesn't replace your gears completely. Shift into an easier gear before you get to a hill or before you stop so you can pedal easily when you start again, which is better for the motor, the chain, and your knees. Try to keep a steady, comfortable pedaling speed of about 70-90 pedal turns per minute.
Gear and Rules of the Road
Now that you know how to operate your bike safely, let's talk about the important things you need to stay safe and follow the law while riding. Having the right gear and knowing the rules protects you and everyone around you.
Essential Gear:
- Helmet: You must always wear a helmet because your brain is the most important thing to protect. Always wear a properly-fitted bicycle helmet that's been approved by the Consumer Product Safety Commission (CPSC) or similar safety organization. Since e-bikes go faster than regular bikes, some riders choose helmets with extra protection features.
- Lights: Being seen by others is just as important as being able to see where you're going. Use a white front light and a red rear light, even during the day when it's bright outside. Many modern bike lights have a special daytime flash mode designed to make you more visible to drivers.
- Lock: E-bikes cost a lot of money and unfortunately thieves like to steal them. Buy a high-quality lock like a heavy-duty U-lock or thick chain lock, and learn how to use it properly to attach your frame (and a wheel if possible) to something solid that can't be moved.

Rules of the Road:
Riding an e-bike means sharing roads and paths with cars, other bikes, and people walking. Being predictable and polite keeps everyone safe and makes riding more enjoyable for everyone.
- Know Where to Ride: Learn your local laws because they're different in different places. In most areas, e-bikes can use bike lanes and roads just like regular bikes. Some shared paths might have restrictions or speed limits, so always check what's allowed in your area and avoid riding on sidewalks unless it's specifically permitted.
- Obey Traffic Laws: An e-bike is legally considered a vehicle just like a car. This means you must follow the rules of the road including stopping at stop signs and red lights and yielding to people walking.
- Use Hand Signals: Show others what you plan to do by using clear hand signals. Use standard hand signals for turning left, turning right, and stopping so drivers, other cyclists, and pedestrians know what you're going to do next.
- Be Predictable: Ride in a straight line, don't swerve suddenly, and always pay attention to what's happening around you. The more predictable and steady you are, the more safely others can move around you.
Your Journey Begins
You now know everything you need to know about how to operate an electric bike safely and confidently. We've covered the simple pre-ride check, understanding your controls, practicing your first ride in a safe space, and the important details of mastering e-bike handling. Remember the key steps: check your bike before every ride, understand how the power works, practice somewhere safe, and always ride with awareness of your surroundings.
It's completely normal to feel excited and a little nervous at the same time when you start. But with this knowledge and some practice, that nervousness will quickly turn into confidence and pure joy. An e-bike opens up amazing new possibilities, making longer trips, steeper hills, and daily errands more manageable and fun than ever before. Now the only thing left to do is get out there, ride safely, and enjoy every moment of your new adventure.
Frequently Asked Questions
Q: How long does an e-bike battery typically last on a single charge?
A: Most e-bike batteries last between 20-60 miles on a single charge, depending on factors like the assist level you use, terrain, your weight, and weather conditions. Using lower assist levels and pedaling more will help your battery last longer.
Q: Can I ride my e-bike in the rain?
A: Yes, most e-bikes are designed to handle light rain and wet conditions. However, avoid riding through deep puddles or heavy downpours, and always dry your bike afterward. Be extra careful when braking in wet conditions as stopping distances increase.
Q: Do I need a license or registration to ride an e-bike?
A: In most places, you don't need a license or registration for Class 1 and Class 2 e-bikes. However, some areas may require registration for Class 3 e-bikes or have age restrictions. Always check your local laws to be sure.
Q: How fast can e-bikes go?
A: Most e-bikes stop providing motor assistance at 20 mph (Class 1 and 2) or 28 mph (Class 3). You can pedal faster than these speeds, but you won't get help from the motor. The actual top speed depends on your pedaling power and the bike's gearing.
Q: What should I do if my e-bike battery runs out during a ride?
A: If your battery dies, your e-bike becomes a regular bicycle that you can pedal normally. It will be heavier than a standard bike, but it's completely rideable. Plan your routes based on your battery range and consider carrying a charger for longer trips.


Leave a comment