




Cruise on Halloween: 6 Bike Decorating Ideas for Your E-Bike
Want your e-bike to join the Halloween fun without spending the afternoon building a costume for it? These six bike decorating ideas use small, removable touches: a few bats, a pumpkin face, or a soft glow around your bag. You can pick one for the ride to a friend's party or combine a couple for a neighborhood Halloween outing.
We'd start with one place on the bike rather than buying a cart full of decorations. An orange basket with a black grin already says Halloween. And you'll still want to reach your brakes, read your display, and get on and off the bike without catching your jacket on anything.
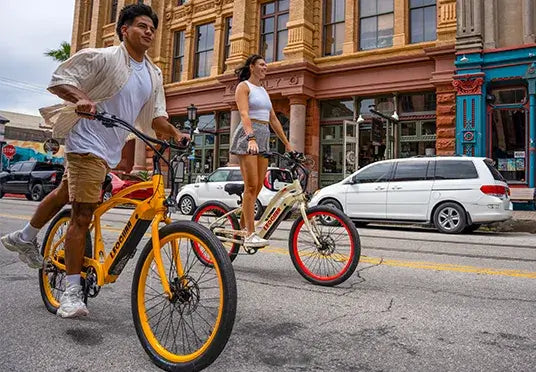
Let your bike's color do some of the work. On the Zephyr SO in Golden Sunrise, black bats would stand out against the yellow frame. If your bike is blue, try an orange badge on a black bag rather than covering the frame in orange tape.
Before Decorating Your Bike
Park the e-bike, switch it off, and decide where each decoration will go. Make sure that your hands, brake levers, shifters, throttle, and display are all clear. Leave your lights and reflectors visible and keep the decorations a distance from the wheels, the chain, the brakes, the battery access and the charging port.
The NHTSA bicycle safety leaflet suggests that a white front lamp, a red rear lamp, and reflectors should be used when cycling at night or in conditions of poor visibility. Halloween decorations cannot take the place of this equipment. Whenever your ride is after sunset, you should first get your normal night-riding gear ready before adding any additional items.
Here's a quick way to narrow your craft-store trip:
|
Look |
Materials |
Best spot |
|
Bat silhouettes |
Small removable vinyl decals |
A clear frame surface |
|
Pumpkin grin |
Orange fabric and black felt |
An existing basket |
|
Haunted ride badge |
Thin craft foam and short straps |
An outside bag panel |
|
Soft amber glow |
Outdoor-rated lights with their own battery |
A supported bag or basket edge |
|
Mummy stripes |
Short white fabric bands |
A detachable bag cover |
|
Reflective ghosts |
Reflective material made for that surface |
A bag or suitable flat surface |
1. Put a Bat Trail on Your Bike
Small black bats are suitable for a lighter frame; arrange two or three of them as though they are flying towards a small crescent moon and leave gaps between them so that you can still see the bike's original color and logo.
Buy decals labeled for the surface you're decorating, then follow the cleaning and removal instructions. Hold the shapes against the bike before peeling the backing. A design that looks good on the kitchen table may be too wide for a narrow tube.
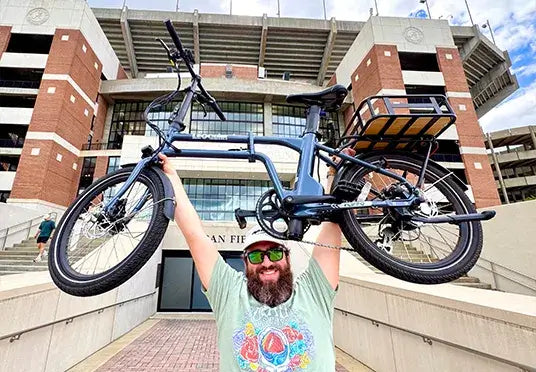
Keep decals off battery seams, warning labels, and any opening or latch you'll need to use. If you have a folding model such as the Leoguar Flippo, leave the folding joints and catches uncovered too. Don't put one big sticker across a joint.
“Removable” isn't a promise that an adhesive suits every finish. If the label doesn't cover your bike's surface, put the bats on a detachable bag cover instead.
2. Pumpkin Bike Basket, Minus the Bulk
Have a properly fitted basket already? Give its front a pumpkin face. An orange panel with black felt eyes and a crooked mouth gets the joke across without carrying a real pumpkin.
Cut the panel to fit within the basket's front face. Sew or glue the felt features to the panel while it's off the bike, let any glue dry, and attach the finished piece at its corners with short straps. Keep the basket's mounting hardware accessible. The fabric should lie flat, with no tails dangling underneath.
Stand in front of the bike and check that you can still see the headlight. Then turn the handlebars both ways. If the panel touches a cable, catches on the frame, or hides the light, change its size or position before riding.
You might put your gloves or the party supplies in there. Just don't fill the basket with loose props, as they might bounce out on the first pothole.
3. Give Your Bike a Haunted Name
You can make your decoration yours by attaching a small ride badge, particularly if a friend selects the same name for their bike.
Use thin craft foam for the badge and draw the lettering with a marker. A rounded rectangle is easier to attach flat than a tall tombstone shape. Cut it smaller than the outside bag panel where you plan to put it, then fasten the corners through suitable existing attachment points with short straps.
Keep the badge flat against the bag. It shouldn't swing toward a wheel or cover a reflector, zipper, or mounting strap. Don't punch new holes in your bag just for one night's decoration.
If you're already using a Leoguar 3-in-1 Rear Rack Bag, take the bag off to make and fit the badge. Mount it again as directed, then check the decoration with the bag packed as you'll ride it. An empty bag can sit differently from a full one.

4. Add a Soft Glow While Decorating
Around the outside of the basket, a short row of amber lights will make the grin on the pumpkin easier to see at a party stop, and keep the lights close to the edge of the basket rather than running a long string all the way around the bike.
Select a set that has been rated by the manufacturer for the kind of weather you anticipate, and include the battery pack that comes with it. Use the provided mounting method and secure the pack so it won't move, hit the bike, or be exposed to water beyond its rated level. Run the short cable along the basket or bag and keep it in place over its entire length. Make sure there are no loose loops.
Keep these lights separate from your e-bike's battery and wiring. Don't splice into a cable or open an electrical component to power a decoration.
We'd skip rapid flashing and very good effects. Check your local rules before using decorative lights on the road, and keep the main headlight and rear light clear. If the light set can't be mounted neatly, save it for the parked bike at the party.
5. Mummy Stripes for a Bike Bag
You don't need to wrap the frame in loose gauze to get a mummy look. Try a few off-white stripes on a removable cover for your bike bag instead.
Lay the cover flat on a table. Place short, slightly uneven fabric bands across it and sew the bands down along their edges so there's nothing left to flap. Add two felt eyes to a dark patch between the stripes. Put the cover back on the bag, leaving its closures and attachment straps usable.
This is a good choice if you already have fabric scraps and would rather avoid adhesive on the frame. Keep the cover within the bag's shape; don't let it hang below the bag or spread over the rack.
After fitting, check the rear light from behind. And leave the bag's reflective areas exposed. If you can't fit the cover without hiding those features, use a smaller mummy patch on one clear panel.
6. Reflective Ghost Ideas for Your Bike
A small ghost may seem ordinary in the daylight but becomes more noticeable when the light hits it; therefore, draw a simple rounded head and a short, scalloped lower part on a reflective surface and cut out the shape while still having the backing attached, putting the face on only in places where it doesn't cover most of the reflective area.
Use the material that has been designed for the surface you have selected; a fabric patch and an adhesive frame decal are not interchangeable. On a bag, make sure that the ghost does not overlap with any existing reflective panels or zippers; on a bike, avoid placing it on labels, moving parts, and access points.
Don't confuse glow-in-the-dark stickers with reflective material when shopping. Read the packaging rather than judging by a bright product photo. For the difference between reflectors and powered lights, our bike reflector guide goes into more detail.
One small ghost is enough if you've already added the basket face. You don't have to use every idea on the same bike.
Bike Decorating Ideas FAQs
What should I buy on a small budget?
If you've set a $15 craft budget, spend it on one design and use scraps you already have for the rest. We wouldn't buy a rack or basket just for one night; a small decal sheet or bag badge may be all you need.
Is foam better than cardboard for badges?
Thin craft foam is a better starting point for an outdoor badge than unprotected cardboard, which can soften when wet. Cardboard can work for a dry, parked photo, but don't assume it will hold its shape on a damp ride.
Can I decorate without a rack or basket?
Yes, you can achieve a Halloween theme with small decals suitable for the surface, without adding any accessories. Should you later decide that you would like to get a basket for everyday use as well, it is important to check the mounting fit for your model with Leoguar support before placing your order.
How long should my decorative lights be?
Measure the bag or basket edge you want to light before ordering, including the route to the battery pack. Choose a set that fits that route; don't cut a light string shorter unless its maker provides instructions for doing so.
Should I buy a cruiser for Halloween rides?
When choosing a bike, first consider the type of trips you make, how well it fits you, and your storage requirements; in this case, you can apply a Halloween theme to the bike you already have. If a cruiser already meets your needs for those trips, then the Zephyr ST is one model you should consider, but the decorations should not be the factor that determines the purchase.


Leave a comment