


Best Bags for Ebikes: Saddle Bag Essentials & Packing Tips
Quick Answer:
The best ebike saddle bags are lightweight, waterproof, and compatible with your battery setup. Look for low-mounted designs that keep the weight balanced and are easy to remove. For daily use or long trips, matching the right bag with your bike makes all the difference.
Unlocking Your E-Bike's Potential
Electric bikes give you amazing power without the effort. They make hills easy, cut down travel time, and let you explore new places. But this freedom brings a real problem: where do you store your things?
A backpack makes your back sweaty, and tying a grocery bag to your rack feels unsafe. E-bikes aren't just regular bikes with motors added on. The whole way they work is different.
Finding good storage isn't just about being comfortable—it's about staying safe and keeping your bike working well. This guide will teach you everything about choosing, packing, and using ebike bags, especially ebike saddle bags, so you can get the most from your bike. We'll focus on weight balance and making sure bags fit your bike frame properly.
Why E-Bikes Need Different Storage
You can't just grab any bag from the store for your e-bike. E-bikes have extra parts and go faster than regular bikes, which changes how they handle. Ignoring these differences can make your bike hard to control, damage parts, or make riding dangerous. We always think about three important things when choosing storage.
Weight Distribution: Most e-bikes weigh 45-55 pounds, much more than regular bikes that weigh 22-33 pounds. The extra weight comes from the motor and battery in specific spots. Adding a bag in the wrong place can make your bike feel wobbly and hard to control, especially when turning or going slow.
The goal is to add storage that works with your bike's balance, not against it.

Battery and Component Clearance: E-bikes have batteries and wires where regular bike bags usually go. A big ebike saddle bag might hit a battery on your rear rack. A frame bag might not fit over big downtube batteries, and straps could damage sensitive wires that go to the motor.
We always check that there's enough space around all electronic parts before picking a bag.
Frame Stress and Rack Compatibility: E-bike frames are stronger, but the spots where racks attach aren't always the same as regular bikes. Some e-bikes, especially ones with full suspension, might not have these attachment points at all. Using a rack or bag that doesn't fit your frame can stress the wrong parts or just not work. Not all bags work well with exposed batteries. A dedicated ebike battery bag helps you carry a backup battery or protect your power system with better airflow and less vibration. Look for models that don’t obstruct the battery mount or wiring.
You need to make sure your bike has the right mounting spots for your storage system, especially for heavy loads in panniers.
A Guide to Ebike Bag Types
While you might want an ebike saddle bag, it's just one of many good choices. Learning about all types of ebike bags helps you decide if a saddle bag is right or if something else works better. Each type gives you different amounts of space, ease of access, and effects on how your bike rides.
Here's a breakdown of the most common types:
| Bag Type | Best For | Capacity Range (Liters) | Impact on Handling | Key Consideration |
|---|---|---|---|---|
| Ebike Saddle Bag | Small essentials, tools, day trips, road/gravel riding. | 0.5 - 15 L | Minimal. Keeps weight centered and low. | Clearance with rear wheel, dropper post, and rack-mounted battery. |
| Ebike Panniers | Commuting, grocery runs, multi-day touring. | 20 - 50 L (pair) | Low center of gravity, but can feel wide and affect aerodynamics. | Requires a sturdy rear rack. Must be balanced side-to-side. |
| Handlebar Bag | Quick-access items: phone, snacks, map, camera. | 2 - 10 L | Can affect steering if overloaded. | Weight limit. Potential interference with cables and bike computer. |
| Frame Bag | Bikepacking, distributing heavy items like tools or water. | 3 - 8 L | Excellent. Keeps weight low and centered in the frame's triangle. | Frame-specific sizing is critical. May interfere with water bottle cages or downtube batteries. |
This table shows that panniers give you the most space, but an ebike saddle bag gives you a clean, stable choice for lighter loads. Many riders use multiple types—maybe a small saddle bag for tools and panniers for daily commuting.
Don’t Overlook the E-Bike Rear Rack Bag
A e-bike rear rack bag offers balance, simplicity, and excellent accessibility. Unlike side panniers, it sits centered and keeps the weight close to your seatpost. Just make sure the bag doesn’t block the battery or interfere with brake lights. It’s perfect for city commuters who want one compact storage unit.
Choosing the Perfect Ebike Saddle Bag
Once you decide a saddle bag fits your needs, you need to pick one that matches how you ride. Daily commuters need different things than weekend adventure riders. We'll explain the key features for each situation to make choosing easy.
Best Ebike Saddle Bags for Commuting
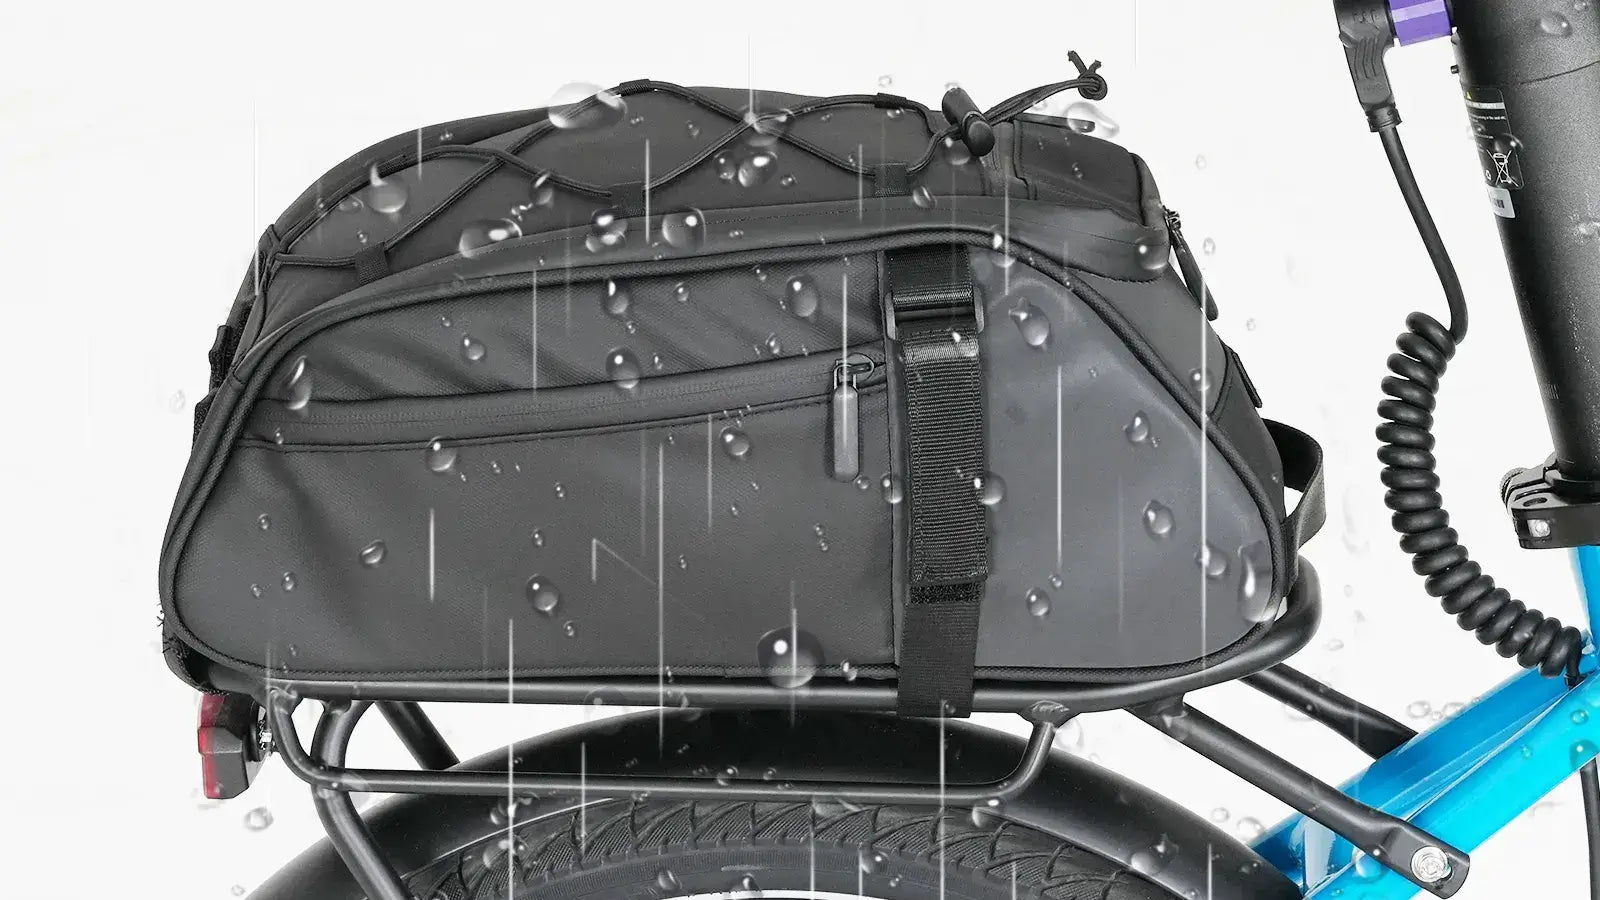
When commuting, you want the best ebike saddle bags for commuting—ones that are compact, waterproof, and easy to take on and off. Your bag needs to work smoothly with your daily routine and protect your stuff from weather and theft. Having a bag we could remove in 5 seconds to take inside was a game-changer on rainy days.
Your Commuter Checklist:
- Quick-Release Mount: Look for a system that lets you click the bag on and off easily.
- Weatherproofing: Waterproof or highly water-resistant material with sealed seams protects laptops and documents.
- Padded Compartments: A padded sleeve for laptops or tablets protects electronics from vibrations.
- Reflective Details: Built-in reflective parts and a loop for a rear light make you more visible in traffic.
- Compact Profile: A streamlined design prevents the bag from feeling bulky when navigating busy streets.
For the Weekend Tourer
When heading out for long days or multi-day trips, you need capacity, durability, and stability on different terrain. Your bag becomes essential, carrying everything from extra clothes to food and repair kits. Gear failure isn't an option when you're far from home.
Your Touring Checklist:
- Generous Capacity: Look for larger saddle bags in the 8-15 liter range to hold clothing, food, and bulky items.
- Robust Materials: Choose bags made from tough, scratch-resistant fabrics like ripstop nylon to handle rough conditions.
- Stability System: A good touring saddle bag needs a strong mounting system with multiple straps to prevent side-to-side swaying.
- External Access & Compression: External bungee cords work great for wet rain jackets, while compression straps let you tighten the load when the bag isn't full.
- Accessibility: Multiple compartments or roll-top designs make it easier to get items without unpacking everything.
Side Bags for Ebikes: A Compact Alternative
If your e-bike frame or rack is tight on space, a side bag for ebike is a great alternative to traditional saddle bags. These bags hang low beside the rear wheel, keeping your center of gravity stable while allowing quick access to tools, snacks, or electronics. They're especially helpful for smaller riders or e-bikes with limited rack capacity.
The Art of Professional Packing
Having the right ebike saddle bag is only part of the solution. How you pack it directly affects your bike's stability, your safety, and how much you enjoy riding. We've seen riders struggle with wobbly, unbalanced bikes just because they packed poorly.
The difference between a badly packed, top-heavy bag and a well-balanced one is huge, especially when cornering or starting from a stop on an e-bike where the motor's power can make any instability worse.
Rule 1: Heavy Items Low and Center
This is the most important packing rule for any bike. Put your heaviest items—like tools, locks, power banks, or dense food—at the very bottom of the bag and as close to the seatpost as possible. This keeps the center of gravity low and centered over the rear wheel, reducing sway and keeping your bike handling naturally.
Packing heavy items high and toward the back creates a pendulum effect that makes the bike feel slow and unstable in turns.
Rule 2: The Accessibility Matrix
Think of your gear in two groups: items you need often and items you only need for emergencies. Pack based on how often you'll use things.
- High-Frequency Access (Pack Last/On Top): Your phone, wallet, snacks, and sunglasses should be in the most accessible part—usually the top or an external pocket.
- Low-Frequency Access (Pack First/At the Bottom): Your repair kit, spare tube, and rain jacket can go deeper inside the bag.
By placing less-used but important items at the bottom, they create a stable base and stay out of the way of daily essentials.
Rule 3: Compress and Protect
Empty space makes your bike unstable because items shift around as you ride. Use compression sacks for clothing to squeeze out air and create dense, manageable blocks. This saves space and prevents contents from moving around.
For electronics, documents, or anything that must stay dry, use waterproof inner bags or zip-top bags for extra protection against rain and to organize smaller items.
Rule 4: Balance Side-to-Side
While this matters most for panniers, it's also important if you use multiple bags. If you have two panniers, always distribute weight as evenly as possible between left and right sides. Pack them at the same time, adding similar-weight items to each bag in turn.
An unbalanced load makes the bike constantly pull to one side, forcing you to fight it with your steering, which is tiring and unsafe.
Installation and Security
A perfectly packed bag is useless if it's not attached properly to your bike or gets stolen. Taking extra time for installation and thinking about security saves you problems later.
Getting the Fit Right
Proper installation keeps the bag stable and doesn't interfere with your bike's function.
- Check Clearances: After attaching the bag, make sure there's enough space between the bottom of the bag and the rear tire.
- Secure All Straps: For an ebike saddle bag, make sure the main seatpost strap is tight and the saddle rail straps are pulled tight to stop swaying.
- Test for Movement: Before riding, grab the bag and try to wiggle it side-to-side.
A little movement is normal, but too much wagging means you need to tighten straps or adjust the load.

Keeping Your Gear Secure
Your gear is valuable, and an unattended bike is a target for thieves.
- Use Quick-Release Systems: For commuting, a bag with quick-release mounting lets you take valuables with you in seconds.
- Add a Small Lock: When you have to leave the bag on the bike briefly, a small cable lock can secure the bag's zippers or loop through its handle and around your bike frame.
- Be Mindful of Your Surroundings: The best security is awareness.
When parking in public, choose a high-visibility spot and never leave truly important items like your wallet, keys, or phone in a bag on your bike.
Your Ride, Transformed
Choosing the right ebike saddle bag and learning to pack it correctly transforms any e-bike. It changes your bike from simple transportation to a truly capable vehicle for commuting, errands, and adventure. By understanding what e-bikes need, comparing different storage types, and focusing on details that matter for your riding style, you can set yourself up for safer, more stable, and much more practical rides.
The right storage system moves weight off your back and onto your bike where it belongs. Now get out there and enjoy the ride—with everything you need carried securely behind you.
Can You Carry a Golf Bag on an Ebike?
Believe it or not, some riders are using an ebike golf bag carrier to bike to the course. While not every setup works, rear racks with reinforced brackets and long-frame panniers can hold lightweight golf bags securely. It's an innovative solution for weekend warriors who want to skip the car but not the game.
FAQs
Q: How much weight can I safely put in an ebike saddle bag?
A: Most ebike saddle bags can safely carry 5-15 pounds, but always check your specific bag's weight limit and your bike's maximum load capacity. Remember that weight distribution matters more than total weight—keep heavy items low and close to the seatpost.
Q: Will an ebike saddle bag work with my bike's rear rack and battery?
A: It depends on your specific setup. Measure the clearance between your saddle and any rear-mounted components before buying. Some bikes with rear rack batteries may need smaller saddle bags or alternative storage solutions like frame bags or panniers.
Q: Can I use a regular bike saddle bag on my e-bike?
A: While regular saddle bags can work, ebike-specific bags are designed with the extra weight and different frame geometries of e-bikes in mind. They often have stronger mounting systems and better stability features that work better with the higher speeds and torque of electric bikes.
Q: How do I prevent my saddle bag from swaying while riding?
A: Proper packing and installation are key. Pack heavy items at the bottom and close to the seatpost, ensure all straps are tight, and consider bags with additional stability straps. Some riders add a small bungee cord from the bag to the rear rack for extra stability.
Q: What's the difference between waterproof and water-resistant saddle bags?
A: Waterproof bags can handle heavy rain and even brief submersion without letting water in. Water-resistant bags can handle light rain and splashing but may leak in heavy downpours. For commuting or touring where you can't control the weather, waterproof is usually worth the extra cost.


Leave a comment