


Best Basket for the Back of a Bike: Strong, Spacious, and Easy to Install
A Practical Upgrade
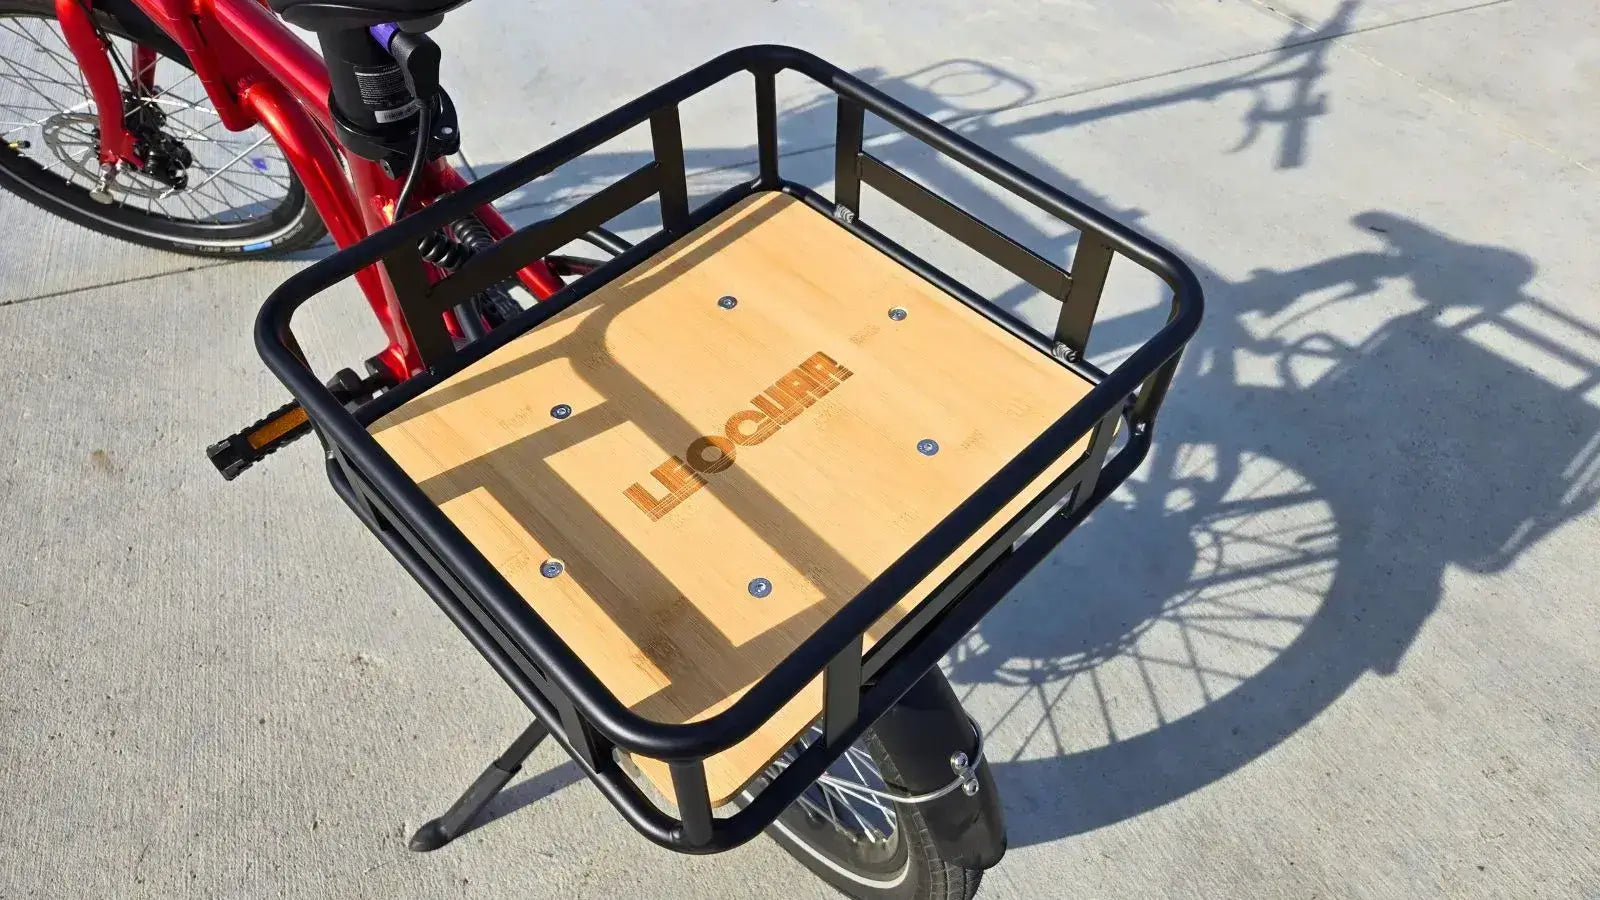
A rear bike basket is one of the most useful upgrades you can make to your bicycle. You're looking for a way to carry more stuff more easily. A basket for the back of a bike is what pros choose when they want to turn a fun bike into something they can use every day. It solves the common problems of carrying gear on two wheels.
Compared to other options, a rear basket gives you the best mix of stability, comfort, and space. While there are many different ways to carry gear on your bike, a rear-mounted basket stands out for several key reasons. Here's why it works so well:
- Better Stability: Putting weight over the rear wheel has almost no effect on your steering. This gives you a much more stable and predictable ride compared to a front basket. Front baskets can make the handlebars feel heavy and hard to control.
- Much More Comfort: For people who ride to work or school every day, getting rid of a backpack changes everything. A rear basket means no more sweaty back when you arrive. This lets you have a more comfortable and professional journey.
- More Space: Rear baskets are usually built to handle heavier and bigger loads than front ones. They are held up by a strong rack. This makes them perfect for everything from grocery bags to work stuff.
- Ready for Anything: A rear basket can handle whatever you throw at it. It works great for a quick trip to the store, a stack of books for class, or a picnic for a day at the park.
Your 4-Point Checklist
Choosing the right basket for the back of a bike can feel hard. We've made the process simple with a four-point checklist. By thinking about these things, you can pick a basket that fits your bike, your life, and your needs perfectly.
1. Material Matters
The material of your basket controls how long it lasts, how much it weighs, and how well it handles weather. Each type has its own strengths. This makes some better for different types of riders.
| Material | Pros | Cons | Best For |
|---|---|---|---|
| Metal (Steel/Aluminum) | Very strong, holds lots of weight, secure, works in all weather. | Can be heavier, may rust if scratched deeply. | Heavy-duty hauling, daily commuting, and keeping valuable stuff safe. |
| Fabric (Canvas/Nylon) | Light, often folds up or comes off completely, bends for weird-shaped items. | Holds less weight, doesn't last as long, can fade or wear with sun and rain. | Sometimes use, carrying soft things like clothes, or for riders who need something portable. |
| Wicker | Classic, stylish look that adds vintage charm. | Gets damaged by weather (rain/sun), can become brittle and crack, holds less weight. | Light use and style-focused riders who care about looks for casual rides. |
Wicker baskets bring up the classic debate between style and sensibility. While they look great, they need more care and are less practical for tough, all-weather use compared to metal ones.

2. Size and Capacity
Forget confusing measurements. The best way to choose a size is to think about what you'll actually carry. Baskets are often measured in liters. This gives a good sense of how much they really hold.
- Small Baskets (10-15 Liters): These are perfect for the basics. Think a small purse, a packed lunch, a water bottle, and a lock. They keep your pockets free without adding much bulk.
- Medium Baskets (15-25 Liters): This is the sweet spot for people who ride to work or school. A medium basket can easily fit a standard backpack, a full paper grocery bag, or a laptop bag. This keeps the weight off your shoulders.
- Large Baskets (25+ Liters): These are the ultimate haulers. A large basket can handle a week's worth of groceries, a gym bag, or even a small, properly secured pet carrier for a trip to the park.
When it comes to weight, most rear baskets can support between 20 to 55 lbs (about 9 to 25 kg). However, this is very important: the final weight limit depends on the rear rack it's mounted on, not just the basket itself. Always use the lower of the two limits.
3. The All-Important Mount
How your basket attaches to the rack is the most important factor for safety and ease of use. A wobbly basket is annoying at best and dangerous at worst.
Bolt-On (Permanent): This is the most secure and stable method. The basket is bolted directly onto the top of the rear cargo rack using plates and hardware. It's the best choice for carrying heavy loads or for anyone worried about theft. The downside is that it's not easily removable.
Quick-Release/Slide-On: These systems offer incredible ease of use. The basket is designed to clip or slide onto a specific, compatible rack system (like MIK or Racktime). This lets you take the basket with you into a store. The main problem is potential rattling and slightly less stability with very heavy loads.
Strap/Hook-On: Often found on simpler or cheaper baskets, this method uses straps or hooks to attach to the sides of the rack. While easy to attach and fitting almost any rack, it is the least secure option. We don't recommend it for heavy, valuable, or fragile cargo.
4. Bike and Rack Compatibility
This is the number one mistake we see. A basket is only as good as the rack it sits on. Before you buy a basket, you must check your bike and rack situation.
First, understand that nearly every basket for the back of a bike needs a separate rear cargo rack. These racks are bolted to the frame of your bike. Here is a quick checklist to make sure everything works together:
- Do you have a rear rack? If the answer is no, you need to buy and install one first. Make sure the rack you choose works with your bike frame (it needs mounting holes).
- What is your rack's weight limit? This is usually stamped somewhere on the rack itself. Never load your basket with more weight than the rack can handle.
- Does your rack have a flat top? Most bolt-on baskets are designed to sit on a flat platform. Racks with an uneven or spring-loaded clamp top can make mounting hard.
- Are there mounting points? For a secure bolt-on basket, your rack needs rails or a grid that the mounting hardware can clamp onto.
Note that some bicycles, such as full-suspension models, present unique challenges of mounting racks on mountain bikes and may need special racks that attach to the seatpost or rear axle.
Installation Made Simple
Installing a bolt-on rear basket is a straightforward job that you can do yourself. Don't be scared; it's a simple task that builds confidence. This guide covers the most common installation process.
- Get Your Tools. Most installations need only basic tools. Usually, you'll need a set of Allen keys (hex wrenches) and a small adjustable or open-ended wrench that fits the nuts provided.
- Put the Basket in Place. Place the basket on top of your rear rack. Slide it back and forth to find the best position. You want it centered and far enough back that your heel doesn't hit it when you pedal, but not so far back that it makes the bike feel unbalanced.
- Line Up the Brackets. Your basket will come with flat metal plates or brackets and different bolts and nuts. From underneath the rack, position these plates so they span across the rack's support rails and line up with the pre-drilled holes in the bottom of the basket.
- Put in the Bolts. From inside the basket, drop the bolts down through the basket floor, the rack, and the mounting plates below.
- Hand-Tighten the Nuts. Thread the nuts onto the bolts from underneath and tighten them by hand until they are snug. This lets you make final adjustments to the basket's position before the final tightening.
- Final Check and Tighten. Double-check that the basket is straight and exactly where you want it. Now, use your Allen key to hold the bolt still from above while you use your wrench to fully tighten the nut from below. Do this for all bolts. Give the basket a firm wiggle from side to side; there should be no movement at all.
Pro Tip: We always recommend re-tightening all bolts after your first one or two rides. Parts can settle slightly with vibration, and a quick check makes sure your basket stays secure for the long haul.

Pro Tips for a Better Ride
Once your basket is installed, a few extra tricks can make your experience much better. These are the small details that experienced cyclists use to make carrying cargo smooth and safe.
- Always Use a Cargo Net. This is the most valuable accessory for any open-top basket. A simple elastic cargo net stretched over the top prevents your groceries, bag, or jacket from bouncing out on bumpy roads. It gives you peace of mind that your stuff is secure.
- Balance Your Load. When loading your basket, place the heaviest items at the bottom and as close to the center (and as far forward) as possible. This keeps the center of gravity low and stable. It preserves your bike's handling characteristics.
- Get a Waterproof Liner or Cover. For all-weather riders, a waterproof basket liner or a rain cover is essential. It keeps your backpack, electronics, and documents dry in a downpour. Even in good weather, a liner can keep items from getting dusty or dirty.
- Add Reflective Tape. Your basket adds width and length to your bike's profile. Putting a few strips of high-quality reflective tape on the sides and rear of the basket greatly increases your visibility to drivers at night.
- Check Your Tire Pressure. Carrying extra weight requires proper support. A loaded basket can easily add 20-30 pounds to your bike. Check your tires and inflate them to the higher end of the recommended PSI range printed on the tire sidewall. This prevents flats and makes for a more efficient, stable ride.
Frequently Asked Questions
1. Can I put a basket on the back of any bike?
Almost, but not every bike works. The key requirement is a rear cargo rack. Most commuter, hybrid, and cruiser bikes have built-in mounting points on the frame to easily install a rack. Road bikes and full-suspension mountain bikes often don't have these, requiring special racks that mount to the seatpost or rear axle.
2. How much weight can a rear bike basket hold?
This depends on two things: the basket and the rack. Baskets are often rated for 20 to 55 lbs (9 to 25 kg). However, the rear rack also has its own weight limit, which is often the more important number. You must not exceed the lower of the two weight limits.
3. Is a front or rear bike basket better?
For carrying significant weight, a rear basket is almost always better. It offers better stability and capacity without negatively affecting steering. A front basket is a good choice for very light items you need quick access to, like a phone, wallet, or a small coffee cup.
4. Can I carry my dog in a rear bike basket?
This should be done with extreme caution and preparation. Only use baskets specifically designed for pets, which include a secure harness attachment point and a protective cage or lid. This is only suitable for small, calm dogs who have been gradually used to riding. Never transport a pet in a standard open-top basket.
5. Do I need any special tools to install a rear bike basket?
Most rear bike basket installations only require basic tools that many people already have at home. You'll typically need a set of Allen keys (hex wrenches) and a small adjustable wrench. The specific sizes depend on your basket's hardware, but these are usually included or clearly listed in the installation instructions.


Leave a comment