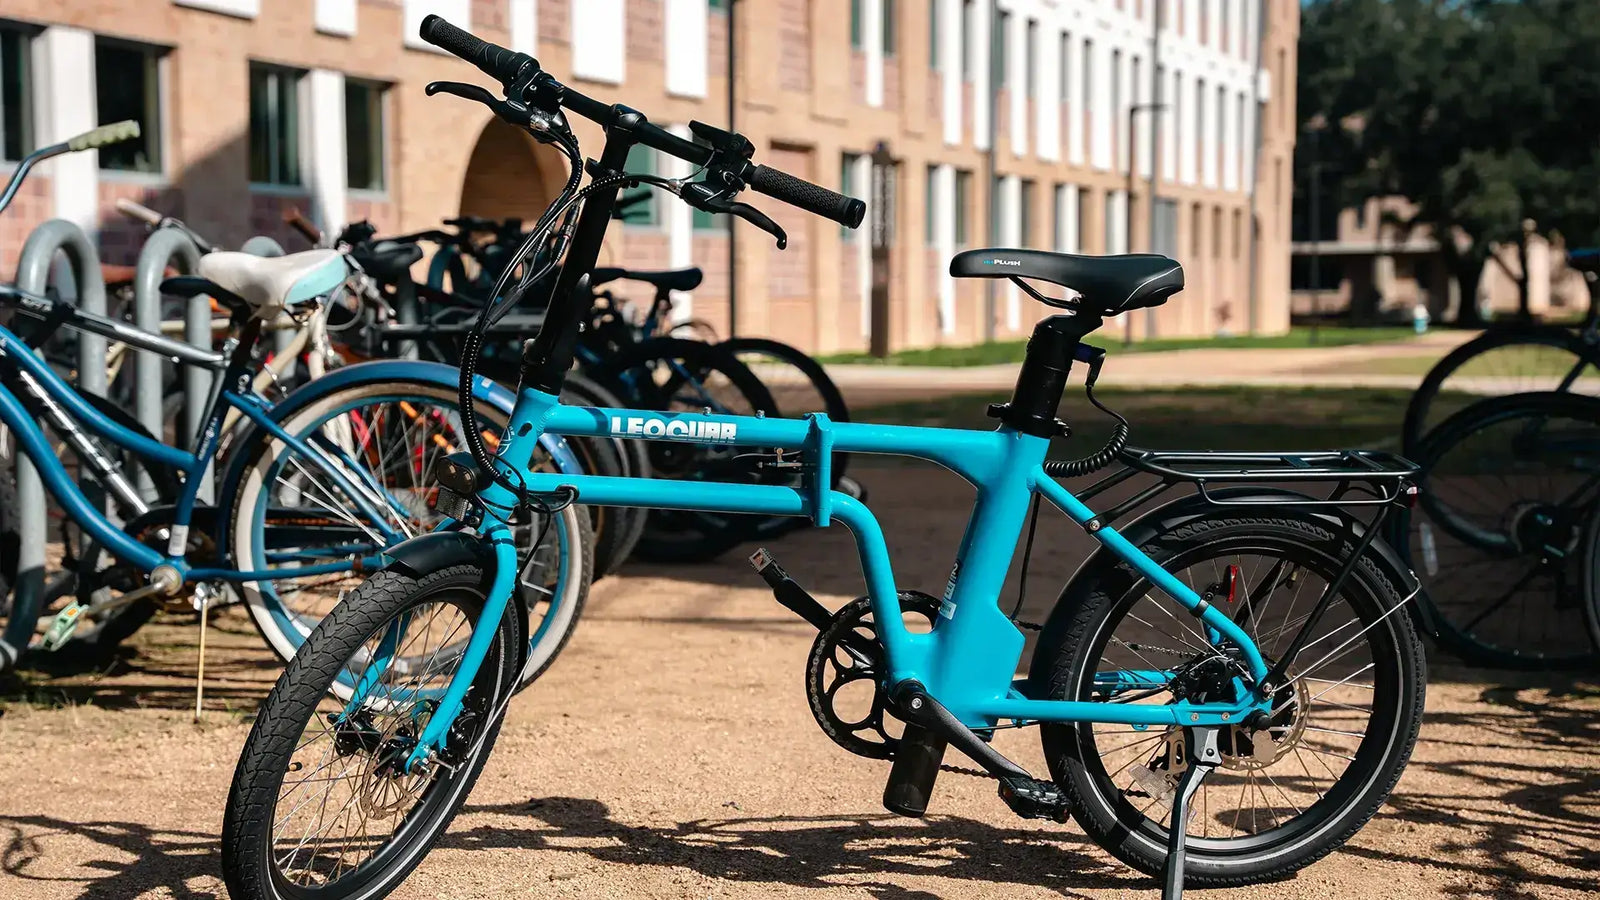
Rear Mounted Bike Rack for E-Bike: How to Install It Step-by-Step
Getting Started with Your E-Bike Rack Installation
Installing a rear mounted bike rack for your e-bike is easy and will turn your bike into a cargo-carrying machine. This guide gives you clear instructions. We'll help you unlock new ways to commute, tour, or run errands with your e-bike. E-bikes are heavier than regular bikes and have different frame designs, but this process is made just for them. You will learn to check if parts work together, get the right tools, follow step-by-step instructions, and do important safety checks. With our help, you'll have a strong, reliable rack ready for any trip.
Essential Pre-Installation Check
Before you start working, a good pre-installation check saves time, money, and prevents buying the wrong parts. This checklist comes from our experience with hundreds of installations. Taking a few minutes now makes sure everything goes smoothly.
Check Frame Compatibility
The first step is to look at your ebike frame for mounting points, called "braze-ons" or "eyelets." These threaded holes show how a rack can attach to your bike.
- Seat Stay Eyelets: These are the most common and secure mounting points. Look for small, threaded holes on the frame tubes that go from the seat down to the rear wheel. There are usually two holes, located a few inches above the wheel.
- Seat Post/Seat Stay Mounts: Some frames have a second set of holes higher up on the seat stays, just below the saddle. These hold the rack's upper support arms.
- No Eyelets? No Problem: If your frame doesn't have these built-in mounts, don't worry. You can use P-clamps (rubber-lined metal clamps that wrap around your frame tubes) or special seat post clamps with built-in rack mounts.
The ease of installation often depends on having these mounting points and choosing a rack with adjustable support arms, as Wirecutter's testing confirms.
Match Rack to E-Bike
Not all racks work the same, and e-bikes have special needs. Weight capacity is the most important thing when picking a rear mounted bike rack for an e-bike. Regular road or hybrid bikes usually weigh 20-30 lbs (9-14 kg). E-bikes often weigh between 50-80 lbs (23-36 kg) before you add any cargo. Your rack must be rated for this weight. Look for a rack that can hold at least 55 lbs (25 kg) to safely support the rack's contents and handle the forces of riding.
Next, think about brake compatibility. Most e-bikes use disc brakes, which have a part near the rear wheel right where a rack leg needs to mount. A "disc-brake compatible" rack has longer bolts and spacers or a bent leg shape to give space around the brake part.
Check for Obstructions
E-bike parts can create special challenges. Before buying a rack, carefully look at the area around your rear wheel for things that might get in the way.
- Battery: Is the battery mounted on the seat tube or a rear carrier? Make sure the rack's legs or support arms won't block the battery's removal or get in the way of its locking system.
- Motor and Wiring: For hub-drive e-bikes, check that the rack's mounting hardware won't press against the motor's wires as they come out of the wheel.
- Controller: If your e-bike has an external controller box mounted near the rear, make sure the rack gives enough clearance.
We've seen installations where a rack leg presses against a battery release latch, making it impossible to remove the battery. A quick check now saves a big problem later.
Gather Your Tools
Having everything ready makes the process smooth. Most rack installations need only basic tools.
| Tool | Common Sizes |
|---|---|
| Hex/Allen Key Set | 4mm, 5mm |
| Wrench | 8mm, 10mm |
| The Rear Rack Kit | All included hardware |
| Optional but Recommended | |
| Torque Wrench | For precise tightening |
| Blue Thread Locker | To prevent bolts from coming loose |
The Secure Installation Process
With your compatibility check done and tools ready, it's time to mount the rack. We will break the process into clear steps. Work carefully, and don't tighten any bolts all the way until the final step.
Prepare Your Workspace
Work in a well-lit area with enough space to move around the bike. The best way to work is with the bike held in a repair stand. If you don't have one, lean the bike safely against a wall, using the pedal and handlebar as contact points. Make sure it won't slip or fall during installation.
Loosely Put Together the Rack
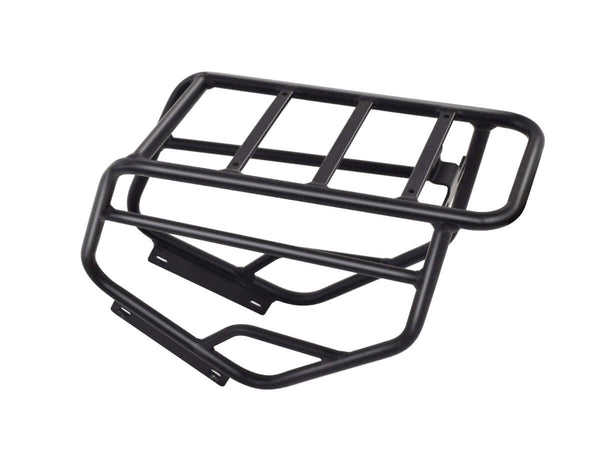
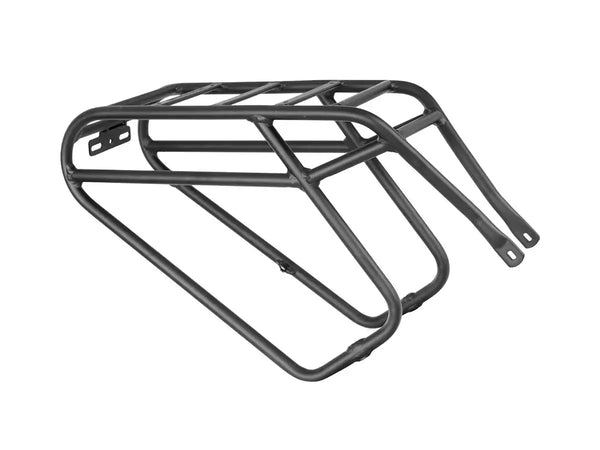
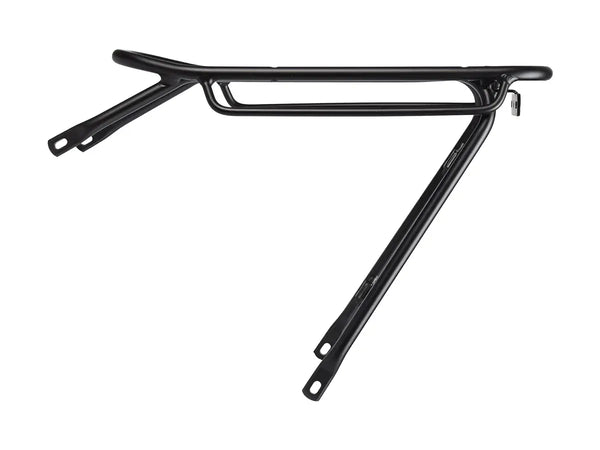
Unpack your rear rack kit and find all the parts. Most racks have a main top platform, two adjustable legs, and two upper support arms (struts). Following the maker's instructions, attach the legs to the main platform. Put in the bolts but only tighten them enough to hold the parts together. This looseness is important for making adjustments later.
Attach Lower Mounting Points
Line up the bottom of the rack legs with the holes on your frame, located near the rear wheel. Put the provided bolts through the rack leg and into the frame hole. If you have a disc-brake compatible rack, this is where you will use the included spacers to create clearance. Thread the bolts in by a few turns with your fingers. Do not fully tighten them yet. This can be the hardest part. Sometimes the hole doesn't line up perfectly. Gently move the rack or apply light pressure to line it up. Never force a bolt, as this can strip the threads in your frame.
Attach Upper Support Arms
Now, connect the upper support arms from the front of the rack platform to the holes on your bike's seat stays. These arms give important forward-and-back stability. Most arms are made of flat, bendable metal. You may need to gently twist or bend them to line up perfectly with the holes without putting stress on the frame or the rack. As many cyclists discuss online, these flexible steel arms are often easier to work with than stiff aluminum ones. Attach them loosely.
Level and Make Adjustments
With all bolts loosely in place, step back and look at the bike from the rear and the side.
- From the rear: Is the rack centered over the wheel? Adjust it left or right as needed.
- From the side: Is the top platform level with the ground? Adjust the length of the rack's legs to raise or lower the rear of the rack until it's parallel to the ground.
This is your chance to get the fit perfect before locking everything down.
The Final Tightening Sequence
The order you tighten the bolts matters for a secure and stress-free fit. Use your hex keys and wrench to tighten the bolts to the maker's recommended torque, if available. If not, tighten them until they are firm and snug. Do not overtighten, as this can damage your frame or the bolts.
- Start by fully tightening the lower mounting point bolts near the wheel. Switch between the left and right sides to apply even pressure.
- Next, tighten the bolts connecting the upper support arms to the seat stay holes.
- Finally, tighten the bolts that connect the support arms to the rack platform itself.
Go over all bolts one last time to make sure they are secure.
E-Bike Installation Challenges
E-bikes can present special problems that regular guides don't cover. Here are expert solutions to the most common problems you might face.
Issue: No Frame Eyelets
If your e-bike frame has a clean, modern look with no visible holes, you still have excellent, strong options.
Solution 1: Clamps: High-quality, rubber-lined P-clamps can attach to your seat stays to create secure mounting points for the upper and lower rack arms. Or, a replacement seat post clamp that has built-in rack mounts can solve the upper attachment issue.
Solution 2: Axle-Mounted Systems: For the most secure and integrated solution, consider specialized axle-mount systems. These systems replace your bike's stock rear axle with a new, stronger one that has built-in rack attachment points. This creates a very strong foundation for carrying heavy loads.
Issue: Disc Brake Clearance
Even with a "disc-compatible" rack, you might find the fit is tight.
Solution: The key is the set of spacers included with the rack. Make sure they are placed between the bike frame and the rack leg. This pushes the leg outward, creating the needed space for the brake part to work without rubbing. In some cases, you may need to add an extra washer to get the perfect clearance.
Issue: Battery or Motor Interference
If you find the rack is blocking your battery or pressing on a wire, don't force it.
Solution: Most interference issues can be solved with adjustment. Use the full range of adjustment in the rack's legs and upper arms. Many racks have multiple mounting holes on the top platform for the upper arms, letting you change the angle of approach. In rare cases, you may need to carefully bend the flat metal support arms to go around an obstacle.

Final Safety Checks
Before you load up and ride off, a few final checks are essential to make sure you're safe and your gear is secure.
The "Wiggle" Test
Grab the rack firmly and try to wiggle it side-to-side and up-and-down. There should be no play or movement. The rack should feel like part of the bike frame. If you feel any looseness, go back and re-check how tight every bolt is. Putting a drop of blue thread locker on during installation is a great way to prevent bolts from coming loose over time.
First Ride Test
Your first ride with the new rack should be a short test run. Load the rack with some weight—a bag with a few books or water bottles works well—and ride around a safe, quiet area. Listen for any rattles or unusual noises. Pay attention to how the ebike handles; the added weight will change the bike's center of gravity. This test lets you find any issues before you're on a busy street or a long tour.
Long-Term Maintenance
A rear mounted bike rack is a hardworking part. We recommend a quick check of all mounting bolts every few weeks or before any long trip. The vibrations from riding, especially on an e-bike, can cause bolts to slowly loosen over time. A quick check with a hex key is all it takes to make sure everything stays safe and reliable.
Your E-Bike, Upgraded
Congratulations! By following these steps, you have securely installed a rear mounted bike rack on your e-bike, greatly expanding what it can do. You've handled the specific challenges of ebike weight and design, making sure you have a safe and reliable setup. Remember that the keys to success are checking compatibility before you start, respecting the higher weight capacity requirements, and following a careful installation sequence. Now, whether it's for the daily commute, grocery runs, or weekend adventures, your e-bike is ready to carry more and take you further.
FAQ
1. Q: Can I install a rear mounted bike rack on any e-bike?
A: Most e-bikes can have a rear rack installed, but you need to check for mounting points (eyelets) on your frame first. If your e-bike doesn't have these holes, you can use P-clamps or axle-mount systems as alternatives.
2. Q: What weight capacity should I look for in an e-bike rear rack?
A: Look for a rack with at least 55 lbs (25 kg) capacity. E-bikes are much heavier than regular bikes (50-80 lbs vs 20-30 lbs), so you need a stronger rack to handle the extra weight and forces.
3. Q: Will a rear rack interfere with my e-bike's disc brakes?
A: Not if you choose a disc-brake compatible rack. These racks come with spacers and longer bolts to create clearance around the brake caliper. Make sure to use all the included spacers during installation.
4. Q: How often should I check my rear rack bolts?
A: Check all mounting bolts every few weeks or before long trips. The vibrations from riding can cause bolts to slowly loosen over time. A quick check with a hex key ensures continued safety.
5. Q: What should I do if my e-bike battery blocks the rack installation?
A: Use the full range of adjustment in the rack's legs and support arms. Many racks have multiple mounting holes that let you change the angle. You can also carefully bend the flat metal support arms to navigate around the battery.




Leave a comment