





7 Post-Crash Checks for a Pedal Assist Mountain Bike
Crashed your E-MTB? Don't just hop back on. If you've just taken a spill or a hard side impact, power down your bike, pull off to a safe spot on the side of the trail, and check for damage before riding again. Inspect your frame, battery, wheels, brakes, cockpit, drivetrain, and electronics to ensure the bike is safe to move.
Even a low-speed tip-over can twist your bars, bend a rotor, align your derailleur hanger out of place, or crack a battery casing. The quick checks below are tailored for post-crash inspections, not routine maintenance.
However, the most important thing is that if you hit your head, feel disoriented, or are injured in any way, take care of yourself first and call for help. Your bike can wait.
1. Pedal Assist Power-Off Check
Start by switching off the pedal-assist mountain bike. Keep your hands away from the pedals while lifting or repositioning it, because turning the cranks may activate assistance on a powered system. Do not press the power button repeatedly if the display is cracked, wiring is torn, or the battery case is visibly damaged.
Take a quick look at the ground and the bike's impact side. Note where the handlebar, pedal, derailleur, motor area, or battery contacted the trail. That impact map tells you where to inspect most closely during the next six checks.
Stop the inspection and do not power the bike on if you notice smoke, unusual heat, hissing, leaking material, a sharp chemical odor, or a badly deformed battery. Move away and follow local emergency guidance rather than trying to open, charge, or repair the battery.
2. Mountain Bike Frame and Fork
Wipe away loose dirt and inspect the structural parts of the mountain bike under good light. Look along the head tube, welds, down tube, motor mounts, bottom-bracket area, chainstays, seatstays, dropouts, and suspension pivots. A crack, deep dent, fresh crease, separated joint, or new misalignment is a no-ride condition.
Check the fork legs and crown from the front and side. Both wheels should appear centered in the frame and fork. Compress the suspension gently only when no visible structural damage is present. Stop if it binds, leaks, scrapes, or sits at an unfamiliar angle.
Leoguar’s guide to a cracked electric bike frame identifies crashes and impacts as reasons for a thorough frame inspection. A suspected crack or bent fork needs professional assessment; a trail-side glance cannot prove that a damaged structure is safe.
3. Mountain Bike Battery After Impact
The battery deserves a separate check because impact damage may affect both its housing and its attachment to the pedal-assist mountain bike. Without opening the case, look for dents, cracks, swelling, leaks, displaced seams, damaged terminals, or a charging-port cover that no longer closes correctly.
Next, check whether the battery still sits squarely in its mount. Do not force a shifted battery back into place, and do not charge a pack that shows impact damage. Leoguar’s lithium-ion battery safety guide specifically recommends inspecting a battery after a drop or impact and stopping use when warning signs appear.
The Trailblazer Mid-drive Motor EMTB, for example, uses an in-frame 720Wh battery with a dual-lock mounting system. After a Trailblazer fall, inspect the case, lock area, surrounding down tube, and visible connections rather than assuming the lock alone prevented damage.
4. Pedal Assist Brakes and Wheels

Lift one end of the bike only if you can do so safely, then spin each wheel by hand with the power off. Watch the rim in relation to the frame or fork. A strong side-to-side wobble, tire damage, a loose axle, broken spokes, or a wheel that rubs the frame means the bike should not be ridden.
Squeeze each brake lever separately. The lever should build pressure consistently and should not pull to the handlebar. Look for a bent rotor, shifted caliper, leaking hydraulic line, damaged lever, or hose caught on another component. A light periodic rotor rub may indicate that the disc was knocked out of alignment, but a severely bent rotor or unreliable lever requires repair.
Trailblazer’s current product page lists Shimano hydraulic disc brakes with a 203 mm front rotor and 180 mm rear rotor. Those exposed discs can receive a direct hit during a fall, so the rotor check is relevant even when the wheel still spins.
5. Mountain Bike Cockpit Controls
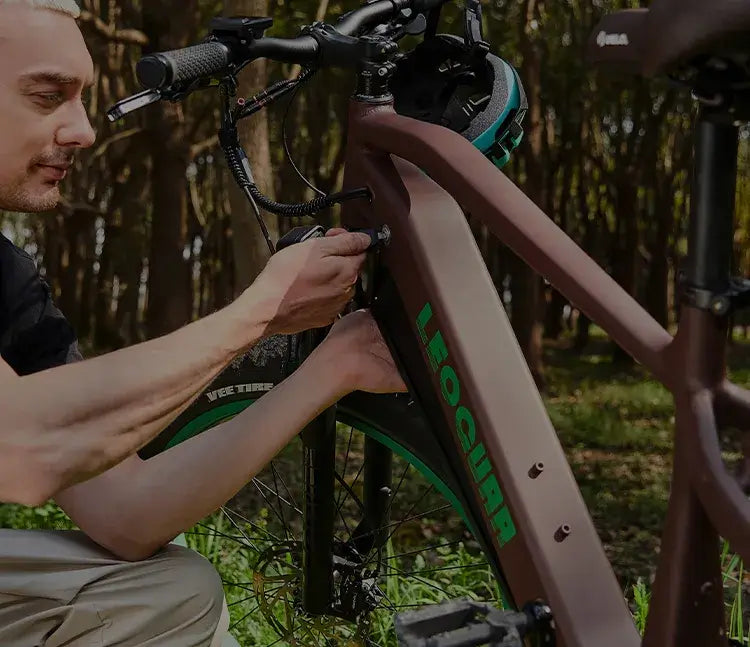
Stand over the front wheel and compare it with the stem and handlebar. A handlebar that is no longer perpendicular to the wheel may have rotated at the stem or steerer. Also inspect the grips, brake levers, shifter, assist controls, dropper remote, display, and cable routing on the impact side.
Do not straighten carbon or alloy parts by guesswork, and do not tighten bolts without the manufacturer’s torque specification. A cracked control, pinched hydraulic hose, exposed wire, or loose headset calls for a workshop check. If the cockpit only appears misaligned, keep the system off until you have confirmed that the fork, wheel, stem, and steerer are not bent.
For Trailblazer owners, inspect the top-tube display as well as the handlebar controls. The product page identifies an embedded color display and CAN bus system; a cracked screen, error message, or damaged cable after an impact should be documented before contacting Leoguar support.
6. Pedal Assist Drivetrain Check
Inspect the crank arms, pedals, chainring, chain, cassette, rear derailleur, and derailleur hanger. The hanger is designed to protect more expensive drivetrain parts and can bend when the bike lands on the drive side. Signs include a derailleur that no longer sits vertically, a chain running close to the spokes, or gears that skip after the fall.
With the motor off and the rear wheel clear of the ground, rotate the crank slowly by hand. Stop if the crank binds, the chain jumps, or the derailleur approaches the spokes. Do not shift through the full cassette when alignment looks wrong. Leoguar’s bicycle gear-slipping guide explains that even a minor fall can bend a derailleur hanger and make accurate indexing impossible.
This check matters especially on a mid-drive pedal-assist mountain bike because motor support is transferred through the drivetrain. A bent or poorly aligned component should be corrected before powered testing.
7. Mountain Bike Low-Speed Assist Test
Only perform a powered test after all six physical checks show no damage. Move to a flat, open area away from traffic and trail edges. Switch the bike on, note any error code, select the lowest assist level, and begin with gentle pedal pressure. Test one function at a time: steering, each brake, shifting, then pedal assistance.
Stop immediately if assistance surges unexpectedly, cuts in and out, continues after you stop pedaling, produces a new grinding or clicking sound, or is accompanied by an error message. Do not use a high-assist mode to “see if the problem clears.” The Leoguar pedal-assist troubleshooting guide can help identify common symptoms, but impact-related electrical faults should not be treated as routine adjustment issues.
If the bike passes the parking-area test, a short low-speed ride may reveal pulling, brake pulsation, wheel wobble, drivetrain skipping, or unfamiliar noises. Any change that began after the crash is enough reason to stop and arrange a professional inspection.
Pedal Assist Mountain Bike No-Ride Signs
Do not continue the trail ride when you find any of the following:
- A suspected frame, fork, handlebar, stem, crank, or wheel crack
- A dented, swollen, leaking, unusually hot, or loose battery
- A loose wheel, badly out of true, or rubbing the frame
- A brake lever with lost pressure or a badly bent rotor
- A derailleur or chain that may contact the spokes
- Cut wiring, a cracked display, persistent error codes, or abnormal motor behavior
- Steering that binds, pulls, or no longer aligns with the wheel
Take photos of the impact side and any error code before moving parts. Record what happened, which side landed first, and whether the electrical system was on. A qualified e-bike mechanic or Leoguar support can use that information to decide what needs hands-on diagnosis.
Pedal Assist Mountain Bike FAQ
Can I ride after a tip-over?
Only after checking the frame, battery, wheels, brakes, cockpit, drivetrain, and assistance at low speed. Do not ride if anything is cracked, bent, loose, leaking, misaligned, or behaving differently.
Should I remove the battery?
Follow the model manual. Do not remove or force a battery that is hot, swollen, leaking, badly dented, or jammed in its mount; isolate the area and seek qualified help.
Can a fall bend the derailleur?
Yes. A drive-side impact can bend the derailleur hanger, causing poor shifting or moving the derailleur dangerously close to the spokes.
Is a scratched frame unsafe?
Surface paint damage is not automatically structural, but clean and inspect it closely. A crack, dent, crease, separated weld, unusual flex, or new handling problem requires professional assessment.
When should a mechanic inspect it?
Arrange an inspection after a hard impact or whenever you find structural damage, battery damage, wheel misalignment, unreliable brakes, damaged wiring, error codes, or new motor and drivetrain symptoms.


Leave a comment