




How Do You Start Cycling Interval Training on an E-Bike?
Already comfortable riding your e-bike, but want to put a little more effort into part of the trip? Cycling interval training gives you a simple way to do that: alternate a short stretch of firmer pedaling with a longer stretch of easy pedaling. You can keep the motor on. Start with controlled efforts, not all-out sprints.
We'll arrange for your first ride to be on a familiar and peaceful route on which you won't have to rush through the crossings. The objective is for you to become aware of the difference between the exertion and the rest, and then to ride home with the feeling that you could have put in a bit more effort. There's no need for you to end up gasping by the bike rack.
Before Your First Cycling Intervals
Start off by taking some ordinary rides. When a short and easy journey has left you tired, or if you are still getting used to braking and changing gears, then stick to gentle riding for the moment. Intervals involve yet another thing you have to deal with. You should already be capable of turning, stopping, and using the controls without having to look down at them.
Before you go, make sure that your brakes, tires, and battery are in order. Don't forget to wear your helmet and take some water. Instead of taking a week's worth of groceries with you, get rid of any unnecessary cargo. If the bike feels uncomfortable or if your saddle position causes pain when you're pedaling, deal with that problem before increasing the intensity of your ride.
If you've been inactive and want to move into strenuous exercise, or you have a health condition that affects exercise, ask your clinician what level of effort is suitable. This article is a general starting guide, not a personal training or rehabilitation plan.
Keep Interval Effort Moderate
Cycling intervals don't have to mean HIIT. For your first attempt, make the work periods noticeably firmer than the easy periods, but stay in control of your breathing and the bike. You should still be able to speak a sentence. If you can only manage a few words, back off.
The CDC defines moderate intensity as about 5 or 6 out of 10 on its scale of effort; at this level you are able to talk but find it difficult to sing. That level of exertion should be sufficient for this initial session, and you should save very hard efforts for a later exercise plan that is appropriate to your fitness level.
On the easy stretches, let your breathing settle and soften the pressure on the pedals. Don't try to keep the same speed as the work stretch. A headwind may slow you down even when you're working harder, while the motor can make a fast stretch feel easy.
|
Ride cue |
Work period |
Easy period |
|
Breathing |
Deeper, but you can speak a sentence |
Comfortable conversation |
|
Pedal pressure |
Firmer, without grinding |
Light and relaxed |
|
Riding position |
Seated, hands steady on the bars |
Same position, less effort |
|
Speed |
No target |
No need to match the work period |

Set Assist for Cycling Training
Find a setting that lets you put some pressure through the pedals without making the bike difficult to handle. Keep that setting for the first few repetitions if the effort feels right. You don't have to change the assist every time your timer sounds.
If the motor is carrying you along while your feet barely push, try one lower assist setting on a clear stretch. If that makes you grind or struggle to keep moving, add some help back. There isn't a universal “workout level.” Level 2 on one bike may feel quite different from Level 2 on another.
Make use of the gears as well; a lower gear means that your legs can turn without having to force each pedal stroke. When you change gears, reduce the pressure first and then gradually increase the effort. Avoid shifting directly into a high gear and then standing up to push the bike forward.
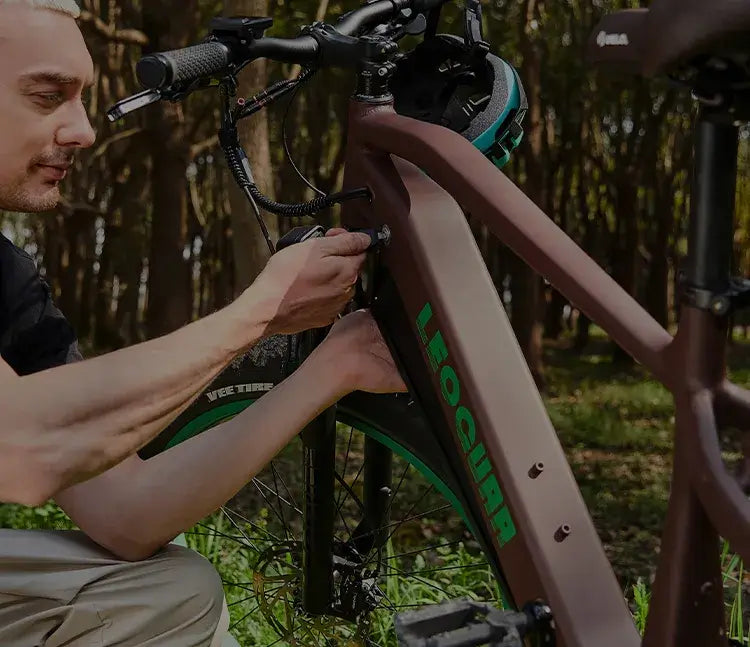
The Leoguar Sprint, for example, has five pedal-assist levels, a cadence sensor, and Shimano 7-speed gearing. If you already ride one comfortably, try its assist and gears on an easy ride before adding timed efforts. You don't need to buy a different bike just for this short session.
Because of the cadence sensing feature, the motor will provide assistance even if you are only giving light pedal pressure. Instead, focus on your own level of effort and not on the amount of power being supplied by the motor. If you are still unfamiliar with the system, our pedal-assist guide has information on the controls and the various sensor types.
Leave throttle-only riding out of the timed pedaling session. If you need it to get home because you're tired, end the workout and use the bike in the way your manual permits.
Choose a Clear Interval Route
The first part of the route should be straight and generally level since this makes it easier to assess your ride. You must have space to pedal for 30 seconds, followed by a gentle ride for 90 seconds, without dealing with any crossings or blind corners. Make sure that your e-bike is permitted to use the route.
Do not turn a busy shared path into a training route; walkers, dogs, and the other riders should have priority over your timer. When somebody enters the path, reduce your speed and allow the interval to pass. It is acceptable to miss a repetition without having to make it up.
When you're about to begin, ease your way through the section and take note of any driveways, patches of loose gravel, potholes, and spots where you'll have to brake. Avoid making strenuous efforts when going down slopes, on wet leaves, or over slippery pavement, and don't choose a steep hill just because it gives the exercise a harder feeling.
While you are stopped, set the timer. A mounted instrument can indicate the next change, but you should keep your eyes on the route and have both hands ready for the controls. If focusing on the timer causes you to be distracted, then stop at a safe location to check it, or keep your ride for the day easy.
Try a 21-Minute Training Session
We suggest this short first session if you're already comfortable with easy riding. These timings are a starting example, not a research-tested workout or a personal prescription. You can shorten it. The four work periods add up to just two minutes of firmer pedaling.
|
Block |
Duration |
Activity |
|
Warm-up |
8 minutes |
Begin gently, then gradually increase your pedaling effort |
|
Work |
30 seconds |
Pedal at a controlled, moderate effort while seated |
|
Easy |
90 seconds |
Pedal lightly until your breathing settles |
|
Repetitions |
4 rounds |
Repeat the work and easy blocks; 8 minutes total |
|
Cool-down |
5 minutes |
Return to gentle pedaling without a final push |
The American Heart Association suggests that you should have a warm-up period of between 5 and 10 minutes before starting exercise and then carry out a gradual cool-down afterward. If it's necessary, extend the time; do not immediately begin the first timed activity just because you've reached the starting point.
In the first 30 seconds, you should go gently; your breathing must become deeper, but you must still be able to steer easily and keep your upper body relaxed. When the 90-second easy section begins, pedal gently and use a sufficient amount of assistance so as not to increase your speed beyond what is necessary.
If, by the following work period, your breathing has not calmed down, then lengthen the easy section or complete the intervals. It is better to do two controlled rounds than four that you can only just manage. Since rest periods also affect the total time, this is acceptable.
Build Training Without Chasing Speed
We would begin by having one interval session each week, and on the other days you could do normal easy rides or take a rest. There's no need for every journey to be a timed workout since your commute might already involve a tiring hill, a heavy bag, or a long ride home.
Before increasing the difficulty, carry out the same short session. Once all four rounds seem to be well under control and you are ready to carry on with your normal activities the day after and the next day, then add one more round. Maintain a moderate level of effort and keep the easy breaks unchanged. There is no need to increase the duration, reduce the assistance, or shorten the rest periods.
After each session, take a short note stating how many rounds you rode, what assist setting you used, and whether the last round was similar to the first one; this is more useful than just managing to achieve a higher average speed with extra motor assistance. Additionally, keep a record of the route so that on a windy day you won't confuse it with a loss of progress.
Between harder days, you may prefer rest or a very easy spin. If you're considering the latter, our recovery-ride guide explains when to keep riding light and when to stay home.
When to End Cycling Intervals
Barring the work periods, if you start to rock on the saddle, hold the bars tightly, or are pushing through knee pain. Only ride gently if that seems comfortable to you. Any pain that alters your pedaling should be given attention rather than another repetition.
Chest pain or pressure, dizziness, and unusual breathlessness are reasons to stop exercising and seek medical help. If you have possible heart-attack symptoms, call emergency services rather than trying to ride home.
Also finish the session when the route ceases to be suitable; things like a sudden crowd, rain, or a loose brake lever will change your plans. You have no obligation to the app to complete four full rounds.
Cycling Interval Training FAQ
Is a heart-rate monitor necessary?
You won't need to purchase a device for the moderate starter session offered here. Should you later adopt a heart-rate-based plan, then use the targets assigned to you instead of copying another rider's figures.
Should I buy a new e-bike?
If the bike you currently have will fit you, is in good working order, and allows you to pedal with a reasonable level of effort, then have a go at using it. However, if you are going to buy one, first decide which bike suits your usual routes, gives you a comfortable fit, and meets your storage requirements before considering short intervals.
Is a torque sensor worth extra?
The torque sensor picks up on the force applied to the pedals, though it is not necessary for these beginner intervals. Before spending any more money, check how each bike behaves when you start it, pedal gently, and alter the assist settings.
Are cycling shoes worth buying?
Start by using secure shoes that have a good grip on your current flat pedals, making sure that the laces do not get in the way of the chain. It is advisable not to introduce clip-in pedals that you are unfamiliar with at the same time as your first interval session.
Can I use an indoor trainer?
A stationary exercise bike is an option when your outdoor route is busy or unsafe. Before mounting your e-bike on a trainer, get confirmation of bike, axle, weight, and trainer compatibility from the manufacturers.


Leave a comment