


Complete Charger Electric Bicycle Guide: Safety Tips
Why Your E-Bike Charger Matters
Your electric bicycle is an investment in freedom, fitness, and fun. Protecting that investment starts with understanding the most critical component: its power source.
Proper charging keeps your e-bike ready to ride, makes your battery last for years, and keeps your home safe. The single most important rule is this: always use the correct, certified charger designed for your specific e-bike battery. This guide will walk you through everything you need to know, from your very first charge to advanced strategies that will maximize your battery's lifespan.
A Step-by-Step Routine
For new owners, the charging process can seem scary. We've refined it into a simple, repeatable routine that establishes good habits from day one. Following this correct sequence is a crucial safety measure.
Prepare Your Charging Area. Find a cool, dry, indoor space away from direct sunlight. The ideal surface is flat and non-flammable, like a concrete garage floor—not a carpet, sofa, or wooden table. Good ventilation is key to help remove heat.
Let the Battery Cool. If you've just returned from a ride, the battery will be warm. Wait at least 30-60 minutes for it to return to room temperature before plugging it in. Charging a hot battery is one of the fastest ways to damage its health.
Connect Charger to Battery. Whether the battery is on or off the bike, this is the first connection you should make. Plug the charger's output connector into the battery's charging port. You should feel a firm, secure click as it connects.
Plug Charger into the Wall. Now, plug the charger's power cord into a wall outlet. We strongly recommend using a quality, UL-certified surge protector to shield your equipment from voltage spikes. The reason we insist on this sequence (battery first, then wall) is to prevent a "live" plug from creating a small electrical arc as it connects to the battery port. This small spark can, over time, damage the sensitive charging contacts.
Monitor the Indicator Lights. Your charger will have indicator lights. Typically, a red light means it is actively charging, and a green light means the battery is full. Get familiar with your specific model's indicators.
Unplug Correctly. Once the light turns green, the battery is fully charged. Disconnect by unplugging the charger from the wall outlet first, then unplugging it from the battery. While modern chargers are designed to stop charging, it's poor practice to leave a battery connected for days on end.
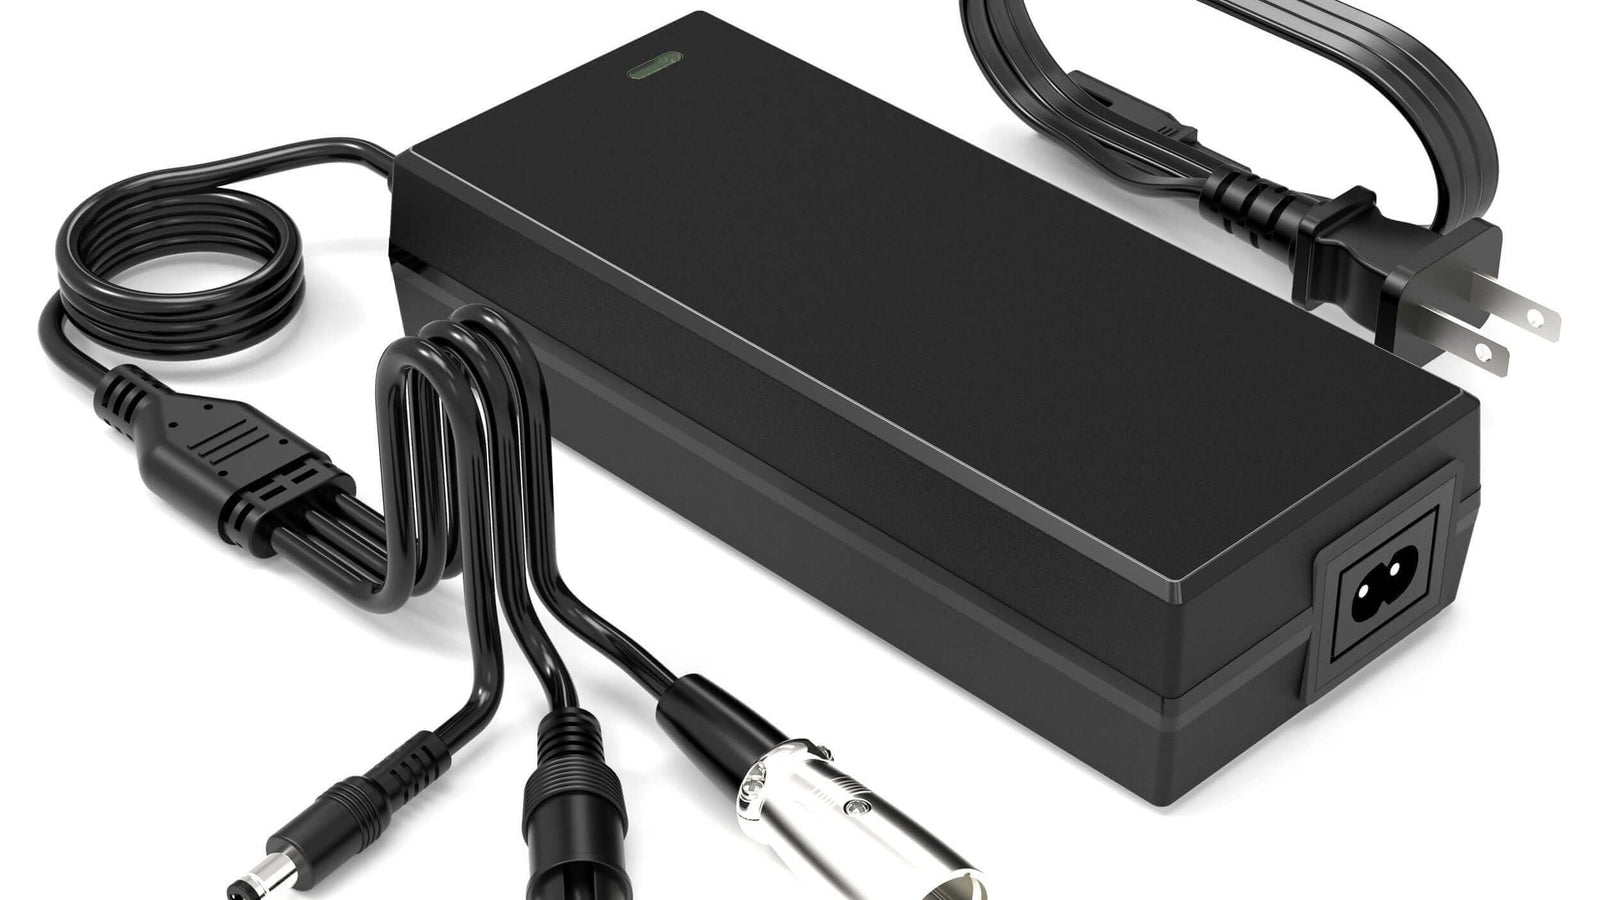
Understanding Your Charger
The blocky box of your charger electric bicycle is packed with important technology. Understanding the numbers and terms on its label is essential for safety and for choosing a replacement if needed.
Reading the Label
Two numbers on your charger's label are non-negotiable:
Voltage (V): This number must exactly match your battery's voltage. A 48V battery requires a 48V charger. Using a charger with the wrong voltage is extremely dangerous. A lower voltage charger won't charge the battery, and a higher voltage charger can lead to overheating, permanent damage, and a significant fire risk.
Amperage (A): This number indicates the charging speed, or how much current the charger delivers. A higher amp rating means a faster charge. For example, a 4A charger will charge a battery twice as fast as a 2A charger. However, faster charging generates more heat, which can cause additional stress on the battery cells over time.
Charger Types
Chargers generally fall into three categories, each offering a different balance of speed, cost, and battery care.
| Charger Type | Charging Speed (Amps) | Cost | Impact on Battery Health | Best For |
|---|---|---|---|---|
| Standard Charger | 2A - 3A | Low | Best for long-term health due to low heat generation. | Everyday overnight charging and users who prioritize battery lifespan. |
| Fast Charger | 4A - 8A+ | Medium | Can cause extra heat and stress if used exclusively. | Quick top-ups, mid-day charges, or for riders who need a fast turnaround. |
| Smart Charger | Variable | High | Excellent; optimizes charging stages and has safety features. | Dedicated enthusiasts and anyone wanting the best possible care for their battery. |
The Value of Certification
Never use a charger that lacks a safety certification mark. Look for a UL (Underwriter Laboratories), CE, or ETL mark on the label.
This little logo signifies that the charger electric bicycle has undergone rigorous independent testing for safety against fire and electrical shock. Uncertified, generic chargers are a leading cause of e-bike fires, a risk highlighted by the National Fire Protection Association (NFPA) safety guidelines. Saving a few dollars on a cheap, uncertified charger is not worth the risk to your property and safety.
Advanced Charging Strategies
To truly maximize the lifespan of your expensive e-bike battery, you can adopt a few strategies that go beyond the basic user manual. These are the habits of experienced riders who get thousands of charge cycles from their batteries.
The 40-80% Rule
Lithium-ion batteries, like the one in your e-bike, are happiest and experience the least amount of stress when they are kept between a 40% and 80% state of charge. Constantly pushing the battery to its absolute maximum (100%) or running it down to its absolute minimum (0%) puts more strain on the cells.
For daily commuting or regular short rides, try to end your ride with over 40% charge and stop charging around the 80-90% mark. This simple habit can significantly extend the total number of cycles your battery will deliver.
The 100% Charge Debate
Does this mean you should never charge to 100%? Absolutely not. Charging to 100% is perfectly fine and often necessary to get the maximum possible range for a long weekend adventure or a challenging route. The debate is about habit.
For a rider who plans to keep their bike for a decade, avoiding a daily 100% charge might add a year or two to the battery's life. However, as often noted in discussions among experienced e-bike communities, for the average user, the convenience and peace of mind of a full charge before every ride often outweigh the marginal long-term degradation.
Long-Term Storage
If you're storing your e-bike for the winter or won't be riding for more than a month, don't leave the battery fully charged or fully empty. The ideal "hibernation" state is around 50-60% charge.
Store the battery off the bike in a cool, dry place (like a closet, not a cold garage). We recommend setting a calendar reminder to check the charge every month or two and topping it back up to 50% if it has dropped.
Monthly Calibration
About once a month, it's good practice to perform a "calibration charge." This means charging the battery fully to 100% and leaving it on the charger for an extra hour or two after the light turns green.
This process doesn't "add" more power; instead, it gives the Battery Management System (BMS) time to balance the voltage across all the individual cells inside the pack. A well-balanced battery provides a more accurate range estimate on your display and ensures all cells are working in harmony.
The Pre-Charge Safety Ritual
Before we ever plug in an electric bicycle charger in our workshop, we perform this exact three-part safety check. It takes less than 60 seconds and is the most important minute you can spend to prevent an accident. Make it your habit.
Part 1: Physical Inspection
Before connecting anything, use your eyes and hands.
Check the Charger: Look at the plastic casing for any cracks or damage. Run your hand along the entire length of the power and charging cables, feeling for any deep kinks, frayed sections, or exposed wires.
Check the Battery: Inspect the battery's outer case. Look for any signs of swelling or bulging, cracks, or any fluid leaking from the seams. A swollen battery is a serious hazard and should be safely disposed of immediately—do not attempt to charge it.
Check the Ports: Glance at the metal pins inside the charging ports on both the charger and the battery. They should be clean, straight, and free of dirt or debris.
Part 2: Environmental Scan
Quickly assess the charging location.
- Surface: Is the charger and battery on a hard, non-flammable surface? (YES/NO)
- Ventilation: Is there clear space and airflow around the charger and battery? (YES/NO)
- Smoke Detector: Is there a working smoke detector in the room? (YES/NO)
If the answer to any of these is "NO," find a safer place to charge.
Part 3: Post-Charge Check
After you've unplugged everything, do one last check. Briefly feel the charger block and the battery case. They may feel warm to the touch, which is normal. However, they should never be so hot that you can't comfortably keep your hand on them.
Excessive heat is a red flag for an internal problem. Many incidents cited in CPSC warnings on uncertified electronics could potentially be avoided by these simple physical and environmental checks.
Troubleshooting Common Issues
Even with perfect care, you might encounter a charging hiccup. Here's how to diagnose some common problems.
Charger Light Stays Green
If the charger light doesn't turn red when you plug it in, it means no power is being delivered.
- First, double-check that every connection is secure: the plug in the wall, the connection to the charger block, and the connector in the battery port.
- Plug another device (like a lamp) into the wall outlet to confirm it's working.
- The battery's BMS may prevent charging if the battery is too hot or too cold. Let it sit at room temperature for an hour and try again.
- Some chargers have a small, replaceable fuse in the plug.
Check your manual to see if this is the case.

Charger Gets Extremely Hot
As mentioned, warm is normal, but excessively hot is a major warning sign.
- Unplug the charger immediately and let it cool down.
- Ensure it has plenty of ventilation and isn't covered by a rug or other items.
- If it continues to overheat on subsequent attempts, stop using it.
An overheating charger indicates an internal fault and must be replaced.
Battery Isn't Holding a Charge
If you notice your maximum range is decreasing significantly, it's usually a sign of natural battery degradation.
- First, try a full monthly calibration charge to ensure the BMS is reading the capacity correctly.
- If your range is still severely limited after calibration, the battery is likely nearing the end of its useful life and will need to be replaced.
This is normal after several hundred charge cycles.
Lost or Broken Charger
If you need a new charger, can you just buy any model online? We strongly advise against it.
- Using an incompatible or uncertified charger is the leading cause of battery damage and fire.
- You must find a replacement that perfectly matches your battery's voltage (V), has a compatible amperage (A), and uses the exact same connector type.
- Your safest option is to contact your e-bike's manufacturer or a reputable e-bike dealer to purchase an official, certified replacement charger electric bicycle.
By treating your charger and battery with the respect they deserve, you are doing more than just protecting a piece of equipment. You are ensuring countless miles of safe, reliable, and joyful riding.
Following a safe routine, understanding your equipment, and adopting smart charging habits are the three pillars of responsible e-bike ownership. Now go enjoy the ride.
Frequently Asked Questions
Q: How long does it take to fully charge an e-bike battery?
A: Charging time depends on your battery capacity and charger amperage. Most standard chargers (2-3A) take 4-6 hours to fully charge a typical e-bike battery. Fast chargers (4-8A) can reduce this to 2-3 hours, but may generate more heat.
Q: Can I leave my e-bike battery charging overnight?
A: Yes, modern chargers are designed to stop charging when the battery reaches 100%. However, it's best practice to unplug the charger once the indicator light turns green rather than leaving it connected for extended periods.
Q: Is it bad to charge my e-bike battery every day?
A: Daily charging is fine, but for maximum battery lifespan, consider the 40-80% rule for regular short rides. Only charge to 100% when you need the full range. This can help extend your battery's overall life cycle.
Q: What should I do if my charger e bike gets wet?
A: Never use a wet charger. Unplug it immediately and let it dry completely in a warm, dry place for at least 24-48 hours. If water got inside the charger housing, have it inspected by a professional before using it again to prevent electrical hazards.
Q: How do I know when my e-bike battery needs to be replaced?
A: Signs include significantly reduced range (less than 60% of original capacity), the battery not holding a charge, taking much longer to charge, or physical damage like swelling. Most e-bike batteries last 3-5 years or 500-1000 charge cycles with proper care.


Leave a comment