




5 Electric Bicycle Pumpkin Carving Ideas for Cyclists
Want a jack-o'-lantern that gives your riding friends something to smile about? These five bicycle pumpkin carving ideas put your e-bike on the pumpkin, whether you want a simple side-view outline or a ghost heading out for a night ride.
The bike should have bold lines and the small spokes omitted since you want people to be able to see two wheels and a frame from the sidewalk, not have to lean over the porch to work out what you've carved. Besides, it's not necessary to cut each line right through the pumpkin; by scraping off the skin, a process known as etching, you can draw the bike without all those thin parts falling out.
Prep Your Pumpkin for a Bicycle Design
When selecting a pumpkin, make sure it is stable and has a broad, fairly smooth surface on top. Before you buy it, place your paper sketch against the pumpkin to check whether the wheels disappear around the sides; if they do, then the sketch is too wide. Generally, a short pumpkin will provide more space for a side-view bike than a tall and narrow one.
You should have a marker, paper, tape, a scoop, a pumpkin-carving saw, and a scraping tool specifically made for pumpkins; include a battery-operated light when displaying the finished product. The American Society for Surgery of the Hand suggests that you use a dry and well-lit workspace along with a pumpkin-carving kit and also recommends making small, controlled cuts away from yourself. Keep your free hand out of the blade's path, even when it is inside the pumpkin.
Remove the seeds from the pumpkin, dry your hands and tools, and then put your drawing on the outside of it. Begin by drawing an outline yourself, and for each area decide whether you want to scrape it, cut it, or leave it alone before you take up a tool. Avoid carving while you are holding the pumpkin in your lap.
Here's how we'd choose a first design:
|
Design |
Approach |
Main challenge |
|
Your e-bike in profile |
Etched outline |
Keeping the frame readable |
|
Wheel and lightning bolt |
Etched wheel, cut-out bolt |
Leaving space between shapes |
|
Ghost rider |
Etched bike and ghost |
Fitting the rider above the saddle |
|
Moonlit hill climb |
Etched scene, cut-out moon |
Keeping the scene simple |
|
Two riding partners |
Two etched bike outlines |
Fitting both bikes on one face |
1. Carve Your Own Bicycle Outline
A regular bike is a better starting point than a busy racing illustration. Take a side-view photograph showing both wheels and then trace the outer outline onto paper. Omit the cables, the chain, and the individual spokes. Make sure the saddle and handlebar are large enough to identify.
With an e-bike, choose one feature to give it a personal touch. Since the Fastron ST has a low-step frame and wide tires, use these shapes to incorporate the drawing. Instead of adding a traditional high top tube, trace the frame directly from the photo of the actual product. Finish off the electric-bike theme with a small battery outline.
Instead of cutting out the outlines of the wheel and the frame lines, scrape along them. Take off the outer skin along those lines and then gradually remove some of the flesh at a time, keeping the pumpkin wall intact. Before you proceed, test a small section with the battery light; if the wall is thick, it may need more scraping before it starts to glow.
Honestly, I wouldn't attempt a tiny brand logo on a first pumpkin. A readable bike shape is enough. If you want a personal touch, add your bike's nickname with a marker below the carved image.

2. A Bicycle Wheel and Lightning Bolt
If a whole frame feels fiddly, make one large wheel with a lightning bolt beside it. You still get a cycling theme, and the bolt makes the electric-bike joke clear without a detailed motor drawing.
Use a round lid as your wheel guide on paper. Draw a second, smaller circle inside it, then add four thick spoke lines. Transfer that drawing and scrape the lines into the pumpkin. Don't cut out the full ring: doing that would detach its center, spokes, and all.
Draw the bolt outside the wheel with a clear strip of untouched pumpkin between them. Cut the bolt through with a pumpkin saw, following its maker's instructions. Keep the corners broad enough that you aren't trying to turn the tool in a tiny notch. If your sketch has sharp, narrow tips, redraw them before cutting.
The wheel should be the biggest part of this design. A bolt that's larger than the wheel can make the finished pumpkin read as an electricity symbol rather than a bicycle carving.
3. Let a Ghost Ride Your Bicycle
A ghost on a bike is the most playful option here. Draw a rounded ghost sitting above a simple bicycle, with one short arm reaching toward the handlebar. Give it two large eyes. No flowing sheet wound through the wheels.
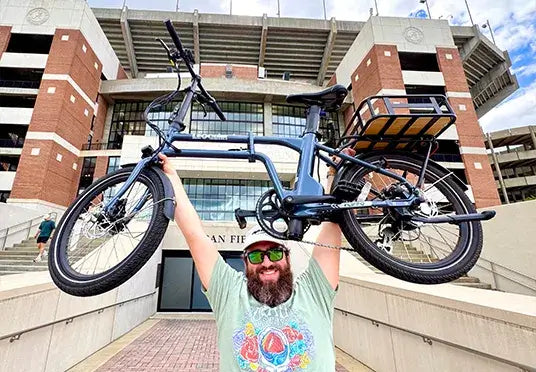
You can borrow the outline of a compact Leoguar Flippo for the bike underneath. Its smaller wheels leave more space above the saddle for the ghost. Use a side-view photo as your reference and keep the long seatpost visible; don't turn it into a motorcycle with one big solid body.
Etch the ghost's body and the bike below it, leaving the eyes untouched, so they stay dark when you light the pumpkin. A broad wavy bottom gives the ghost its shape without lots of fragile points.
Make the rider and bike one drawing, not two stickers stacked on top of each other. Before transferring it, check that the ghost is over the saddle and its arm actually reaches the handlebar. That little connection is what makes the joke work.
4. Give Your Carving a Moonlit Climb
Here's the one for the friend who always says "one more hill". Place a small e-bike on a slope under a moonlit sky. It's not necessary to have a whole forest or a skyline in the background.
Begin by drawing the path as a gentle slope over the lower part of the paper and put both wheel contact points on this slope before attaching the frame and the rider. Take one broad battery shape from your reference photo of the e-bike, leaving out the small controls. The rider should sit close to the saddle with their hands reaching the handlebars, not hanging somewhere above the bike.
Etch the path and bicycle. For the moon, a single round cut-out is easier than a thin crescent with a pointed end. Keep it well away from the rider's head and leave plenty of uncut pumpkin between the moon and the bike.
If the first sketch ends up being too crowded, then take out the rider and retain the bike; the angled wheels together with the inclining path will still indicate a 'hill climb'. We prefer a single clear scene to five small details which cannot be seen after dark.

5. Two Bicycles for Your Pumpkin
If you're using your usual riding partner, then place both bicycles on a single pumpkin or provide each bicycle with its own pumpkin and display them together. Choosing two separate pumpkins is the simpler option when you've selected different shapes or sizes.
On one pumpkin, draw the bikes facing the same way, one slightly above the other. Leave enough space that their wheels don't overlap. Use etched outlines for both, and give each one a different detail: a step-through frame on one, a higher top tube on the other, for example. Keep the battery housing where it appears on each e-bike, rather than adding the same rectangle to both frames.
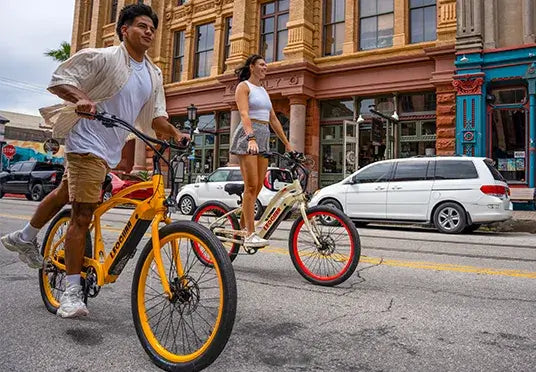
If you both ride cruisers, a side-view image of the Zephyr SO can help you draw its curved frame. Keep the second bike true to what your partner rides rather than copying the same outline twice.
Add your initials below the drawings with a marker, especially if you're short on space. Carved lettering can crowd out the bikes. This should still read as a bicycle pumpkin when someone walks past, even if they don't know whose initials they are.
Light Your Bicycle Pumpkin Carving
Put a battery-powered light inside and check the design from the distance where people will see it. The U.S. Consumer Product Safety Commission recommends battery-operated lights or glow sticks in jack-o'-lanterns rather than an open-flame candle. Use a light as directed and keep its battery compartment secure.
If an etched line barely shows, take the light out before scraping that area a little more. Don't try to fix the whole drawing in one pass. Some pumpkins have thicker walls than others, so there's no single scraping depth that will suit all of them.
Put the completed pumpkin on a solid surface next to your parked bike, away from the walkway. It would not be balanced on the saddle or wedged into the frame for the sake of a photograph. When you're riding, leave the pumpkin at home; the bike can appear in the picture without you having to carry the carving.
Bicycle Pumpkin Carving FAQ
Where can I find a free bicycle pumpkin stencil?
You don't have to draw from scratch. Cycling UK offers downloadable bicycle pumpkin templates in easy, medium, and hard versions. If this is your first attempt, we'd start with the easy one. Print it and check that the whole bike fits on your pumpkin before tracing.
When should I carve my pumpkin for Halloween?
We'd carve it a day or two before you plan to display it—not at the start of October. Even an etched design starts to deteriorate once you break the skin. Choose your bicycle design and prepare the paper template early, then leave the carving until closer to Halloween.
Do I need to hollow out an etched pumpkin?
Only if you want to light it from inside. You can leave the pumpkin whole and scrape a bicycle drawing into the surface for a daytime display. It won't glow, but you can still see the design. For the glowing examples in this article, you'll need to scoop out the inside.
How can I keep my bicycle pumpkin carving fresh?
Keep it somewhere cool when it isn't on display. Outside, choose a sheltered spot away from direct sun and rain. Warm weather can make a carved pumpkin soften and collapse sooner, so don't count on the same lifespan every year.


Leave a comment