




Mountain Biking for Beginners: What Should You Learn First?
You could possibly be at ease while riding on tarmac, only to come to a dirt track and then have to hold on to the handlebars, look at the front wheel, and brake each time there's a bump. Why the change? The ground is causing the bicycle to move, and you have not yet learned how to move with it.
For beginners, we should tackle mountain biking in the following sequence: body position and vision, braking, turning, and then make small adjustments to the terrain. We should practice in places where riding is permitted, away from traffic and other people, on a solid surface and with plenty of room to stop.
Make sure that your helmet is securely fastened and check the tire pressure, the wheels' security, the steering, and both brakes in accordance with the manufacturer's instructions. You should already be able to balance the bike, start it, stop it, and easily reach the brake levers before you begin off-road practice.
Mountain Bike Body Position and Vision
When the ground is clear and even, pedal slowly and then coast. Position your hips so that they are just off the saddle, placing one foot in front and the other behind so that the pedals are level. Maintain a bend in both your knees and elbows, and allow your weight to go through your feet instead of onto your hands.
This is the position you'll come back to when a straight section gets bumpy. You're giving the bike space to move underneath you. Keep a finger over each brake lever if your brakes and hand size allow, while keeping a secure grip; have the lever reach adjusted if you can't do both comfortably.
Try the following: sit down, then stand for a short time before sitting down again, all while keeping your direction straight. If the bicycle tends to wander, reduce the amount you lift and keep your movements more subtle. If your wrists are feeling heavily strained, see whether you're leaning too heavily on the handlebars. You must still be able to bend your arms; don't lock them when supporting yourself.
When it has settled down, keep the bike balanced for a short time longer. Position your hips close to the center of the bicycle rather than moving them far back from the seat. It is not necessary to hold a deep squat or to remain in a fixed position.
Now give your eyes a job. Scan the surface near you, then farther along the clear path you're taking. If you notice a stone, check where it is and move your attention to the space beside it. Don't keep staring at the thing you're trying to miss.
On the following journey, observe at what early stage you spot a bend or a change in the surface. If it seems as though everything is directly beneath your front tire, then reduce your speed and lift your eyes. This will give you the necessary time to decide where to apply the brakes rather than having to react at the last moment.

Braking Control for Mountain Biking Beginners
Start by standing next to the bicycle and work out which lever controls each brake—don't suppose that a bike you've borrowed or rented will be set up in the same way as yours. After that, roll slowly in a straight line on your hard practice surface.
Halt pedaling and use both brakes gradually by first giving them a slight press and then increasing the pressure as required. Make sure that your elbows and knees remain bent so that you can support yourself as the bicycle slows down. Put your foot down when you have come to a stop.
The front brake provides much of your stopping power. Avoiding it leaves you relying too heavily on the rear, but grabbing either lever suddenly can make a tire skid. You're learning to feel how much pressure the surface will take, not pull both levers with a fixed, equal force.
Pick a stopping point with plenty of clear room beyond it. Approach at the same easy pace each time and begin braking early. Are you finishing smoothly, or rushing the last part and grabbing a lever? Brake a little sooner on the next pass rather than adding speed.
When the rear wheel begins to skid, slightly reduce the pressure on that brake so that the wheel can roll again and then carry out the action more slowly. If your body tends to move forward, rather than counter this by positioning yourself far behind the saddle, you should have an instructor examine both your posture and your braking technique. Any lever which pulls towards the grip, feels abnormally soft, or fails to stop the wheel requires inspection before you carry on practicing.
Slow down as much as you can before a corner or an uneven section. It doesn't mean that you should never brake while going through a turn; if you need to slow down more, then apply the brakes with gentle and controlled pressure instead of giving them a sudden, sharp input. By entering the corner more slowly on your next attempt, you will have less to deal with when the bike is leaning.
Build Confidence Through Mountain Bike Turns
Make a wide and flat turn on solid ground, check that the exit is clear, keep a slow speed whilst still going straight, and turn your head in the direction of the path leading out of the corner. Start with a soft arc rather than a sharp U-turn.
Let the handlebars do the work and keep your upper body loose since you don't need to match the deep lean that a racer would make when going around a banked corner. A slight alteration in direction is all that's required at this speed.
For a flat, unbanked turn where you lean the bike, bring the outside pedal down and put pressure through that foot. In a left turn, that's your right foot; in a right turn, it's your left. Keep the inside pedal up so it has clearance from the ground.
That foot position isn't a requirement in all situations during a ride; when you're coasting over straight bumps, use level pedals. In banked corners and in technical turns, different movements are needed, so such situations should be left to a coached lesson rather than forcing the learner to carry out this exercise.
When you're practicing, go left and right around soft cones that are widely spaced, or else follow two wide arcs in your clear practice area; make sure you leave sufficient space between the turns so that you can straighten the bike and reposition your feet. Nothing is awarded for reducing the size of the pattern.
Should you continue to run wide? Then check your entry speed and the direction in which you're looking before attempting to lean more. If you are staring at the edge of the turn, deliberately shift your gaze to the clear exit. If you feel that you are rushing when changing feet, separate the turns and ride straight between them for a longer distance.
If you are able to go through the turns without having to make a final sudden grab of the brakes, then try the same wide route on solid, dry ground. Maintain a moderate speed since you are changing the surface without making the corner more difficult.

Beginner Mountain Biking on Changing Terrain
Small Bumps and Roots
Choose a low, rounded bump or a thin, dry root on level ground, and make sure there is a clear run-out; first examine it, and if you are uncertain, roll over it rather than trying to go faster.
Approach the feature slowly, get off the saddle and adjust the pedals so that they are level. As the wheels move over it, bend both your knees and elbows. Keep your gaze directed towards the road ahead rather than looking between your feet.
When you come to a root, cross it at an angle close to ninety degrees, provided that the path allows you to do so, without leaving the trail. Don't make any sudden moves or brake when the tires are on the root; you should roll over it, not pull the handlebars to jump over it.
If the bumps knock you hard through the saddle, then check to see whether you sat down too early. If your feet bounce off the pedals, then go back to level ground and check your foot position and the grip of your shoes. Before attempting uneven ground again, make sure your knees are kept soft rather than standing on straight legs.
Gentle Climbs and Descents
When you are on a small rise with a good view, select a lower gear before starting up the slope. If your bike has a derailleur, gently pedal during the gear change and then remain seated, pedaling steadily as you go up the mild incline.
Immediately having to stand and heave? Choose an easier gear before your next attempt. Leave steep climbs for later; our MTB climbing guide covers that next step.
Coming down, stand with level pedals and bent arms and legs. Let your body move as the bike tilts beneath you, with your weight supported through your feet. Apply both brakes progressively, keeping the pace controlled from the top.
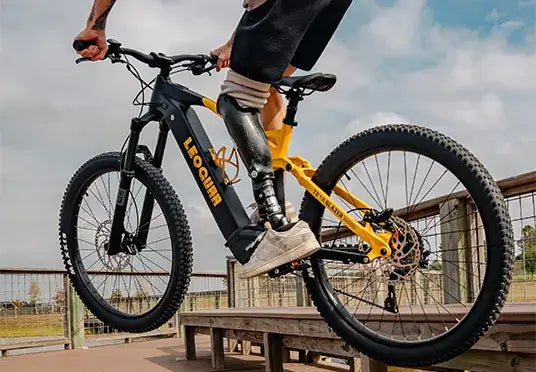
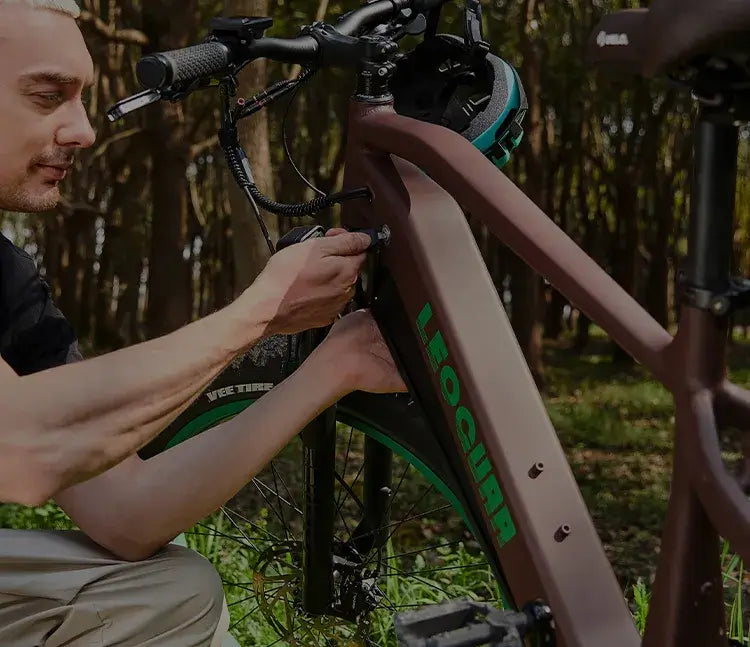
On an electric mountain bike such as the Leoguar Trailblazer, practice with low assistance on flat ground first, following its manual. Choose the setting before starting the rise so you can keep watching the trail.
Loose Ground and Wet Sections
When on loose gravel, go more slowly and leave more space for stopping. Make your movements small as you go through a shallow and manageable section, avoiding any sudden turn or sharp burst of pedaling.
Even small wet roots are capable of knocking a wheel off course. If you are in any doubt, stop safely before encountering slippery roots, rocks, or deep mud and walk over it since a feature that was manageable yesterday might seem different after it has rained.
Observe closures and avoid tracks that could cause your tires to sink. Do not broaden the track in order to go over a tough section. Go back when the circumstances require a greater degree of control than you are able to provide today.
Mountain Biking for Beginners FAQ
How fit do I need to be?
You won't need to have good physical fitness in order to go on flat ground or attempt a short and easy trail; select a ride that you're able to complete without getting exhausted and then add extra distance separately when dealing with more difficult terrain.
Is a hardtail enough for beginner trails?
A hardtail that fits properly and is suitable for trail riding will be sufficient for smooth beginner routes. Full suspension does not take the place of riding skills; instead, you should select one according to the terrain and your budget rather than seeing it as something essential when beginning.
What tools should I carry?
Take a pump, some tire levers, a suitable spare tube or repair kit for your tire setup, and a multitool that fits your bike. Practice using these at home and find out from a workshop which additional tools your e-bike requires for removing the wheels.
How long does learning mountain biking take?
There's no fixed number of rides that makes you ready for harder trails. Move on when you can repeat the skills comfortably, and book a lesson if the same problem keeps stopping your progress.


Leave a comment