


How to Fix a Slipping Chain on Your Electric Bike: A Step-by-Step Guide
A slipping chain on your electric bike can disrupt your ride. It often results from a worn-out chain, misaligned derailleur, or dirty components. Identifying the root cause is crucial for a successful fix.
In this guide, we’ll provide step-by-step instructions to help you repair your slipping chain. With the right tools and techniques, you can get back on the road in no time. Let's dive in and fix that chain!
Understanding Why Your Electric Bike Chain is Slipping
Before diving into the repair process, it's essential to understand why your chain might be slipping. Here are some common causes:
1. Worn Out Chain: Over time, a chain can stretch and wear out, causing it to skip over the gears.
2. Misaligned Derailleur: If your derailleur is out of alignment, it may not guide the chain properly.
3. Dirty or Lubrication Issues: Dirt and grime can build up, causing the chain to slip. Insufficient lubrication can also lead to slippage.
4. Worn Gears: Just like chains, gears can wear down and cause slipping.
Identifying the underlying issue will help you apply the right fix.
Gathering the Necessary Tools
Before starting, ensure you have the following tools on hand:
-
Bike stand or a way to prop up your bike
-
Chain checker tool
-
Hex keys or Allen wrenches
-
Derailleur alignment tool
-
Chain lubricant
-
Clean cloth or rag
Having the right tools will make the repair process smoother and more efficient.

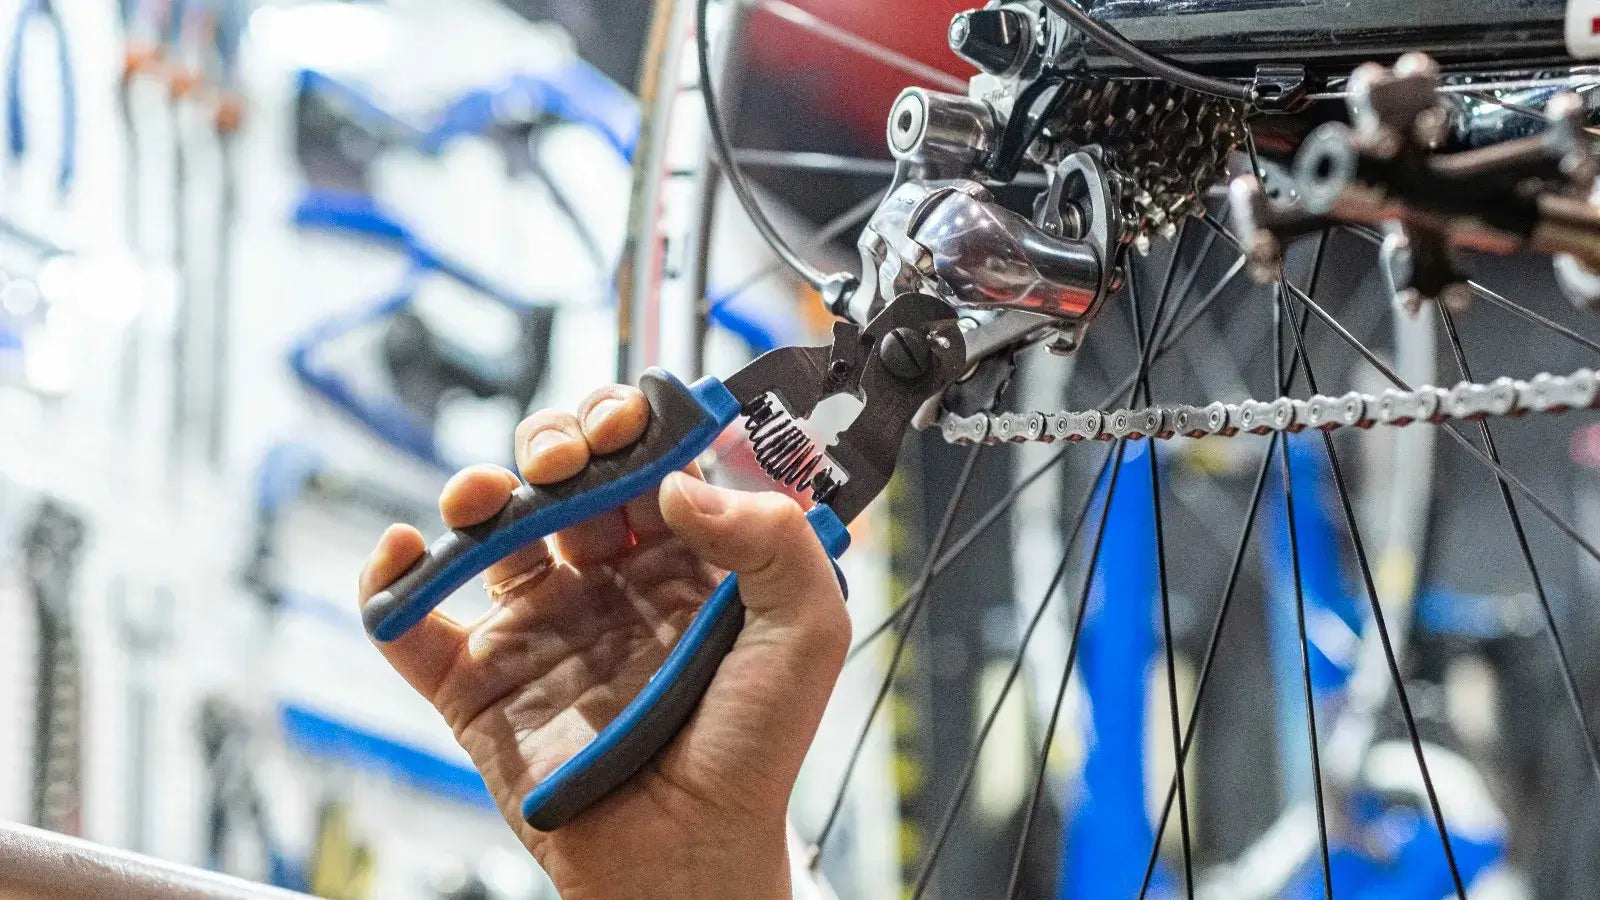
Step 1: Inspect and Clean Your Chain
Start by closely inspecting your chain. Use a chain checker tool to measure the chain's wear. If the chain is excessively worn, it may need to be replaced rather than repaired. A worn chain can damage other components like the cassette and chainrings.
If the chain isn't too worn, proceed to clean it. Use a clean cloth to wipe away dirt and grime. You can also use a degreaser for a more thorough clean. Once clean, re-lubricate the chain to ensure smooth operation.
Step 2: Check the Derailleur Alignment
A misaligned derailleur can cause the chain to slip off the gears. Here's how to check and adjust it:
Place your bike on a stand. Shift the gears to the smallest sprocket and observe the derailleur alignment. It should line up perfectly with the sprocket. If not, you will need to adjust it.
Use a derailleur alignment tool or adjust the screws on the derailleur to realign it. Fine-tune the tension using the barrel adjuster to ensure smooth shifting across all gears.
Step 3: Examine and Replace Worn Gears
Examine the teeth on both the cassette (rear gears) and chainrings (front gears). If they appear worn or have a hooked shape, they may need replacing.
Replacing a cassette or chainring requires removing the old components and installing new ones. If you're not comfortable doing this, consider taking your bike to a professional mechanic.
Step 4: Ensure Proper Chain Tension
With your bike on the stand, test the tension by gently pulling on the chain. It should have a little give but not be overly loose.
If the chain is too loose, you can adjust the tension by moving the rear wheel slightly back in the dropouts or using the tension adjuster if your bike has one. Ensure the wheel is aligned properly before tightening.
Step 5: Test Ride and Fine-Tune
After making the necessary adjustments, take your electric bike for a test ride. Shift through all gears to ensure smooth operation and that the chain no longer slips. Listen for any unusual noises, and be prepared to make additional adjustments if necessary.


Leave a comment