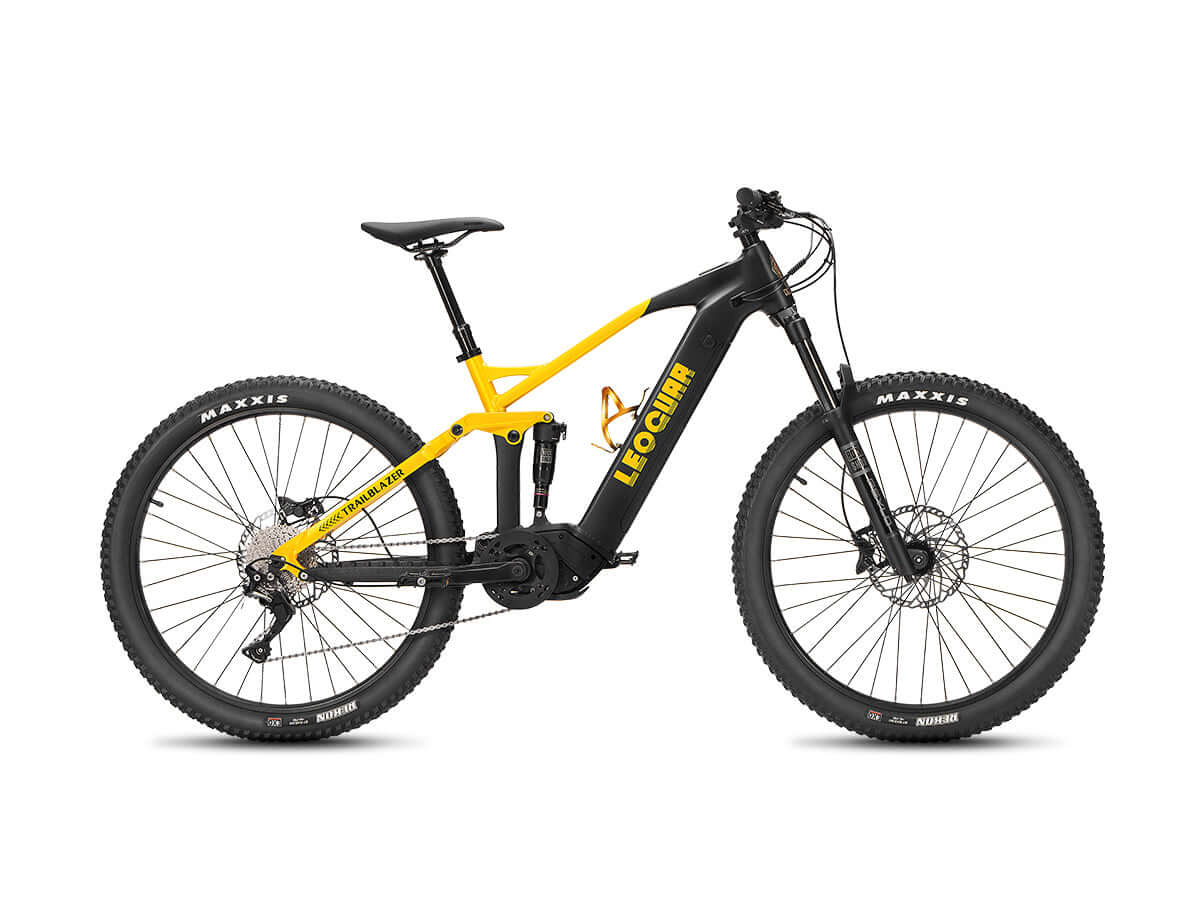
How Do I Measure Bicycle Frame Size: Easy Steps for Any Bike Type
Picking the right bike size might seem hard, but it's actually pretty simple. Getting it right is the most important thing you can do for a comfortable and fun ride. If you're wondering "how do I measure bicycle frame size?", you're already on the right track. Finding your perfect fit is easy and has two parts: measure your body first, then learn how to measure the bike frame.
This guide will show you both steps in simple ways. We'll explain the confusing numbers and terms so you feel confident buying a new bike or checking your current one. We'll also explain why different bike types need different ways to measure them. The main things to understand are your inseam and the bike's seat tube, which are the key parts of bike sizing.
Why a Perfect Fit Matters
Before we get the tape measure, let's talk about why this matters so much. A bike that fits right isn't just nice to have - it's something you need if you want to enjoy riding. We've all felt what it's like to stretch too far for the handlebars, feel cramped and hunched over, or have our knees hit our chest when climbing hills. A bike that fits right fixes these problems and gives you real benefits. Think about wearing shoes that are too small versus shoes that fit perfectly - the right size changes everything.
Here's what a perfect fit gives you:
-
Comfort That Lasts: This is what you'll notice first. A frame that matches your body stops the most common bike pains: lower back aches, neck and shoulder pain, numb hands, and knee pain. It lets you sit naturally and relaxed, so you can ride for hours instead of just minutes.
-
Better Performance: Your body works like a machine, and a bike that fits well lets it work the best way possible. When your seat height and reach are right, you can use your leg muscles the best way, putting the most power into every time you push the pedals. You'll climb faster and ride longer without getting as tired.
-
Better Control and Safety: A bike that's too big is hard to handle, especially in tight turns or quick stops. A bike that's too small can feel jumpy and shaky when you go fast. The right size gives you control that makes sense, which is important for riding in traffic, going down hills, or riding on tough trails. It also makes sure you can put your foot down safely when you need to.
The Two Main Measurements
Bike sizing comes down to two basic measurements: one for your body and one for the bike. Getting these two numbers right is the foundation for everything else. They give you the information you need to read size charts from bike companies and make a smart choice.
Step 1: Measuring Your Inseam
Your inseam is the most important body measurement for bike sizing. It's better than your total height because it directly relates to how high you can stand over the bike and helps figure out your ideal seat height. Don't mix this up with your pants inseam - this is your actual leg length from your crotch to the floor.
What You Need:
- A tape measure (with both metric and inches)
- A big, hardcover book or clipboard
- A wall to stand against
How to Measure:
1. Find a clear spot against a wall. Take off your shoes and stand with your back flat against the wall. Put your feet about 6-8 inches apart, like how they would be when standing over a bike.
2. Take the hardcover book and put it between your legs with the spine facing up.
3. Pull the book up firmly into your crotch. You want to copy the pressure you'd feel from a bike seat. It might feel weird, but this pressure is important for getting the right measurement. Make sure the book's spine is level with the floor.
4. Carefully step away from the wall while keeping the book in place. If you have a friend, they can help hold it or make a small pencil mark on the wall at the top of the book's spine.
5. Use your tape measure to measure from the top of the book's spine (or your pencil mark) straight down to the floor. This number is your cycling inseam. Write it down in both centimeters and inches.
Pro Tip: For the best measurement, do this while wearing the padded bike shorts you usually ride in. Having a friend help you check that the book is level and take the final measurement will also make it more accurate.
Step 2: Measuring the Bike Frame
The old way to measure a bike frame is by its seat tube length. While modern bike design has brought in other important measurements (which we'll talk about next), this is still the number that most bike companies use to label their frame sizes (like a "56cm" road bike).
Important Parts to Know:
- Bottom Bracket: The round part at the bottom of the frame where the pedal arms turn.
- Top of the Seat Tube: The point where the seat tube ends and the seat post goes in.
How to Measure:
1. Find the center of the bottom bracket. This is where you start (Point A).
2. Put your tape measure from the center of the bottom bracket up along the seat tube.
3. Measure to the very top of the seat tube, right where the seat post clamp sits (Point B). This distance is the frame's size according to the most common way of measuring.
This method, often called "Center-to-Top," has been a bike standard for many years. It's a good way to understand the listed size of a bike, as explained in classic resources like Sheldon Brown's classic advice on frame sizing. But know that some brands measure to the center of where the top tube meets the seat tube ("Center-to-Center"), so always check the company's specific guide if you can.
A Guide by Bike Type
A big mistake many riders make is thinking a "Medium" frame from one brand is the same as another, or that a 54cm road bike fits like a 54cm mountain bike. Different types of riding need very different frame shapes to work best for what they're made for. A road bike is built to cut through the air efficiently, while a mountain ebike is built for clearance and easy handling over obstacles.
This is why you must use your measurements based on the type of bike you are buying. Here's how the main differences break down.
| Bike Type | How It's Usually Sized | Main Sizing Thing to Think About | What This Means for You |
|---|---|---|---|
| Road Bikes | Centimeters (cm) | Efficiency and cutting through air | Sizing is very exact to create the best position for power and speed. You'll be in a more stretched-out, aggressive position. A difference of 2cm can matter a lot. |
| Mountain Bikes | Inches (in) or S/M/L | Height over the top tube and easy handling | Frames are designed to be smaller for the same rider compared to a road bike. This gives you more clearance over the top tube and lets you easily move your weight around on technical trails. |
| Hybrid/Commuter Bikes | Inches (in) or S/M/L | Comfort and upright position | Sizing focuses on creating a relaxed, comfortable riding position for casual rides or commuting. The shape often falls somewhere between a road and mountain bike for a mix of comfort and efficiency. |
| Gravel Bikes | Centimeters (cm) or S/M/L | Stability and comfort | Sizing is similar to road bikes but with shape changed for stability on loose surfaces. They often have a taller front end and a longer wheelbase than a pure road bike. |
One of the most important things to remember is that there is no universal industry standard for S/M/L sizing. A "Medium" from Trek could fit very differently from a "Medium" from Specialized or Giant. This is why your personal inseam measurement is so valuable - it lets you look past the marketing label and check the actual geometry chart from the manufacturer to find the right fit.
Understanding Stack and Reach
If you want to go beyond basic sizing and really understand how a bike will feel before you ride it, you need to know about two more measurements: Stack and Reach. These have become the best way to compare bike fit across different models and brands because they don't depend on seat tube angles and other things that can change. You can find them on any modern bike's geometry chart.
Think of them in these simple ways:
- Reach: This is the horizontal distance from the center of the bottom bracket to the center of the head tube (where the handlebars connect). Reach basically tells you how long the bike will feel when you're riding. A longer reach means you'll be more stretched out, typical of a racing bike. A shorter reach gives a more compact and upright position, common on endurance or hybrid bikes.
- Stack: This is the vertical distance from the center of the bottom bracket to the top of the head tube. Stack tells you how tall the bike's front end is. A higher stack results in a more upright, relaxed riding position, which is great for comfort and taking pressure off your back and neck. A lower stack creates a more aggressive, aerodynamic position.
Why do these matter? Because two bikes can have the exact same 54cm seat tube measurement but completely different Stack and Reach numbers, making them feel like totally different bikes. Bike A might have a long reach and low stack (a pure race bike), while Bike B has a short reach and high stack (a comfortable endurance bike). By comparing Stack and Reach, you are comparing the actual fit and feel of the bikes, not just an old-fashioned frame dimension. This is the secret weapon for accurately comparing bikes online.

Putting It All Together
Now you have the key pieces of information: your inseam measurement and an understanding of how to read frame sizes and geometry charts. The final step is to put them together to find your perfect bike.
- Start with a Guide: Use your inseam to get a starting point. Many shops and online calculators use simple formulas. For example:
- Road Bike Size (cm): Inseam (cm) x 0.67
- Mountain Bike Size (in): Inseam (in) x 0.66
- Important: These formulas are just starting points. They get you close but should not be the final answer.
- Check the Company's Chart: Go to the website of the bike brand you want. Find the specific model and look for its "Sizing" or "Geometry" chart. These charts will usually list recommended rider heights or inseam lengths for each frame size (S, M, L or 49cm, 52cm, 54cm, etc.). Find where your measurements fit.
- Look at Key Geometry Numbers: If you are between sizes, this is where Stack and Reach become really helpful. Look at the numbers for the two sizes you're thinking about. Do you want a more upright, comfortable position? Choose the size with the higher stack and shorter reach. Do you want a more aggressive, aerodynamic feel? Pick the one with the lower stack and longer reach. Also, check the "Standover Height" on the chart and make sure it is at least an inch or two less than your inseam measurement to give you safe clearance.
-
Test Ride If You Can: There is no replacement for actually getting on the bike. If you can, test ride the size you've chosen. Pay attention to how you feel. Are you too stretched out? Too cramped? Can you easily reach the brakes and shifters? A short ride around the block can confirm if you've made the right choice.
Choosing the right bike size is the best upgrade you can make. By taking the time to measure your body and understand the frame's geometry, you set yourself up for countless miles of comfortable, efficient, and fun riding.
FAQ
1. Q: What's the difference between measuring for a road bike versus a mountain bike?
A: Road bikes are typically measured in centimeters and focus on aerodynamic efficiency, while mountain bikes are often measured in inches or S/M/L sizes and prioritize clearance and maneuverability. Mountain bike frames are generally smaller for the same rider compared to road bikes to allow better control on technical terrain.
2. Q: How do I know if I'm between two frame sizes?
A: If you're between sizes, look at the Stack and Reach measurements on the geometry chart. Choose the smaller size with higher stack and shorter reach for a more upright, comfortable position, or the larger size with lower stack and longer reach for a more aggressive, stretched-out position.
3. Q: Is my pants inseam the same as my cycling inseam?
A: No, your cycling inseam is different from your pants inseam. Your cycling inseam is measured from your crotch to the floor while standing against a wall with a book pressed upward, simulating the pressure of a bike saddle. This measurement is more accurate for bike sizing.
4. Q: Why can't I just use my height to determine bike size?
A: Height alone isn't accurate because people have different proportions - some have longer legs relative to their torso, others have longer torsos. Your inseam measurement directly relates to standover height and saddle position, making it much more useful for proper bike fit.
5. Q: What should I do if I can't test ride a bike before buying?
A: Focus on getting accurate body measurements, especially your inseam, and carefully study the manufacturer's geometry chart. Compare Stack and Reach measurements to bikes you've ridden before, and consider purchasing from retailers with good return policies in case the fit isn't perfect.


Leave a comment