


Disc Brake Replacement Bike Guide: When & How to Replace
Why E-Bike Brakes Need Special Care
E-bikes put much more stress on their braking systems than regular bikes. The extra weight and faster speeds create a big difference. Your e-bike weighs 50-80 pounds, which is much heavier than a standard bike's 20-30 pounds.
This extra weight plus higher speeds makes much more energy when you ride. All that energy turns into heat when you brake. Think of it like the difference between a small car and a big truck - the truck needs stronger brakes to stop safely. Your e-bike is like the heavy truck of the bike world. This means brake parts wear out faster and need more attention.
How to Spot Worn Brake Parts
Learning to check your brakes saves money and keeps you safe. Here's what to look for when checking your brake pads and rotors.

Signs Your Brake Pads Are Worn
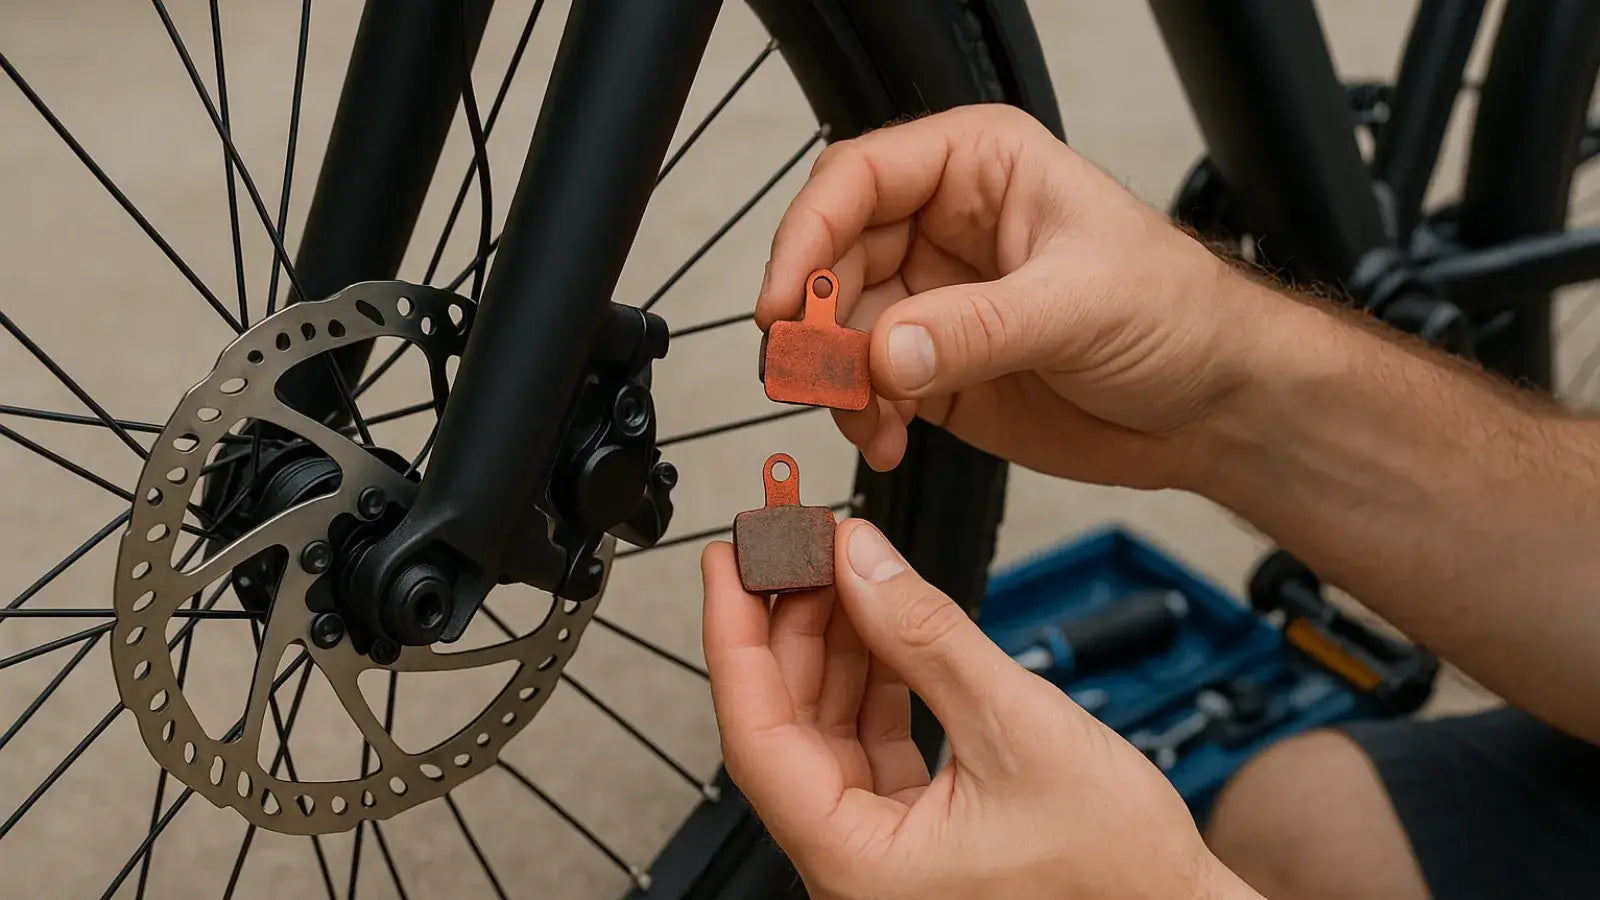
Look at the pad thickness first. Check the braking material on each pad. Replace them if the material is 1.5mm thick or less - about as thick as a dime. Listen to the sounds your brakes make. Worn pads make a harsh, grinding noise when the metal backing hits the rotor. Good brakes should make a smooth, quiet sound.
Feel how the brake lever works. A soft or spongy feeling means trouble. You shouldn't have to pull the lever all the way to the handlebar to make the brake work. Notice if stopping takes longer than before. This is often the first sign that brake pads need replacement.
How to Tell if Rotors Are Bad
Look for a raised edge around the rotor. You'll see a lip where the pads don't touch the outer edge. Deep scratches or blue colors from heat mean the rotor is damaged. Watch the rotor as the wheel spins. A warped rotor will wobble side to side as it passes through the brake. This often makes a rubbing sound even when you're not braking.
Check the minimum thickness if you can. Most rotors have the thinnest safe measurement stamped on them, usually "MIN. TH. 1.5mm". Deep grooves or a clear lip usually mean it's time for a new rotor.
Tools You Need for the Job
Getting all your tools ready first makes disc brake replacement much easier. You don't want to stop halfway through to find something you need.
Must-Have Tools and Parts
Parts you'll need:
- New brake pads that fit your brake model
- New brake rotor if you're replacing it
Tools you must have:
- Hex keys, usually 4mm and 5mm sizes
- Torx key, most often T25 for rotor bolts
- Needle-nose pliers for pins
- Piston press or clean plastic tire lever
- Rubbing alcohol (90% or stronger) and clean rags
- Rubber gloves to keep oils off parts
Tools That Make It Easier
A bike repair stand helps a lot. A torque wrench gives you exact tightness for safety. Special disc brake cleaner spray works better than regular cleaners.
Step-by-Step Brake Pad Replacement
This is the brake job you'll do most often. Take your time and work in a clean, bright area.
First, get your bike ready. Put it in a repair stand or flip it upside down on the seat and handlebars. Remove the wheel from the bike carefully.
Take out the old pads next. Find the pin or bolt that holds the pads in place. Pull out a cotter pin with pliers after straightening the bent end, or unscrew a bolt with a hex key. The old pads and their spring can now be pulled out from the top or bottom.
Clean everything and reset the pistons. Spray alcohol on a clean rag and wipe all brake dust from inside the brake. Push the round pistons back into the brake body gently and evenly to make room for new pads. Use a piston press or flat plastic tool - never use metal tools that can crack the pistons.
Put in the new pads carefully. Attach the new pads to their spring clip to make a sandwich shape. Slide this into the brake with the rough material facing inward. Lock the pads in place. Put the pin or bolt back through the brake and pad holes. Bend the end of a cotter pin with pliers to lock it.
Put the wheel back on. Guide the wheel into place so the rotor slides between the new pads without touching them. Tighten the axle firmly.
Test everything before riding. Spin the wheel to check for rubbing. Pump the brake lever several times - it will feel soft at first, then get firm as the pads move into position.
Quick Rotor Replacement Steps
Replacing a worn or bent rotor is simple when the wheel is off the bike. Use a T25 Torx key to loosen the six rotor bolts in a star pattern, like changing car tires. Take off the old rotor and clean the hub surface with alcohol. Put the new rotor on, checking for arrows that show the forward direction. Put in the new bolts by hand first, then tighten them in a star pattern. Use a torque wrench set to 4-6 Nm for the safest results.
Breaking In Your New Brakes
This step makes your brakes work their best and stay quiet. Breaking in transfers a thin layer of pad material onto the rotor surface evenly.
Find a safe, flat area with no traffic. Speed up to about 10-12 mph. Apply one brake firmly to slow down, but don't stop completely or lock the wheel. Repeat this 10-15 times for each brake. You'll feel the braking power get stronger each time. This creates the perfect surface between pad and rotor for maximum stopping power.
Fixing Common Problems
Even careful work can lead to small issues. Here's how to solve the most common ones quickly. If brakes rub or squeal all the time, re-center the brake. Loosen the two bolts holding the brake to the frame slightly. Squeeze and hold the brake lever firmly to center the brake over the rotor, then tighten the bolts while still holding the lever.
If the brake lever feels weak or spongy, check for contamination. Clean the rotor with alcohol if you touched it with oily fingers. Contaminated pads usually need replacement, and you might need to do the break-in process again.
Ride with Total Confidence
Learning disc brake replacement for your bike gives you control over your safety and performance. You change from someone who just rides to an owner who understands their bike completely.
Reading wear signs, following careful steps, and always breaking in new brakes keeps your most important safety feature working perfectly. Ride knowing your brakes are ready for anything the road brings.
Frequently Asked Questions
How often should I replace my e-bike brake pads?
E-bike brake pads typically need replacement every 500-1000 miles, depending on your riding style, terrain, and weather conditions. Heavy riders or those who ride in hilly areas may need to replace pads more frequently. Check pad thickness monthly and replace when the material is 1.5mm thick or less.
Can I replace just one brake pad instead of both?
No, always replace brake pads in pairs (both pads in the same brake). Replacing only one pad creates uneven braking and can cause the brake to pull to one side. This reduces braking power and can be dangerous, especially on a heavy e-bike.
What's the difference between organic and metallic brake pads for e-bikes?
Organic pads are quieter and gentler on rotors but wear faster and don't handle heat as well. Metallic pads last longer and work better in wet conditions but can be noisier and harder on rotors. For e-bikes, metallic pads are often better because they handle the extra heat from heavier, faster stops.
How do I know if I need to bleed my hydraulic brakes after replacing pads?
You typically don't need to bleed brakes when just replacing pads. However, if the brake lever feels spongy, travels too far to the handlebar, or doesn't firm up after pumping several times, you may have air in the system and need a brake bleed. This usually requires professional service.
Is it safe to ride immediately after installing new brake pads?
While it's mechanically safe if installed correctly, new brake pads need to be broken in for maximum performance. Start with gentle stops and gradually increase braking force over the first few rides. Complete the bedding-in process in a safe area before riding in traffic or challenging conditions.


Leave a comment