


Complete Guide to Disc Brake Replacement for E-Bikes
Why E-Bike Brakes Matter
Your e-bike is not just a bicycle with a motor. It's a different type of vehicle that puts special stress on its parts, especially the brakes. Understanding this difference is the first step toward safe riding and good care. The success of any disc brake replacement for your bike depends on knowing the forces at work.
The E-Bike Difference
An electric bike's motor and battery add a lot of weight. While a standard road bike might weigh 20-25 lbs, e-bikes often weigh 50-70 lbs (23-32 kg) or more. This extra weight, combined with higher average speeds, greatly increases the energy that your brakes must turn into heat to slow you down. A standard bicycle's braking system is not built to handle these higher forces all the time, which is why e-bikes use strong disc brakes. Ignoring them isn't just poor care; it's a serious safety risk.
What This Guide Covers
This complete guide is your workshop manual for e-bike disc brake care. We will walk you through every important stage: finding when a replacement is needed, getting the right tools and parts, doing a step-by-step disc brake replacement for both pads and rotors, and doing the important post-installation steps that ensure the best performance and safety.
Reading the Signs of Wear
Before you pick up a tool, you need to become an expert at checking your brakes. Correctly finding wear on your e-bike's disc brake pads and rotors will tell you exactly when a replacement is needed, preventing you from riding on unsafe parts or replacing parts too early.
Worn Brake Pad Symptoms
Listen to, look at, and feel your brakes. They give clear signals when the pads are getting close to the end of their useful life.
- Sound Clues: A new, high-pitched squeal can mean dirty pads, but a harsh, metal grinding sound is a red alert. From our experience, a sudden change in the sound of your brakes is the most urgent warning sign. A steady squeak might be dirt, but a harsh grinding sound almost always means the pad material is gone and the backing plate is grinding against the rotor.
- Visual Clues: Look into the brake caliper. You should see the pad's braking material. If this material is less than 1.5mm thick (roughly the thickness of a dime), it's time for a replacement. You may need a flashlight to get a clear view.
- Performance Clues: If your brake lever feels soft, pulls all the way to the handlebar, or you notice your stopping distances are getting longer, your pads are likely worn out or the system has other problems.
When to Replace Rotors
Brake rotors last much longer than pads, but they are not permanent. They wear down and can be damaged.
- Minimum Thickness: Most rotors have their minimum thickness stamped directly onto the surface, typically 1.5mm. While measuring this requires a set of calipers for perfect accuracy, a visual check can often show a clear "dished" or concave wear pattern where the pads make contact.
- Visual Damage: Look for deep grooves or scoring on the rotor surface. Also, spin the wheel and watch the rotor as it passes through the caliper. If you see a clear wobble, the rotor is warped and must be replaced.
- Heat Color Changes: Blue or brown color changes on the rotor show it has been subjected to extreme heat. While minor color changes can be normal, extensive or dark blue/purple marks can suggest the metal's strength has been hurt, making it more brittle and likely to fail under the high stress of e-bike use.
Your Brake Replacement Toolkit
A successful e-bike disc brake replacement depends on having the right tools and parts before you begin. Getting everything in advance prevents frustrating mid-job stops and ensures the work is done correctly and safely.
Essential Tools
Having these tools on hand will make the process smooth and professional.
| Tool | Purpose |
|---|---|
| Hex/Allen Keys | For caliper mounting bolts (typically 4mm or 5mm). |
| Torx T25 Key | The standard for the 6 bolts holding a rotor to the hub. |
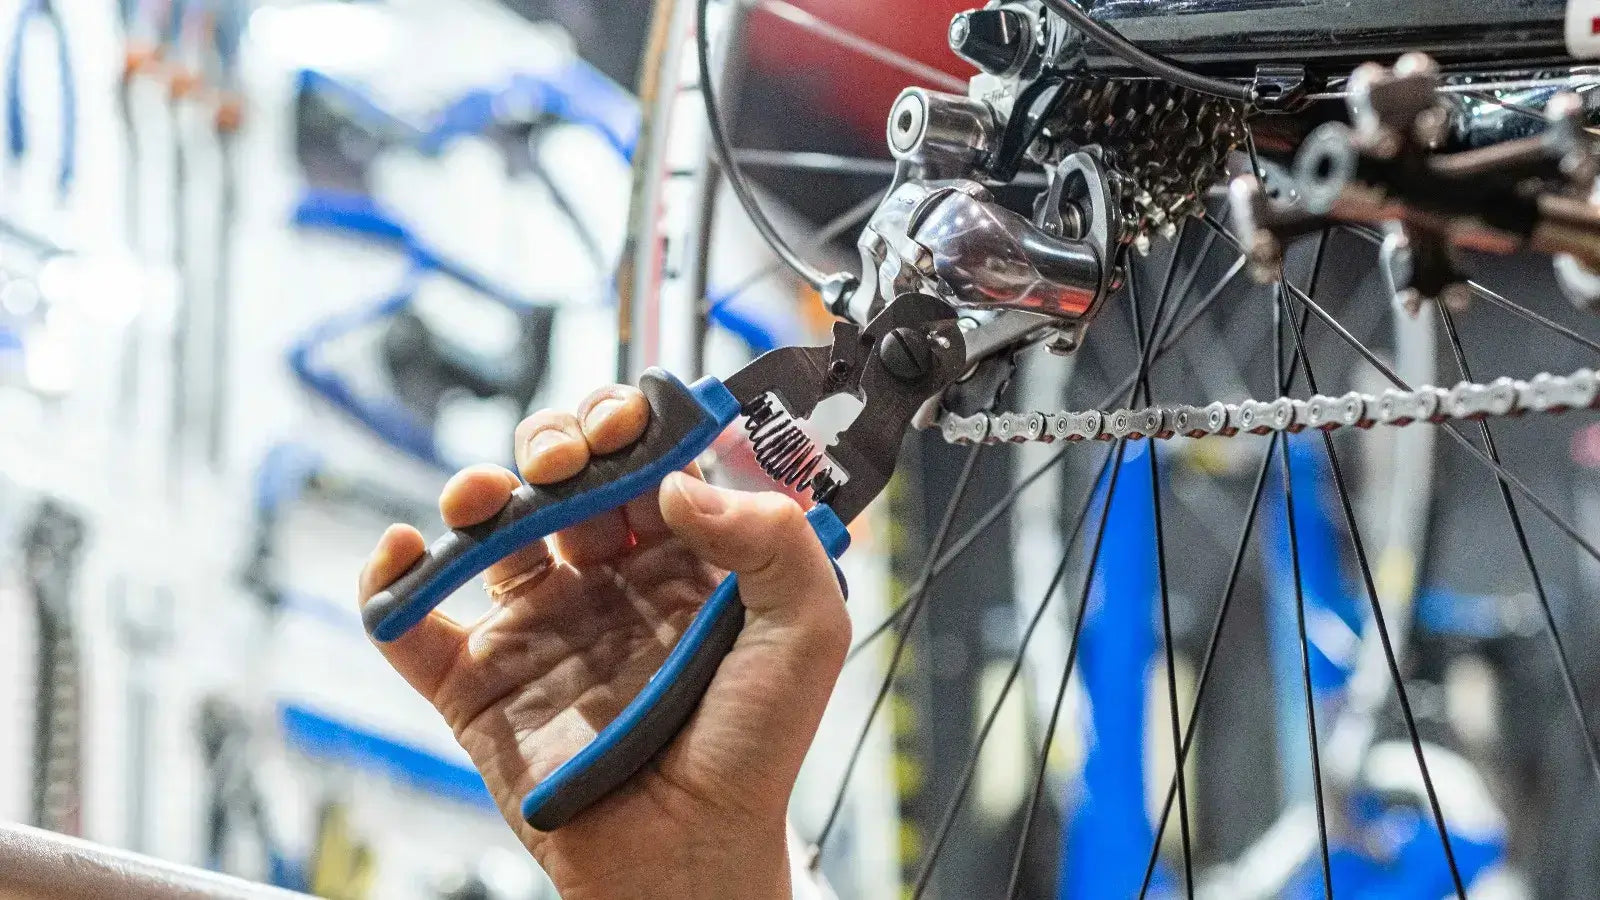
| Needle-Nose Pliers | For removing and installing pad retaining pins or clips. |
| Piston Press or Tire Lever | To safely reset the caliper pistons. A plastic tire lever is a good substitute. |
| Isopropyl Alcohol (70%+) | Essential for cleaning the caliper and rotor without leaving residue. |
| Clean, Lint-Free Rags | To apply alcohol and wipe components without causing contamination. |
Choosing Replacement Parts
Using the correct replacement parts is just as important as using the right tools.
- Pads: You will mainly choose between two compounds. Resin (Organic) pads offer quieter operation and strong initial bite but wear faster and can fade under high heat. Sintered (Metallic) pads are more durable, handle heat better, and perform well in wet conditions, making them the better choice for the high demands of most e-bikes. For more information, you can find guides on choosing the right brake pads for your needs.
- Rotors: When doing a disc brake replacement on your bike, you must match the rotor to your bike's specifications. Note the diameter printed on your old rotor (e.g., 160mm, 180mm, 203mm) and replace it with the same size. Also, check the mounting type: most are either 6-Bolt (using six T25 bolts) or Centerlock (using a splined interface and a lockring).
The Step-by-Step Replacement
This is the main event. Work carefully, keep your workspace clean, and focus on precision. Dirt from oily fingers or dirty rags is the number one enemy of good brake performance.
Step 0: Preparation
- First and most importantly, turn off your e-bike's power system and remove the battery. This prevents any accidental motor engagement and is a critical safety step.
- Mount your bike securely in a repair stand. If you don't have one, you can carefully flip the bike upside down, resting it on the saddle and handlebars.
Part 1: Replacing Pads
- Remove Wheel: Loosen and remove the thru-axle or quick-release skewer and carefully take the wheel off the bike.
- Remove Old Pads: Using needle-nose pliers, straighten and pull out the retaining pin (or unclip the retainer). Pay attention to the metal spring (pad spreader) between the two pads; you'll need to reuse it or use the new one that came with your pads. Pull the old pads out from the top or bottom of the caliper.
- Clean and Reset Pistons: Spray isopropyl alcohol onto a clean rag, not directly into the caliper. Thoroughly wipe the inside of the caliper to remove brake dust and grime. Now, gently and evenly push the pistons back into the caliper body. Use a dedicated piston press or the flat, plastic end of a tire lever. Be slow and gentle when resetting pistons. If you force one side too quickly, the other can pop out, especially on 4-piston brakes. Apply steady, even pressure across both pistons if possible.
- Install New Pads: Sandwich the pad spreader spring between the new pads (ensure it's oriented correctly) and slide the assembly into the caliper. Insert the retaining pin and bend its end with pliers to secure it.
Part 2: Replacing Rotor
- Unbolt Old Rotor: With the wheel out of the bike, use a T25 Torx key to loosen the six rotor bolts. Loosen them a little at a time in a star pattern (like changing a car tire) to prevent warping the hub's mounting surface. Once loose, remove all bolts and the old rotor.
- Clean the Hub: Use a clean rag and isopropyl alcohol to wipe the hub's rotor mounting surface completely clean.
- Mount New Rotor: Place the new rotor onto the hub, making sure any directional arrows for rotation are pointing the correct way (in the direction the wheel spins when moving forward). Hand-tighten all six bolts, then use the same star pattern to torque them down firmly and evenly.
Reassembly and Checks
- Carefully reinstall the wheel, guiding the new rotor so it sits perfectly centered between the new pads.
- Securely tighten the wheel's axle.
- Give the brake lever a few firm squeezes. It will feel soft at first, then firm up as the pistons move the new pads into contact with the rotor.
- Spin the wheel and check for rubbing. If the rotor rubs on the pads, you may need to re-center the caliper by slightly loosening its mounting bolts, squeezing the brake lever, and re-tightening the bolts while holding the lever.

The Most Overlooked Step
You've completed the disc brake replacement on your bike, but the job isn't finished. The most critical and often-skipped step is bedding in your new pads and rotor. This process is what gives you powerful, quiet, and consistent braking.
Why Bedding-In Is Crucial
Bedding-in is the controlled process of transferring an even, thin layer of brake pad material onto the rotor's surface. For a heavy, fast e-bike, this is required. It creates a perfectly matched surface that can withstand the huge heat and pressure of a hard stop without "glazing," a condition where the pads and rotor become polished and slick, severely reducing stopping power. Properly completing the process of bedding and burnishing is the difference between okay brakes and great ones.
The Bedding-In Procedure
- Find a safe, open area with no traffic, like an empty parking lot.
- Accelerate to a moderate speed, about 10-12 mph (15-20 kph).
- Apply one brake (either front or rear) firmly and consistently to slow yourself down almost to a walking pace, but do not come to a complete stop.
- Release the brake, build your speed back up, and repeat.
- Do this 10-15 times for the brake you are working on. You should feel the braking power increase with each repetition.
- Now, perform 3-4 more runs at a slightly higher speed (15-20 mph / 25-30 kph) with harder braking, again, not locking up the wheel or coming to a complete stop.
- Repeat the entire process for the other brake. Let the brakes cool completely before your first real ride.
Proactive Braking Safety
Proper disc brake replacement is a reactive task. True mastery comes from proactive maintenance and safe riding techniques that extend the life of your components and ensure you can always rely on your stopping power.
Smart Braking Technique
- Balance Your Braking: Your front brake provides approximately 70% of your stopping power. Learn to use both brakes together, applying slightly more pressure to the front than the rear for controlled, powerful stops. Avoid relying solely on the rear brake, as this can cause skidding and wears pads out faster.
- Feather, Don't Grab: On long descents, avoid dragging your brakes continuously, as this builds up excessive heat. Instead, apply the brakes firmly for short periods and then release them to allow them to cool.
Regular Checks and Cleaning
- Pre-Ride Squeeze: Before every ride, give your brake levers a quick squeeze. They should feel firm and responsive, not soft or spongy.
- Keep It Clean: The biggest threat to your brakes is contamination. Oil, grease, and some cleaning sprays can ruin your pads and rotors instantly. When lubricating your chain or cleaning your bike, take great care to cover the brake calipers and rotors to prevent any overspray from reaching them. If you suspect contamination, clean the rotor thoroughly with isopropyl alcohol and a fresh rag. Contaminated pads, unfortunately, must be replaced.
Frequently Asked Questions
Q: How often should I replace my e-bike disc brake pads?
A: E-bike brake pads typically need replacement every 500-1000 miles, depending on your riding style, terrain, and weather conditions. Heavy riders or those who frequently ride in hilly areas may need to replace pads more often. Always check pad thickness regularly rather than relying solely on mileage.
Q: Can I replace just the brake pads without replacing the rotors?
A: Yes, you can replace just the brake pads if the rotors are still in good condition. Check that your rotors are above minimum thickness, not warped, and don't have deep grooves or heat damage. If the rotors are worn or damaged, replace them along with the pads for optimal performance.
Q: What's the difference between organic and sintered brake pads for e-bikes?
A: Organic (resin) pads are quieter and provide good initial bite but wear faster and can fade under high heat. Sintered (metallic) pads are more durable, handle heat better, and perform well in wet conditions, making them better suited for the higher demands and speeds of e-bikes.
Q: Why do my new brakes feel weak after installation?
A: New brake pads and rotors need to be bedded in properly to achieve full stopping power. The bedding-in process transfers a thin layer of pad material onto the rotor surface, creating the optimal friction interface. Follow the bedding-in procedure outlined in this guide for best results.
Q: How can I tell if my brake rotor is warped?
A: Spin the wheel and watch the rotor as it passes through the brake caliper. A warped rotor will wobble side to side as it spins. You may also hear a rhythmic rubbing sound or feel pulsing in the brake lever when you apply the brakes. Warped rotors must be replaced as they cannot be safely straightened.


Leave a comment