


Bicycle Carriers for Campers: How to Choose the Right Rack for Your RV or Van
Moving bicycles with your camper, RV, or van is harder than just putting a rack on a regular car. The forces involved, how recreational vehicles are built, and important safety factors need a more careful approach. Picking the wrong bicycle carrier for campers can cause serious problems, damaging your bikes, your RV, and creating danger on the road.
This guide gives you a clear, step-by-step process for choosing the perfect and safe bicycle carrier for your setup. We will cover the main decision points: rack type, vehicle compatibility, bike weight, and must-have safety checks.
Understanding RV Rack Types
The first step is learning about the main types of bicycle carriers available for campers. Each one attaches to a different part of the vehicle and has its own benefits and drawbacks. Choosing the right type for your RV is the foundation of a safe and working setup.
| Rack Type | Best For | Mounting Location | Typical Capacity | Pros | Cons |
|---|---|---|---|---|---|
| Hitch-Mounted | Most RVs, vans, and motorhomes with a receiver hitch. | Rear 2-inch receiver hitch. | 2-4 bikes | Versatile, strong, easy to load, many styles available. | Can block rear access, requires a hitch, may need an extension. |
| Bumper-Mounted | (With caution) Travel trailers with reinforced bumpers. | Square 4" or 4.5" rear bumper. | 2 bikes | Inexpensive, easy to install. | Extremely high risk of bumper failure; not for standard bumpers. |
| Ladder-Mounted | Lightweight bikes on RVs with factory-installed ladders. | RV rear ladder. | 1-2 bikes | Utilizes existing equipment, keeps hitch free. | Very low weight capacity, can damage the ladder if overloaded. |
| A-Frame / Tongue | Travel trailers. | A-frame (tongue) between the trailer and tow vehicle. | 2 bikes | Excellent stability, keeps rear bumper free, bikes are visible. | Adds tongue weight, can limit tight turns, may block storage. |
Hitch-Mounted Racks
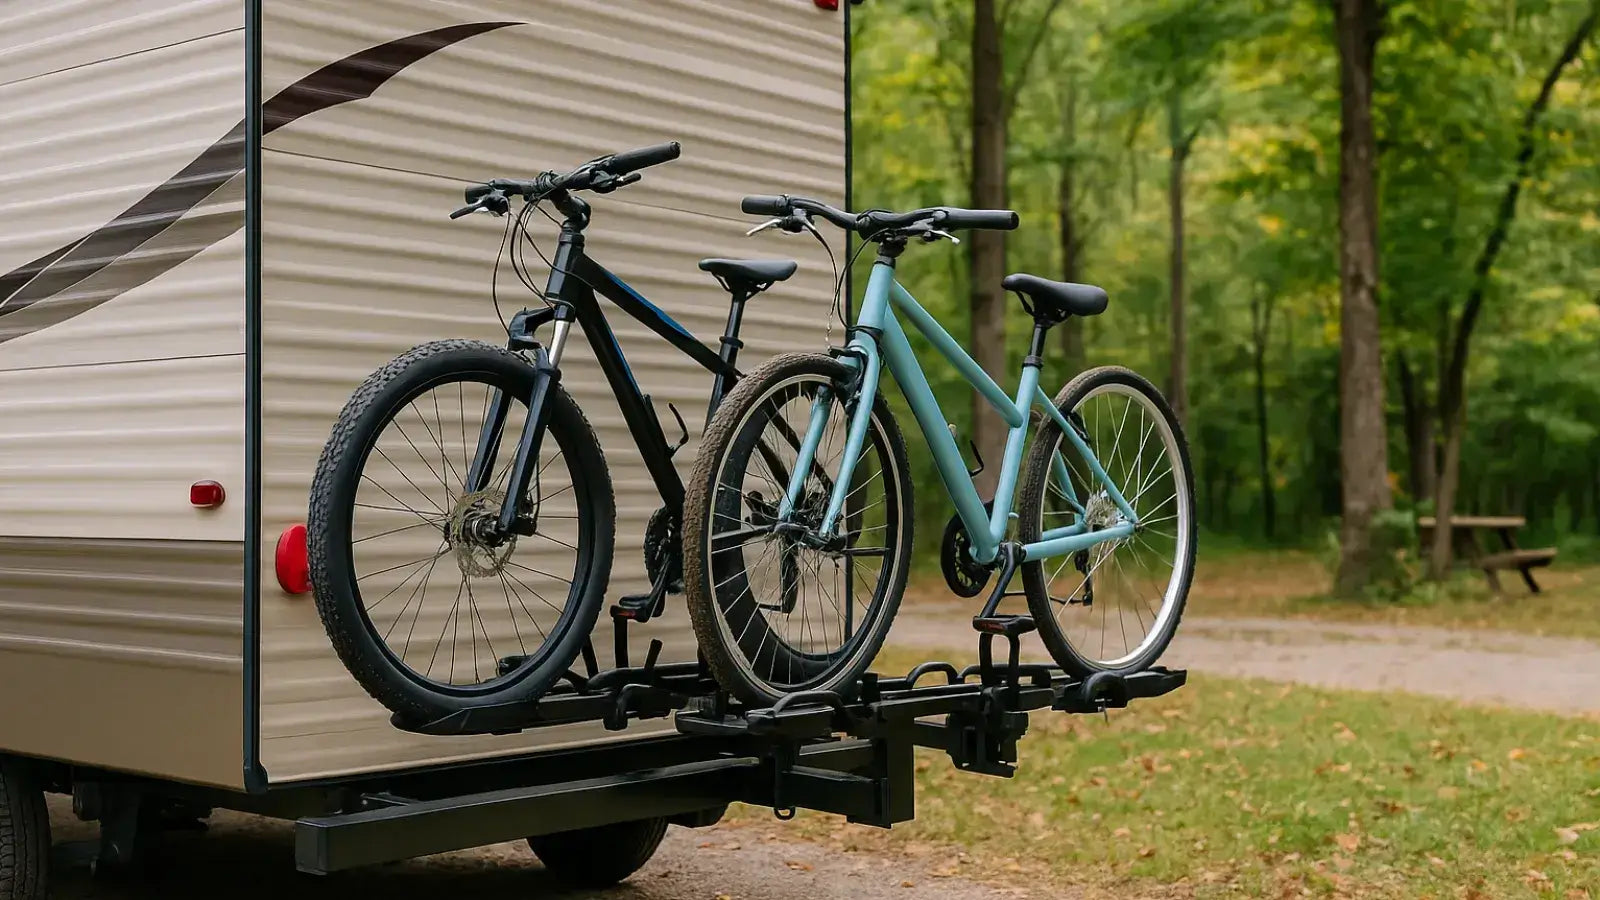
These are the most popular and strong bicycle carriers for campers. They slide into your vehicle's 2-inch receiver hitch and come in two main styles: platform racks, where bikes sit safely on trays, and hanging racks, where bikes hang from their top tube. When you use them on the back of a travel trailer or 5th wheel, you must choose a rack rated as "RV-Approved." These racks are built to handle the much stronger bouncing and shaking that happens at the far back of a towed vehicle.
Bumper-Mounted Racks
These racks clamp directly onto the square steel bumper found on many travel trailers. While they cost the least, they also fail the most often. Standard RV bumpers are not designed to handle the moving load and bouncing forces of a bike rack. The thin metal and weak welds can easily break, sending your bikes and the rack falling down the highway. You should only consider this option if the bumper has been heavily reinforced.
Ladder-Mounted Racks
For RV owners with a factory-installed rear ladder, a ladder-mounted rack can work for very light loads. These racks hang on the ladder rungs and usually have a total weight limit of 50 pounds—enough for two lightweight road bikes, but not for mountain bikes or e-bikes. You must check your ladder's official weight rating. From experience, we know the constant shaking of the road can weaken the ladder's mounting points over time, even if you stay within the weight limit. You must inspect it frequently.
A-Frame Tongue Racks
These carriers are made specifically for travel trailers and mount on the A-frame over the propane tanks. This is a very stable and secure location. It keeps your rear bumper and hitch receiver free for other accessories and lets you watch your bikes from the tow vehicle's mirrors. However, you must account for the added weight on your trailer's tongue. This weight directly affects towing stability and must be included in your total tongue weight calculation, which should ideally be 10-15% of your gross trailer weight.

Matching Rack to Vehicle
After understanding the types, the next step is matching a carrier to your specific vehicle. A great rack on the wrong type of RV is an unsafe combination.
Racks for Motorhomes
For Class A, B, and C motorhomes, a hitch-mounted rack is the best choice. The frame of a motorhome provides a solid, stable mounting point, and these racks offer the highest weight capacity and security. A second option for very light bikes is a ladder-mounted rack, as long as the ladder is rated for the load. An important tip for owners of long motorhomes is to watch out for "rear-end swing." When turning, the back of the RV can swing out several feet, so make sure your rack and bikes have enough clearance to avoid hitting obstacles. Always check that the setup does not block your lights or license plate.
Racks for Trailers & 5th Wheels
For travel trailers and 5th wheels, the safest solutions are A-frame/tongue-mounted racks or a hitch-mounted rack attached to a proper, frame-mounted hitch receiver. We cannot stress enough the danger of using a standard bumper-mounted rack on a trailer. The increased bouncing at the back of a trailer will destroy a weak bumper. Managing your vehicle's load properly is very important; understanding your RV's weight distribution is critical before adding the weight of bikes and a heavy rack to the rear, as this can cause dangerous trailer sway.
Racks for Camper Vans
Camper vans (Class B) work best with hitch-mounted racks. We strongly recommend a model with a swing-away feature. In real use, being able to swing the entire loaded rack out of the way to access your rear doors is a game-changer. It lets you get to important gear stored in the van's "garage" area without the frustrating job of unloading your bikes first. As a second option, some racks mount directly to the rear doors, but these often require installing reinforced hinges to handle the extra weight.
The RV Bumper Problem
We need to spend special time on this topic because it is the most common and dangerous mistake we see RVers make. Understanding why most bumper-mounted bicycle carriers fail is crucial for your safety.
Physics of Bumper Failure
An RV bumper might hold the still weight of two 40-pound bikes when parked. That's 80 pounds. However, when you drive down a bumpy road, the moving forces multiply that weight significantly. The typical 4-inch square tube bumper is made of thin steel, often with welds to the frame that are just strong enough to hold the bumper itself and maybe a sewer hose. It was never designed to handle hundreds of pounds of bouncing force, which can literally pull the bumper off the frame.
What "RV-Approved" Means
You will see some hitch racks advertised as "RV-Approved" or "RV-Rated." This is an important label, but it is often misunderstood. This term means that the bike rack itself is built with heavier-duty materials to handle the violent motion at the back of a trailer. It does not, in any way, mean that your weak RV bumper is safe to mount it on. An RV-Approved rack on an un-reinforced bumper is still an accident waiting to happen.
Safe Bumper Solutions
If you must use your bumper, you must reinforce it.
* Option 1: Bumper Reinforcement. You can install special support brackets. These devices, like the popular "SafetyStruts," bolt to your bumper and connect directly to the RV's frame, moving the load from the weak bumper welds to the strong chassis.
* Option 2: Frame-Mounted Hitch Receiver. This is the gold standard and the best solution. It involves having a 2-inch receiver professionally welded or bolted directly to the RV's frame. As experts at The RV Geeks explain, installing a frame-mounted hitch for a bike rack provides a foundation that is much more secure than any bumper-mounted solution.
Final Decision Factors
Once you've matched a rack type to your vehicle, use this final checklist to select the perfect model for your bikes and travel style.
Bike Weight and Type. Check both the rack's total weight capacity and its per-bike weight capacity. This is absolutely necessary for e-bikes. Electric bikes are very heavy, often weighing 50-80 pounds each. They need heavy-duty, platform-style racks specifically rated for their weight. Look for models that include a ramp for easier loading and unloading.
Number of Bikes. Think about your needs both now and in the future. A 2-bike rack is the most common, but a family might need a 4-bike setup. Remember that more bikes mean more weight and more force put on your vehicle. Make sure the total combined weight is well within the limits of the rack and your vehicle's hitch.
Bike Frame Protection. Consider how the rack holds your bikes. Racks that hold bikes by the frame can cause scratching or, for carbon fiber bikes, potentially crushing damage to the top tube. For expensive carbon frames, bikes with unique shapes, or full-suspension mountain bikes, a platform-style rack that holds the bikes by the wheels is the better choice.
Security and Accessibility. Basic security includes built-in locks that secure the rack to the vehicle and the bikes to the rack. For full-timers or those leaving bikes unattended, we recommend a multi-layered security strategy: use the rack's built-in lock, add a heavy-duty chain or U-lock woven through the bike frames and wheels, and consider hiding a small GPS tracker on high-value bikes. For accessibility, the value of swing-away or tilt-down features cannot be overstated, especially on vans and motorhomes where you need regular access to the rear of the vehicle.

Installation and Safety Checks
Your responsibility doesn't end after the purchase. Proper installation and careful pre-trip checks are essential for safe travel.
Installation Golden Rule
Always follow the manufacturer's installation instructions exactly. Read them twice. Use a torque wrench where specified. If you have any doubts about your ability to install the rack securely, especially if it involves a frame-mounted hitch, have it done by a professional RV service center or a reputable hitch installer.
Pre-Trip Safety Checklist
Do this check every single time before you drive.
1. Check the Rack: Grab the rack and firmly try to move it up, down, and side-to-side. There should be very little movement. Make sure all bolts are tight and the rack is securely seated in the hitch.
2. Check the Bikes: Confirm all clamps, arms, and straps are engaged and tight. The bikes should be completely still. They should not be able to sway, rock, or touch each other or the vehicle.
3. Check Your Lights: Have a partner stand behind the vehicle while you test your turn signals, brake lights, and running lights. Make sure they are clearly visible and not blocked by the rack or bikes.
4. Check Your License Plate: Make sure your license plate is fully visible and lit as required by law. If it's blocked, install a license plate relocation kit. Following federal safety guidelines for carrying cargo is not just about compliance; it's about preventing accidents.
Making the Right Choice
Choosing a bicycle carrier for your camper is a critical decision that directly impacts your safety and the security of your expensive gear. It's a journey of careful consideration, not a quick purchase. By focusing on your vehicle's specific requirements, understanding the absolute limits of your RV's bumper, and matching the rack to the bikes you carry, you make an investment. This investment pays off in peace of mind, protecting your bikes and ensuring you arrive at every destination safely, ready for the next adventure.
🚐 Hitting the road with your camper is always better when your bikes come along for the ride. A solid rack makes loading simple and keeps your bikes safe mile after mile. The Leoguar 2-Bike Hitch Rack is built tough for RVs and vans, giving you the freedom to explore new trails without leaving your wheels behind.
Frequently Asked Questions
1. Q: Can I use any bike rack on my RV bumper?
A: No, most RV bumpers are not designed to handle the dynamic forces of bike racks. Standard bumpers can fail catastrophically, causing dangerous situations on the road. Only use bumper-mounted racks if your bumper has been professionally reinforced or consider a frame-mounted hitch receiver instead.
2. Q: What does "RV-Approved" mean for bike racks?
A: "RV-Approved" means the bike rack itself is built with stronger materials to handle the increased vibration and bouncing at the back of an RV or trailer. However, this does not make your RV's bumper safe to use - you still need proper mounting points and reinforcement.
3. Q: How much weight can I safely carry on my rv bicycle carriers?
A: This depends on your specific rack and mounting point. Hitch-mounted racks typically handle 2-4 bikes or 100-200 pounds total. Ladder-mounted racks are usually limited to 50 pounds. Always check both your rack's capacity and your vehicle's specifications, and never exceed the lower of the two limits.
4. Q: Do I need special equipment for carrying e-bikes on my RV?
A: Yes, e-bikes are much heavier than regular bikes (50-80 pounds each) and require heavy-duty platform-style racks specifically rated for their weight. You'll also want a rack with a loading ramp to make it easier to get the heavy bikes on and off the rack safely.
5. Q: How often should I check my bike rack during travel?
A: Perform a complete safety check before every trip, checking that the rack is secure and bikes are properly clamped. During long trips, inspect the setup at every fuel stop or rest break. Look for any loosening bolts, shifting bikes, or signs of stress on the mounting points.


Leave a comment