


How to Choose the Best Lights on Wheels of a Bicycle
More Than Just a Light Show
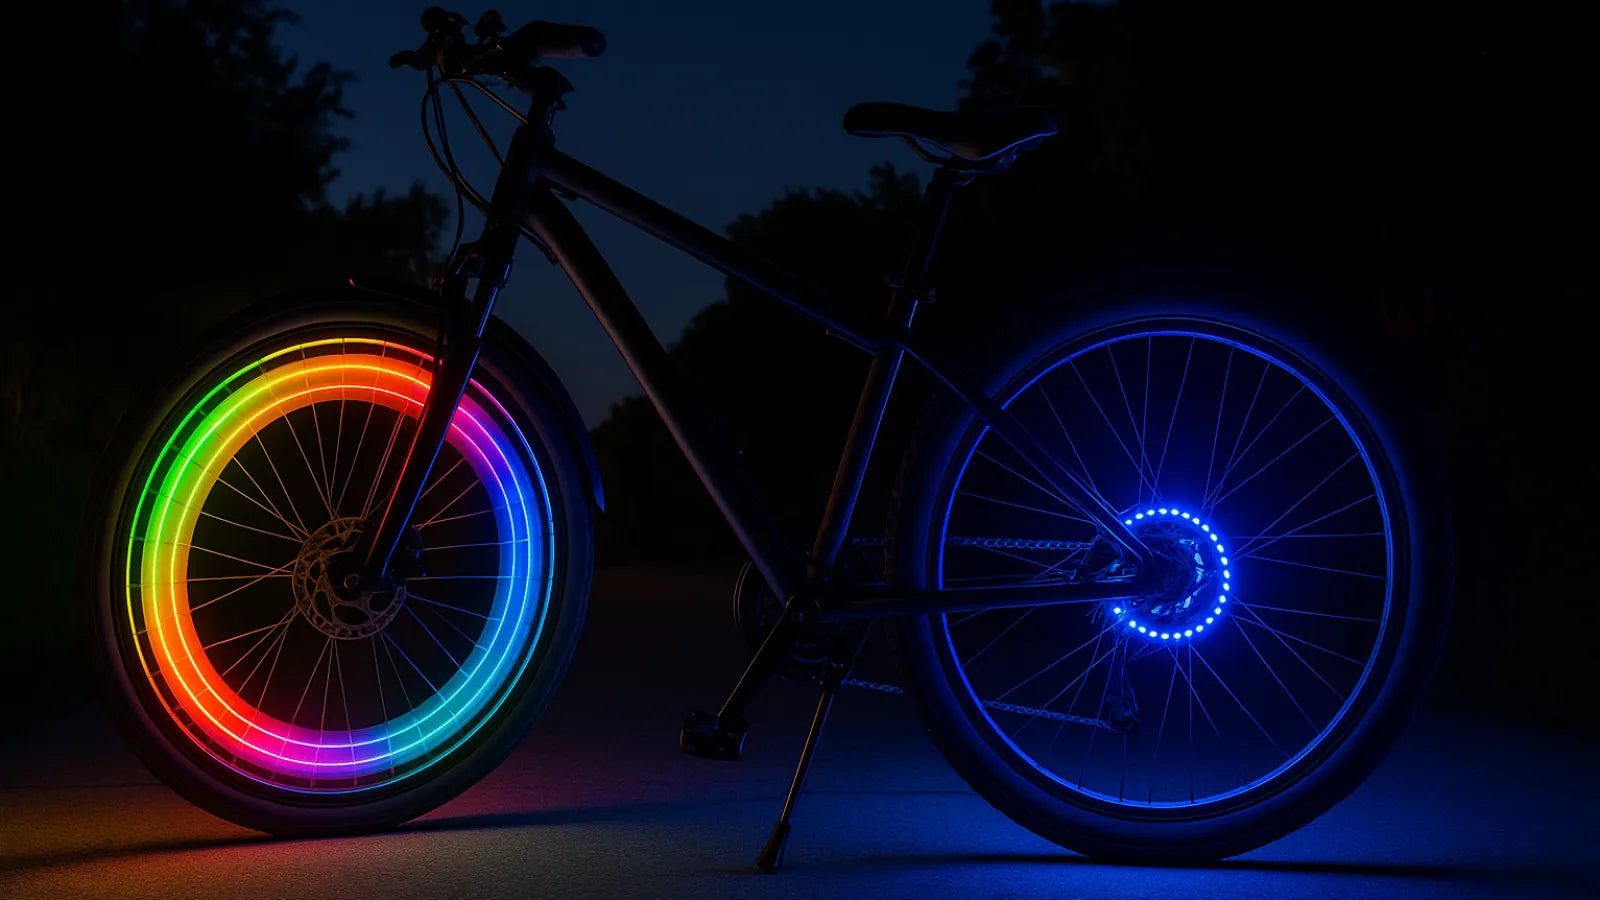
Lights on the wheels of a bicycle have a powerful dual appeal. They offer a great way to express your personal style. But more importantly, they are a serious piece of safety equipment that can save your life. While standard front and rear lights are essential, they can leave you invisible from the side. Wheel lights solve this problem by creating a large, moving circle of light that demands attention.
This guide will take you from curious to confident. We will cover the crucial safety benefits that make these lights a smart investment. We'll break down the different types available, walk you through a detailed buyer's checklist of key features, and clarify the important legal considerations. Think of this as your complete roadmap to choosing the perfect lights for your wheels.
Why Use Wheel Lights?
Understanding the functional importance of wheel lights is key to appreciating their value. They do more than just look good. They address a critical vulnerability for every cyclist, especially in urban environments where cars and bikes share the road.
The "T-Bone" Problem
The most dangerous situations for cyclists often occur at intersections, junctions, and driveways. This is where "T-bone" or side-impact collisions are most likely to happen. Drivers approaching from the side may not see the thin profile of a bicycle until it's too late. Studies from transport safety boards often highlight that a significant percentage of car-bicycle collisions happen at junctions. Standard reflectors are passive and often insufficient for these dangerous situations. Lights on the wheels of a bicycle create an active, impossible-to-miss signal that can prevent accidents.
- Dynamic, Moving Light: A spinning, illuminated circle is far more attention-grabbing to the human eye than a small, static front or rear light. This motion signals that you are a moving vehicle, not a stationary object that drivers might ignore.
- Increased Bicycle Profile: Lights instantly transform your bike's visual footprint from a thin, hard-to-see line into a large, defined shape. This makes you appear more substantial and helps drivers accurately judge your position and speed on the road.
- Effective at Junctions: They are most effective exactly where you need them most—when crossing the path of other vehicles.
Beyond Pure Safety
While safety is the primary driver, the fun factor is undeniable. Wheel lights are a fantastic way to personalize your ride, making it uniquely yours and expressing your personality. For parents, they add an element of excitement that encourages kids to be more safety-conscious about riding at night. In group rides or cycling events, they help you stand out and add to the community atmosphere. This blend of functional safety and personal expression is what makes wheel lights such a compelling accessory for cyclists of all ages.

The Main Types of Wheel Lights
The market for lights on the wheels of a bicycle can be broken down into three main categories. Each has a distinct look, installation process, and ideal use case that appeals to different types of riders. Understanding these differences is the first step in narrowing down your options and finding the perfect fit.
Spoke-Mounted Lights
These are individual light units that clip directly onto the bicycle's spokes. They are the most common and accessible type available in most bike shops. As the wheel spins, the individual points of light can create patterns, from simple dots and streaks to complex, programmable images with more advanced models. They are typically battery-powered and easy to install without tools, making them perfect for beginners.
Rim-Mounted Lights
This type usually consists of a flexible LED strip that adheres to the inner surface of the wheel rim. When lit, it creates a solid, unbroken ring of light, often compared to the look from the movie Tron. This provides the most dramatic and complete circle of illumination that really turns heads. Installation is more involved, often requiring a clean rim surface and careful application, and they can sometimes interfere with rim brakes if not installed properly.
Hub-Mounted Lights
As the name suggests, these units attach to the central hub or axle area of the wheel. They project light outwards towards the spokes and rim, creating a different visual effect than the other types. Rather than lighting the rim directly, they create a central glow that illuminates the moving spokes. These are often very secure and protected from impacts, but the visual effect is more of a radiant center than a defined outer circle.
Comparative Guide
| Feature | Spoke-Mounted | Rim-Mounted | Hub-Mounted |
|---|---|---|---|
| Installation Difficulty | Easy (Tool-free) | Moderate (Requires cleaning/adhesion) | Easy to Moderate (May require tools) |
| Visual Effect | Dots, streaks, patterns | Solid, unbroken ring of light | Central glow, illuminated spokes |
| Common Power Source | Disposable (AAA, Coin Cell) | Rechargeable (USB) | Rechargeable or Disposable |
| Durability | Vulnerable to direct impact | Protected on inner rim | Very protected at wheel center |
| Best For | Kids, casual riders, easy setup | Serious commuters, custom look | All-around use, low maintenance |
A Buyer's Checklist
Choosing the right lights involves more than picking a color that looks cool. As experts who have tested countless models, we've developed this checklist of practical features to evaluate. Use these seven points to find a set that perfectly matches your riding style, climate, and bike setup.
1. Brightness (Lumens) vs. Battery Life
The brightest lights are not always the best choice for every situation. Extremely high lumen counts drain batteries quickly and may be overkill for well-lit city streets where there's already plenty of ambient light. For urban commuting, a set that is clearly visible from a block away is sufficient for safety. For rural roads with no ambient light, prioritize maximum brightness to ensure you're seen. Always check the manufacturer's stated battery life for the specific mode you plan to use most often.
2. Power Source: Rechargeable vs. Disposable
USB-rechargeable lights are eco-friendly and convenient for daily commuters who can charge them at work or home. However, we've found that while rechargeable lights are convenient, their performance can degrade in very cold weather conditions. If you're a winter commuter, models with easily swappable lithium disposable batteries (like AAA) might offer more reliability and consistent performance below freezing.
3. Color and Modes
Lights come in single-color, multi-color, and even fully programmable options that can display images or patterns. While rainbow effects are fun and eye-catching, be aware that certain colors may have legal restrictions, which we cover in the next section. Multiple modes (like steady, slow pulse, fast flash) are useful for different situations, but a simple, steady "on" mode is often the most effective and least distracting to others.
4. Durability and Weather Resistance (IP Rating)
Your lights will be exposed to the elements including rain, snow, and road debris. Look for a weather resistance rating, often an IP (Ingress Protection) code that tells you how well the light handles moisture and dust. A rating of IP65, for example, means the light is dust-tight and protected against water jets from any direction. In simple terms, it can handle heavy rain but shouldn't be submerged in a deep puddle for extended periods. A durable housing that can withstand occasional bumps is also crucial for long-term use.
5. Wheel Compatibility
This is a critical, often overlooked step that can save you from disappointment. Before you buy, confirm the lights will fit your specific bike and wheel setup. Check the following compatibility factors:
- Wheel Size: Most lights fit standard adult and kids' bike wheels (20" to 29"), but always verify the specifications.
- Spoke Type: Some spoke-mounted lights work best with standard round spokes and may not fit on flat, bladed aero spokes found on racing bikes.
- Brake Type: If you have rim brakes, ensure there is enough clearance for rim-mounted light strips. This is not an issue for bikes with disc brakes since they don't interfere with the rim area.
6. Ease of Installation and Removal
How easy is it to get the lights on and off your bike? Many spoke and hub lights offer tool-free installation that anyone can handle. This is great for casual use or if you need to remove them frequently for security when parking your bike. Rim-strip lights are a more semi-permanent installation that requires more time and effort. Consider how often you might need to change batteries or recharge the units when making your decision.
7. Weight and Balance
Most wheel light systems are very lightweight and have a negligible effect on your ride quality. However, heavier systems, particularly rim-mounted strips with larger battery packs, can add a small amount of rotational weight to your wheels. While most riders won't notice this difference during normal riding, performance-oriented cyclists may prefer the lightest option available, typically a single spoke-mounted unit.

Navigating the Rules
A common and important question is: are lights on the wheels of a bicycle legal? The answer is generally yes, but with crucial caveats that every cyclist should understand. Understanding the rules ensures you enhance your safety without creating a hazard or breaking the law in your area.
The Golden Rule: Supplemental Use
First and foremost, you must understand that wheel lights are almost always considered supplemental lighting. They are an addition to, not a replacement for, legally required primary lights that every cyclist must have. You must still have a standard lighting setup that meets your local requirements. Most jurisdictions, such as Washington State's bicycle laws, mandate a white front light and a red rear reflector or light for night riding. Your wheel lights are for extra side visibility and style, not primary illumination.
Key Legal Principles
While laws vary by city and state, they generally follow a few common-sense principles designed to keep everyone safe. Understanding these principles will help you make smart choices about your wheel light setup.
Color Restrictions: This is the most important rule to remember. Flashing red and blue lights are universally reserved for emergency vehicles like police cars and ambulances. Using them on your bicycle is illegal and dangerous because it can confuse other drivers. For your wheel lights, which are visible from the front, side, and rear, it's safest to stick to colors like amber, white, yellow, or green. Avoid any forward-facing red lights or rear-facing white lights as these violate standard traffic conventions.
Flashing vs. Steady: Some regions have regulations concerning the flash pattern or frequency of vehicle lights to prevent distraction or triggering medical conditions like epilepsy. A steady, solid glow is universally accepted and often preferred by road safety experts, as it makes it easier for drivers to track your path and judge your speed accurately.
The "Don't Dazzle" Principle: Your lights should make you visible, not blind other road users or create a safety hazard. While this is more of a concern for powerful headlights, some advanced regulations, like Germany's strict StVZO rules, focus heavily on beam patterns that prevent glare. It's a best practice to ensure your lights aren't so intensely bright or aimed in such a way that they could dazzle an oncoming driver or cyclist.
Reputable organizations like Sustrans in the UK offer clear guidance for cycling in the dark, always prioritizing safety and legal compliance.
A Simple Compliance Checklist
When in doubt, follow this simple checklist to stay on the right side of the law:
- Always have your primary, legally required front (white) and rear (red) lights turned on at night.
- Avoid using blue or red colors on your wheels, especially in a flashing pattern that might confuse drivers.
- If your lights have multiple modes, choose a steady glow over a frantic, distracting flash pattern.
- For specific local ordinances, a quick search on your city or state's Department of Transportation website is the best source of current information.
Your Final Decision
Making the right choice comes down to balancing three key factors: enhanced side visibility, personal style, and legal awareness. The best lights on the wheels of a bicycle are the ones that meet your specific needs in all three areas while fitting your budget and riding habits.
The process is straightforward once you know what to look for. First, identify your primary reason for buying—is it for maximum safety on a daily commute, or for fun and style on occasional rides with friends? Second, choose a type—spoke, rim, or hub—that fits your bike and desired aesthetic while matching your technical comfort level. Third, use the detailed buyer's checklist to critically evaluate the features of specific products, from power source to weather resistance and compatibility with your bike. Finally, ensure the color and mode you plan to use are safe and legal in your area to avoid any issues with law enforcement.
Now you have the expert knowledge to light up your ride with confidence. You can make a choice that not only looks great but, more importantly, adds a vital layer of safety to every trip, whether you're commuting to work or enjoying a weekend ride. Happy cycling and stay safe out there!
FAQ
1. Q: Are lights on the wheels of a bicycle legal to use on public roads?
A: Yes, wheel lights are generally legal as supplemental lighting, but you must still have your required primary front and rear lights. Avoid using red and blue colors, especially flashing patterns, as these are reserved for emergency vehicles. Always check your local traffic laws for specific regulations in your area.
2. Q: How long do the batteries typically last in bicycle wheel lights?
A: Battery life varies significantly depending on the type of light, brightness setting, and battery capacity. Spoke-mounted lights with disposable batteries typically last 20-50 hours, while rechargeable rim-mounted lights usually provide 4-12 hours of continuous use. Cold weather can reduce battery performance, especially in rechargeable units.
3. Q: Can I install wheel lights on any type of bicycle?
A: Most wheel lights are compatible with standard bicycles, but you should verify compatibility before purchasing. Check your wheel size (most fit 20"-29" wheels), spoke type (some don't work with flat aero spokes), and brake system (rim-mounted lights may interfere with rim brakes but work fine with disc brakes).
4. Q: Do wheel lights affect the balance or performance of my bicycle?
A: Most wheel light systems are very lightweight and have minimal impact on ride quality. However, heavier rim-mounted systems with large battery packs can add some rotational weight. The effect is usually negligible for casual riders, but performance cyclists may notice a slight difference and prefer lighter spoke-mounted options.
5. Q: What's the best color for bicycle wheel lights in terms of visibility and safety?
A: White, amber, yellow, and green are the safest color choices as they provide good visibility without violating traffic laws. White and amber tend to be most visible to drivers and are universally accepted. Avoid red (especially forward-facing) and blue colors, and consider using a steady mode rather than rapid flashing for better visibility and legal compliance.


Leave a comment