


Should You Buy Ebike LED Trailer Lights or a LED Trailer Light Kit?
Matching Ebike LED Trailer Light to Mission
The choice between dedicated e-bike trailer lights and a full led trailer light kit comes down to your specific needs. To make the right call, we recommend considering three key factors: your trailer's size and purpose, your primary riding environment (public roads vs. dedicated paths), and your ebike electrical system.
Here's the quick breakdown:
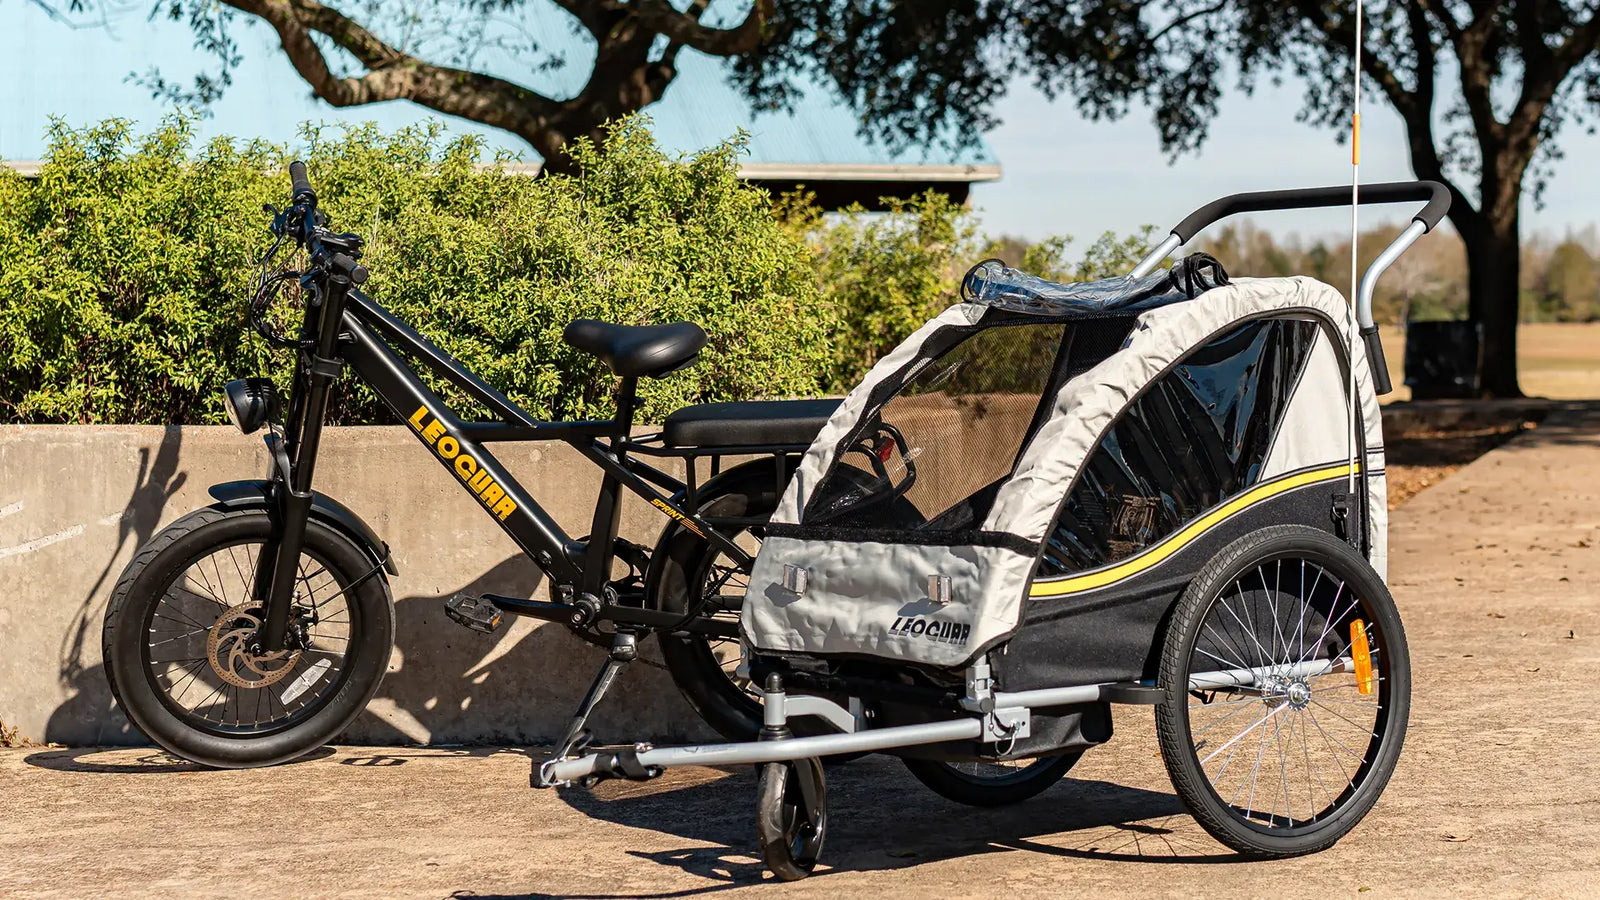
- For small, lightweight trailers—like a kid carrier or a small cargo cart—used mainly on bike paths and in low-traffic areas, standalone, battery-powered e-bike lights are often the simplest and most effective solution. These lights work well for most casual riders.
- For larger, heavier trailers, DIY builds, or for anyone who frequently rides on public roads alongside cars, a complete led trailer light kit wired directly into your e-bike is the safer, more robust, and often legally required option.
Understanding the Options: Ebike LED Trailer Lights or Full Kit?
Before we dive deeper, let's clarify what we're talking about. The market offers two very different types of lighting solutions that often get grouped together, and understanding their basic differences is the first step to making an informed decision.
The Standard LED Trailer Light Kit
This is the kind of kit you'd typically find at an auto parts or hardware store. It's designed for utility trailers, boat trailers, and campers that are pulled by cars and trucks. These kits are built for road-worthiness and legal compliance in a traditional vehicle environment.
A standard led trailer light kit usually includes:
- Two combination Stop/Tail/Turn signal light assemblies. These handle multiple functions in one unit.
- Amber side marker lights. These make your trailer visible from the side.
- A license plate illuminator light. This ensures your plate stays visible at night.
- A comprehensive wiring harness, often 20 feet or longer. The harness connects all components together.
- Mounting brackets, screws, and other hardware.
The critical detail here is that these kits are almost universally designed to run on a 12-volt (12V) DC system, the standard for all cars and trucks. This is a crucial point we'll revisit when discussing installation on an e-bike.
E-bike Specific LED Trailer Lights
These lights are purpose-built for the world of cycling. They prioritize simplicity, low weight, and ease of use over the comprehensive functionality of a full automotive kit. They are rarely sold as a "kit" and more often as individual units or simple pairs.
Key characteristics include:
- They are almost always self-contained and battery-powered, typically rechargeable via a standard USB port. This eliminates the need for complex wiring.
- They are compact, lightweight, and designed to minimize drag and impact on handling. Most weigh less than a few ounces.
- Mounting is incredibly simple, usually involving silicone straps, clips, or simple screw-on brackets. You can install them in minutes without tools.
- Functionality is basic. Most offer a steady red tail light mode and one or more flashing modes. Some advanced models have accelerometers to function as a brake light, but they almost never include turn signals.
Head-to-Head Comparison: Ebike LED Trailer Lights vs. Kits
To truly see where each option shines, let's put them side-by-side. The best choice for you will become clear when you see how they stack up against the features that matter most for e-bike trailering.
| Feature | Standard LED Trailer Light Kit | E-bike Specific LED Trailer Lights |
|---|---|---|
| Power Source | Vehicle's 12V electrical system (requires tapping into e-bike power). | Internal, rechargeable battery (USB-C common). |
| Functionality | Comprehensive: Stop, Tail, Turn Signals, Markers. | Basic: Usually just a bright red Tail/Brake light. |
| Brightness & Visibility | Very high; designed for highway speeds and all weather. | Good, but may be less powerful; designed for lower speeds. |
| Installation | Complex: Requires wiring, splicing, and knowledge of electronics. | Simple: Strap, clip, or mount in minutes. No wiring required. |
| Legal Compliance | More likely to meet local vehicle codes for trailers on public roads. Check your state's official vehicle lighting standards. | May not meet all legal requirements for turn signals or brightness. |
| Cost | Generally higher initial cost for the full kit. | Typically lower cost per light. |
| Best For | Larger cargo trailers, road use, DIY trailer builds. | Small child/pet carriers, foldable carts, bike path use. |
The decision essentially boils down to a trade-off. You're weighing the convenience and simplicity of standalone e-bike lights against the comprehensive safety, functionality, and legal compliance of a full led trailer light kit.
The DIY Challenge
Installation is where these two paths diverge dramatically. One is a five-minute task, while the other is a genuine DIY project that requires care, the right tools, and a bit of electrical know-how. We've done both, and here's a realistic look at what to expect.
Installing a Full Kit
Hooking up a standard led trailer light kit to an e-bike is more involved than on a car, primarily because of one thing: voltage. Your ebike battery runs at 36V, 48V, or even 52V, but the light kit needs 12V.
First, you must solve the voltage problem. Connecting the lights directly will instantly destroy them. The solution is a DC-DC step-down converter, a small electronic module that takes the high voltage from your e-bike battery and safely "steps it down" to a stable 12V output.
Once you have your converter, the process looks like this:
-
Safety First: Always, always disconnect your e-bike's main battery before touching any wiring. This prevents damage to both you and your bike.
-
Mount the Lights: Securely attach the light housings to your trailer's frame. Make sure they are level, visible, and protected from impact.
-
Wire the Converter: This is the most critical step. You need to tap into the main power output from your e-bike's battery controller. You'll connect the converter's input wires to the bike's power and its output wires to the trailer light harness. If you are not 100% confident in identifying these wires, we strongly advise consulting an e-bike professional. A mistake here can damage your bike's expensive controller. For a deep dive, it's worth reviewing resources on understanding an e-bike's electrical system.
-
Run the Harness: Neatly route the wiring from the bike to the trailer, securing it with zip ties. Ensure you leave enough slack for turns but not so much that it can get tangled in the wheel or chain.
-
Test Everything: Reconnect the battery and test all functions—tail lights, brake lights (if your e-bike has a brake signal), and turn signals. Double-check that everything works before your first ride.
Installing E-bike Lights
The experience here couldn't be more different. It's a simple, tool-free process that anyone can handle.
-
Charge the Light: The most important first step is to ensure the light is fully charged via its USB port. Most lights take 2-4 hours for a full charge.
-
Find a Secure Mount: Identify a good spot on the rear of your trailer. A vertical frame member or the back of a cargo rack are ideal. The goal is to place it where it is most visible to someone behind you.
-
Attach and Secure: Use the included silicone strap or clip to mount the light firmly. Give it a wiggle to make sure it won't fall off on a bumpy path.
-
Test Visibility: Turn the light on and step back about 50 feet to check the angle and ensure it's clearly visible. Adjust the position if needed.

Beyond the Basics: Pro Tips for Ebike LED Trailer Lights
Choosing a light isn't just about ticking a box. It's about creating a system of safety for you, your cargo, and everyone you share the road or path with. Thinking beyond the product itself is what separates a good setup from a great one.
More Than Just a Light
A single point of light is good, but being seen effectively is about more than just lumens. True visibility means being recognizable as a cyclist with a trailer from multiple angles, day or night. This is where passive visibility plays a huge role.
We always supplement our lights with:
- High-quality reflectors: Ensure your trailer has red reflectors on the back and amber ones on the sides. These work even when your battery dies.
- Reflective tape: A few dollars' worth of DOT-approved reflective tape applied to the trailer's frame can make it light up like a Christmas tree in headlights. Apply it to frame tubes and corners for maximum effect.
- A safety flag: Especially when carrying children, a tall, brightly colored safety flag makes you visible over the top of parked cars and other obstructions. Orange or fluorescent yellow work best.
These passive measures work 24/7 and are a crucial part of the best practices for cyclist visibility.
A "Belt and Suspenders" Approach
For those who frequently ride on roads with traffic and want the absolute best-in-class setup, we recommend a hybrid approach. This is the "belt and suspenders" method for maximum safety that combines both systems.
Install a fully wired led trailer light kit to handle the essential, legally required functions: bright tail lights, brake lights, and turn signals. This gives you the reliable, integrated functionality needed for communicating your intentions to drivers clearly and legally.
Then, supplement that system with a high-quality, battery-powered ebike light mounted to the trailer, set to a conspicuous flashing pattern. This flashing light acts as a powerful attention-grabber, cutting through visual clutter and alerting drivers to your presence from a greater distance. This redundancy ensures you remain visible even if one part of the system fails and is a proven method for helping to prevent collisions. It's the ultimate setup for peace of mind when you're sharing the road with cars and trucks.
Frequently Asked Questions
1. Q: Can I use regular car trailer lights on my e-bike trailer?
A: Yes, but you'll need a voltage converter since car trailer lights run on 12V and e-bikes typically use 36V, 48V, or 52V systems. Without a converter, you'll damage the lights immediately.
2. Q: How long do battery-powered e-bike trailer lights last on a single charge?
A: Most quality battery-powered trailer lights last 8-15 hours in steady mode and 20-40 hours in flashing mode. Runtime depends on the battery capacity and brightness settings you choose.
3. Q: Are turn signals required for bike trailers?
A: Requirements vary by state and local jurisdiction. Some areas require turn signals for trailers on public roads, while others only require tail lights and reflectors. Check your local vehicle codes for specific requirements.
4. Q: What's the minimum brightness I need for safe trailer lighting?
A: While there's no universal standard for bike trailers, look for lights with at least 50-100 lumens for good visibility. For road riding with traffic, brighter lights (200+ lumens) are recommended for better safety.
5. Q: Can I install trailer lights myself, or do I need a professional?
A: Battery-powered e-bike lights are easy to install yourself in minutes. Full led trailer light kits require electrical knowledge and may need professional installation, especially for the voltage conversion and wiring into your e-bike's electrical system.


Leave a comment