


How to Inflate Cycle Tyres: Complete Air Pump Guide
Why E-Bike Tire Pressure Matters
Your e-bike's performance depends on one simple thing: tire pressure. Getting it right isn't just a small fix. It's the key to getting the most from your bike. The physics are more complex than a regular bike, but the inflation process is easy once you learn the steps.
Here's the whole process in three steps:
- Find Your PSI: Look for the pressure range on your tire's side (like "Inflate to 50-75 PSI").
- Prep the Valve: Figure out your valve type (long and thin is Presta; short and wide like a car's is Schrader). Remove the dust cap and open the valve if needed.
- Connect & Inflate: Attach your air pump tire inflator securely. Pump air until the gauge shows pressure in the right range.
Why E-Bike Tires Are Different
E-bike tires face much stronger forces than regular bike tires. Understanding this helps you maintain your bike better and get a better ride. The inflation rules are the same, but the results matter more because of three things: weight, speed, and efficiency.
The Weight Factor
E-bikes are heavy. The motor, battery, and strong frame add a lot of weight. A typical e-bike weighs 45-55 pounds or more, compared to a 20-25 pound road bike. This extra weight puts constant stress on the tires.
Proper inflation gives the support needed to keep the tire's shape. This stops the sides from bending too much. It's your best defense against pinch flats, where the inner tube gets pinched between the tire and rim when you hit something.
Speed and Power
The motor doesn't just help you go farther; it helps you speed up faster. This quick acceleration and higher speeds put huge stress on the tire. Properly inflated tires make sure the contact patch - the part touching the ground - is the right size and shape.
A good contact patch gives better grip for speeding up, more predictable turning, and better braking. All of this matters more on a faster, heavier bike.
Getting More Range and Comfort
Nothing drains an e-bike battery faster than wasted energy. Under-inflated tires create more rolling resistance, so the motor works harder to keep speed. It's like running in sand versus on pavement.
Keeping your tires at the right pressure reduces this resistance. This directly means more miles per charge. The goal is finding the sweet spot: firm enough for best efficiency and range, but soft enough to absorb road bumps for comfort.
Before You Start Inflating
A few minutes of prep before you connect any pump makes the process smooth and successful. Getting these three things right prevents common mistakes and makes it foolproof.
1. Find the Right Pressure
Your tire tells you exactly what it needs. Look closely at the side, and you'll find text in the rubber that shows the pressure range. It will usually say "Inflate to X - Y PSI" or show a maximum pressure.
PSI (Pounds per Square Inch) is most common in the US, while BAR is used in metric countries. Most pumps show both.
The sidewall gives a safe range, but the best pressure depends on your bike type, weight, and where you ride. Here's a general guide:
| E-Bike Type | Typical Tire Width | Recommended PSI Range |
|---|---|---|
| E-Commuter/Hybrid | 38-50mm | 50-70 PSI |
| E-Mountain (e-MTB) | 2.3-2.8" | 22-35 PSI (Tubeless can be lower) |
| E-Road/Gravel | 28-40mm | 60-85 PSI |
Heavier riders should use the higher end of the range. Lighter riders can use the lower end for more comfort.
2. Know Your Valve Type
There are two main valve types on modern bikes. Your pump needs to match your valve.
Schrader Valve: This is the same type found on car tires. It's wider, with a spring-loaded pin in the center that lets air out when pressed. They're tough and common on hybrid and some e-mountain bikes.
Presta Valve: This valve is narrower and standard on most performance bikes, including e-road and many e-mountain bikes. It has a small locknut on top that must be unscrewed before air can go in or out.
The most common beginner mistake is with the Presta valve. Many people attach the pump without first unscrewing the small locknut at the tip. No air will go in this way. You must twist it counter-clockwise until it stops, then press it quickly to "burp" the valve before pumping.
3. Get the Valve Ready
Once you know the valve type, a final step makes sure it's ready for air.
For Schrader: Unscrew the plastic dust cap and set it aside. The valve is ready.
For Presta: Unscrew the plastic dust cap. Then unscrew the small locknut at the tip until it's fully out (don't worry, it won't come off). Press down on the tip with your finger briefly.
You should hear a short hiss of air. This breaks the seal and confirms the valve isn't stuck, making inflation much easier.
Picking Your Inflation Tool
The term "tire inflator" can mean anything from a classic hand pump to a modern electric device. Choosing the right tool depends on your needs - whether you want speed and accuracy at home or portability for roadside repairs.
Tool Comparison
Here's a breakdown of the most common inflation tools to help you find the right match.
| Tool Type | Pros | Cons | Best For | E-Bike Notes |
|---|---|---|---|---|
| Floor Pump | High volume, accurate gauge, stable, easy to use, fast. | Not portable. | Home workshop for regular maintenance. | Best tool for accurately reaching the higher pressures needed for e-commuter and e-road bikes. |
| Hand Pump | Very portable, lightweight, mounts to bike frame. | Takes significant effort, less accurate, slow. | Emergency roadside flat repairs. | Choose a "high volume" model for wide e-mountain tires or "high pressure" for narrow e-road tires. |
| CO2 Inflator | Extremely fast inflation, very compact and lightweight. | Cartridges are single-use, can be expensive, hard to control pressure. | Emergency race-day or minimal roadside repairs. | Be careful, as rapid, cold inflation can damage some inner tubes or tubeless setups. |
| Electric Portable Inflator | Effortless, preset pressure with auto-shutoff, very accurate, portable. | Slower than floor pump, needs recharging. | Ultimate convenience at home or for road trips. | Popular with e-bike owners due to precision and ease of use, removing all physical effort. |
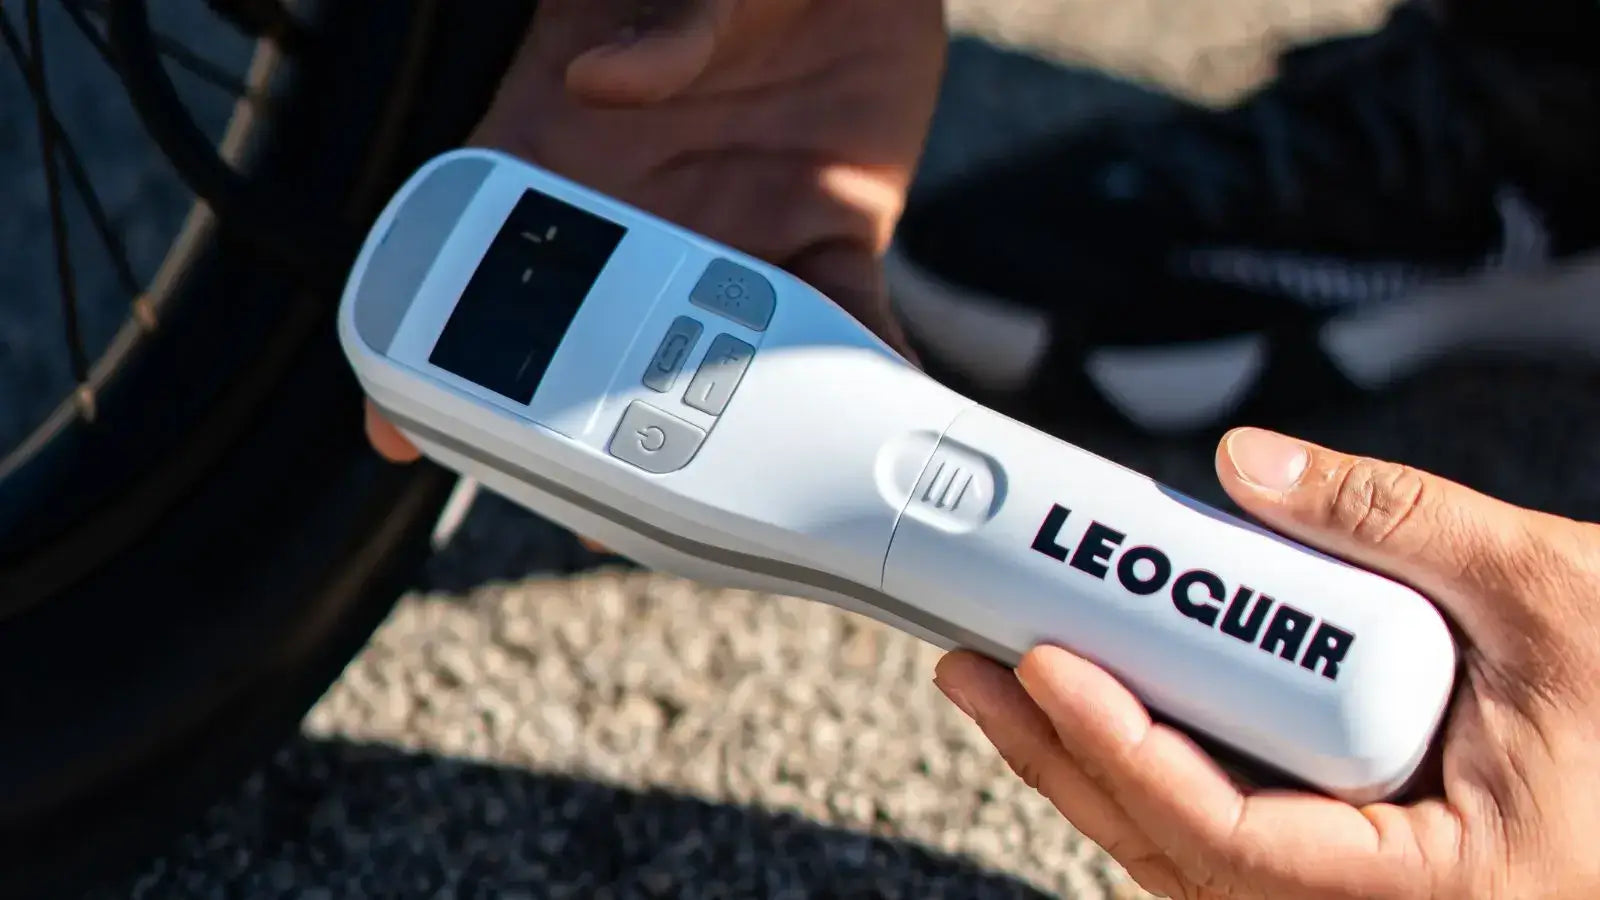
About Electric Inflators
Electric portable tire inflators have become a game-changer for many cyclists, especially e-bike owners. Being able to set exact PSI on a digital screen and have the device shut off automatically removes all guesswork and physical strain. This is especially helpful for riders who find using a high-pressure floor pump difficult or for those wanting perfect, repeatable accuracy every time.
When choosing an electric model, look for key features: an accurate digital gauge, reliable auto-shutoff, and good battery life. For e-bike use, specifically look for a model with high-capacity battery, a screw-on hose for secure connection, and included Presta valve adapter.

How to Inflate Step-by-Step
With your tire prepped and tool chosen, it's time for the main event. The physical process is simple and quick. We've broken it down by the two most common methods.
Using a Floor Pump
This is the gold standard for home maintenance.
- Prepare the Pump Head: Most modern floor pumps have a "smart head" that fits both Presta and Schrader valves, or a dual-head with two separate openings. Select the correct opening for your valve.
- Attach the Head: Press the pump head firmly and squarely onto the valve. You want a deep, solid connection.
- Lock the Lever: Flip the lever on the pump head to lock it in place. This is usually a 90-degree or 180-degree throw. The connection should feel tight and secure. If you hear air hissing, unlock and re-seat the head.
- Inflate: Place your feet on the pump's base for stability. Use your body weight, not just your arms, to push the handle down in smooth, full, powerful strokes.
- Watch the Gauge: Monitor the needle or digital display on the pressure gauge. Pump until you reach pressure within your tire's recommended range. Finding the right PSI for your bike is the goal, so be precise.
- Remove: Once at the desired pressure, quickly flip the lever back to unlock it. Pull the head straight off the valve in one swift motion. You'll hear a brief hiss of air from the pump hose, not your tire.
- Finish Up: For Presta valves, screw the small locknut back down until finger-tight. Replace the plastic dust cap on either valve type.
Using an Electric Inflator
This method focuses on convenience and precision.
- Connect the Hose: Most electric inflators have a hose that screws directly onto the tire valve. This creates a very secure, leak-free seal.
- Power On and Set PSI: Turn the device on. Use the control buttons to set your target pressure on the digital display. The device will also show the tire's current pressure.
- Start Inflating: Press the "start" or "power" button to begin inflation. The internal compressor will run.
- Remove and Finish: The inflator will automatically shut off once it reaches the preset pressure. Unscrew the hose from the valve. Work quickly to minimize the small amount of air that escapes. Replace the valve cap.
Pro Tips and Problem Solving
Sometimes things don't go perfectly. Here are solutions to common problems that will improve your maintenance skills.
Fixing a Poor Seal
Problem: You've locked the pump head on, but you hear constant hissing, and the gauge won't read properly.
Solution: This is a bad seal. Don't try to pump through it. Unlock the lever, remove the pump head, and try again. Push it on more firmly and squarely. For Presta valves, make sure the locknut is fully unscrewed.
A good connection feels solid and is silent until you start pumping.
Preventing Valve Damage
Problem: Your tire seems to have a slow leak right after you've pumped it up.
Solution: This often happens from damaging the valve core, especially on Presta valves. When removing the pump head, many people wiggle it side-to-side, which can bend or loosen the delicate core.
Always pull the pump head straight off in one clean motion. If a Presta valve continues to leak from the tip, you can often use a small valve core tool to gently tighten it.
Checking Your Pressure
Problem: You've inflated to the recommended PSI, but the ride feels unusually hard or soft.
Solution: The gauges on pumps, especially older or cheaper ones, can be wrong. For riders who need absolute precision, like e-mountain bike users running low-pressure tubeless tires where 2 PSI makes a big difference, invest in a separate, high-quality digital pressure gauge.
Use it to double-check your pressure after inflating for perfect, repeatable results.
Checking Tubeless Sealant
Pro-Tip: If you have a tubeless e-bike (common on e-mountain bikes), your regular inflation check is the perfect time for a quick sealant check. Before you pump, remove the wheel from the bike, hold it near your ear, and shake it.
You should hear a small amount of liquid sloshing around inside. If you hear nothing, your sealant has likely dried up, and it's time for a top-up to maintain puncture protection.
Frequently Asked Questions
Q: How often should I check my e-bike tire pressure?
A: Check your tire pressure at least once a week, or before every ride if you ride daily. E-bike tires lose air faster than regular bike tires due to the extra weight and stress, so regular checks help maintain optimal performance and prevent flats.
Q: Can I use a car tire pump on my e-bike?
A: Yes, if your e-bike has Schrader valves (the same type as cars). However, car pumps often lack the precision needed for bike tires and may not have pressure gauges accurate at lower PSI ranges. A dedicated bike pump or electric inflator is recommended for best results.
Q: What happens if I overinflate my e-bike tires?
A: Overinflated tires can burst, cause a harsh ride, reduce traction, and make you more prone to punctures from sharp objects. Always stay within the PSI range printed on your tire sidewall, and consider your weight and riding conditions when choosing pressure within that range.
Q: Why do my e-bike tires keep losing air quickly?
A: Rapid air loss usually indicates a puncture, damaged valve, or worn tire. Check for embedded objects like nails or glass, inspect the valve for damage, and examine the tire for cracks or excessive wear. If the tire and valve look good, the inner tube may need replacement.
Q: Should tubeless e-bike tires use different pressure than tubed tires?
A: Yes, tubeless tires can typically run 5-10 PSI lower than tubed tires because there's no inner tube to pinch. This lower pressure provides better traction and comfort while maintaining puncture resistance through the sealant. Always check your tire manufacturer's specific recommendations for tubeless setups.


Leave a comment