


Disc Brakes Bikes Compared: Maintenance and Replacement Costs
Your Core Questions Answered
Disc brakes are now the standard on most modern bikes. They offer great stopping power and work well in all weather. But what do they cost to own? The initial bike purchase is just the start. The true cost comes from long-term maintenance, which varies a lot between hydraulic and mechanical systems.
We're here to give you real-world answers. A simple pad replacement can be a cheap DIY job, costing just $20-$40 for parts. On the other end, a full hydraulic system replacement by a professional can cost $200-$300. As the bike industry sees the road disc movement as a way to advance bike technology, understanding these costs is more important than ever.
This guide will provide:
- A clear comparison of hydraulic and mechanical disc brakes.
- A practical guide to routine maintenance you can do at home.
- A detailed breakdown of replacement costs for parts and labor.
- Actionable advice on when to do it yourself versus hiring a professional.
Hydraulic vs. Mechanical Brakes
To understand maintenance costs, you first need to know what system you have. All disc brakes work by squeezing pads against a rotor at the wheel's hub, but how they do it separates them.
Mechanical disc brakes operate using a steel cable, much like traditional rim brakes. When you pull the brake lever, it pulls the cable, which moves the brake caliper. Their main advantages are simplicity and ease of repair. Almost any adjustment can be made with basic hex keys, making them perfect for commuters and home mechanics.
Hydraulic disc brakes use a sealed system filled with mineral oil or DOT fluid. Pulling the lever pushes this fluid through a hose to the caliper, forcing the pistons and pads against the rotor. This system delivers much more power and better control, which is the fine control you have over your braking force. They also adjust themselves as the pads wear. This performance is why they are standard for mountain biking and performance road riding, offering superior stopping power, especially in sloppy conditions. Here's a direct comparison:
| Feature | Mechanical Disc Brakes | Hydraulic Disc Brakes |
|---|---|---|
| Stopping Power | Good | Excellent |
| Modulation/Feel | Firmer, less nuanced | Smoother, more precise |
| Maintenance | Simpler (cable adjustments) | More complex (bleeding) |
| Cost | Lower | Higher |
| Best For | Commuters, budget-conscious riders, DIY mechanics | Performance riders, mountain biking, wet conditions |
Routine Brake Maintenance Checks
Preventative maintenance is the best way to ensure safety and avoid expensive repairs. By doing a few simple checks regularly, you can keep your disc brakes working perfectly for years.
The 2-Minute Pre-Ride Check
Before every ride, or at least once a week, perform these quick safety checks:
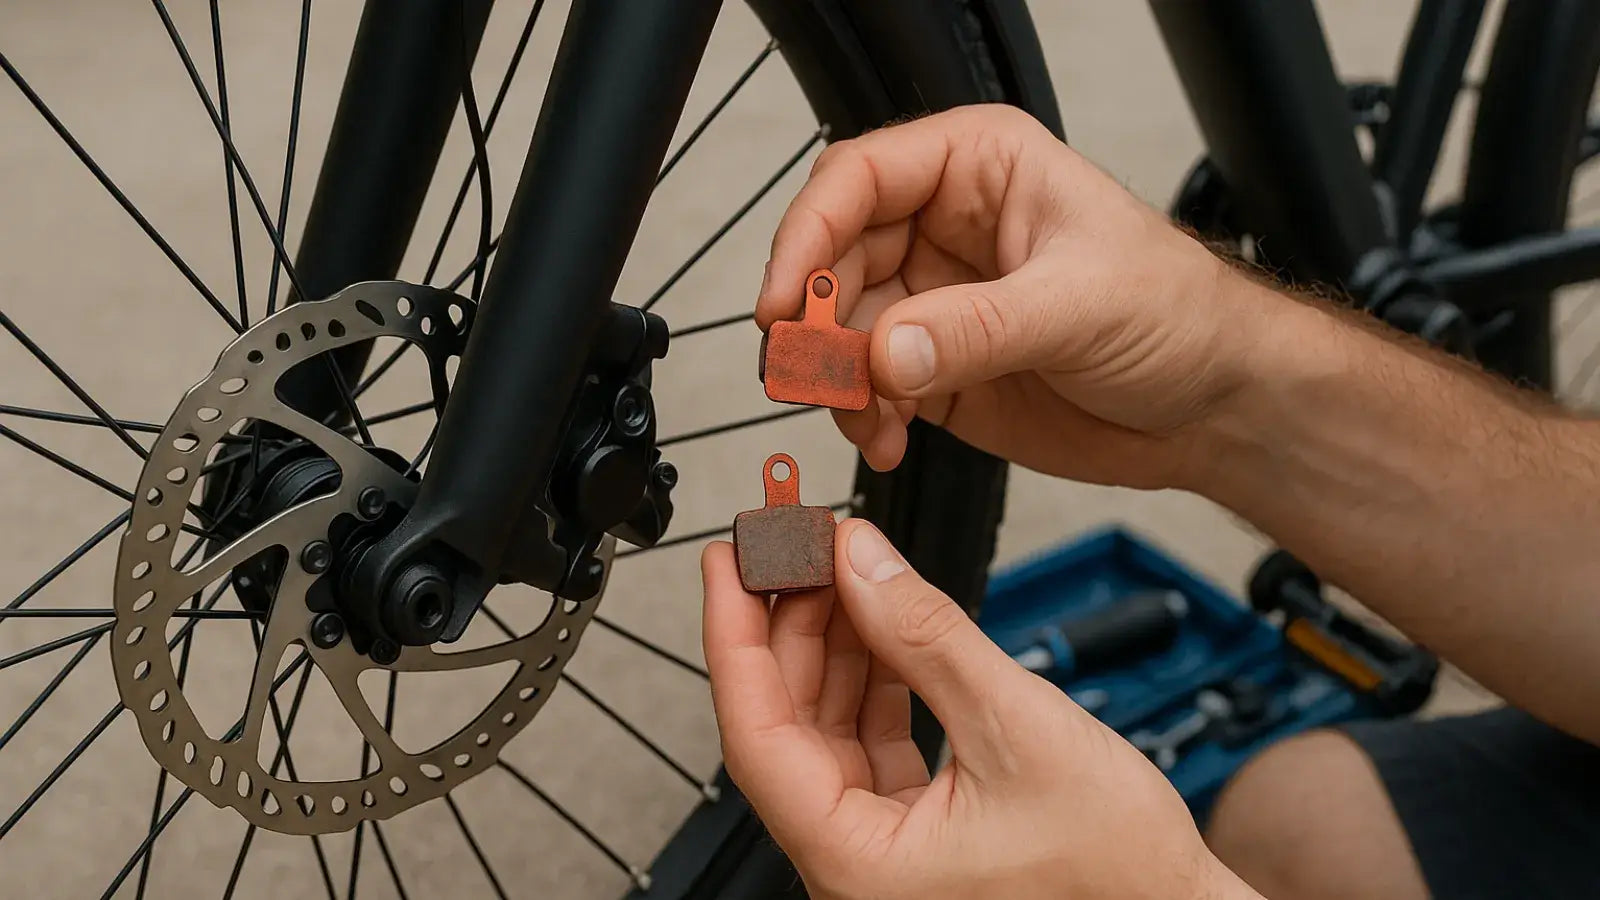
- Visual Pad Inspection: Look into the brake caliper from the top or side. You should be able to see the pad material. Most pads have wear indicator grooves. If the material looks thin (less than 1mm, or about the thickness of a dime), it's time to plan for a replacement.
- Lever Feel: Squeeze both brake levers firmly. They should feel solid and stop well before hitting the handlebar. If a lever feels spongy, soft, or pulls all the way to the grip, it indicates a problem—likely air in the line for hydraulic brakes or a stretched cable for mechanical ones.
- Listen for Rubbing: Lift one wheel at a time and give it a spin. It should rotate freely with only a faint whooshing sound. Any scraping, grinding, or rhythmic chinging means the rotor is rubbing against the pads and needs adjustment.
Monthly Cleaning Routine
Oil, grime, and other dirt are the enemy of disc brakes. They cause a loss of power and a loud, high-pitched squeal. Keeping your rotors and calipers clean is essential.
From our experience, the best method is simple: use a clean rag and isopropyl alcohol. Wipe down the braking surface of the rotor on both sides until the rag comes away clean. It's crucial what you don't do: never use bike-specific degreasers, lubricants, or soap on your rotors. Be extremely careful with overspray from chain lube; always shield your rear rotor with a rag when lubricating your chain. If your pads get contaminated, you'll know from the horrible noise and lack of power. Often, they cannot be saved and will need to be replaced.
For mechanical brakes, you may also need to periodically tighten the cable as it stretches. This is easily done by turning the barrel adjuster located where the cable enters the brake lever or caliper.
When to Replace Components
All brake parts are consumables, but they wear out at different rates. Knowing the signs of wear helps you replace parts only when necessary, saving you money and ensuring your bike is always safe.
Brake Pads
Pads are the most frequently replaced component. You should replace them when:
- The braking material is worn down to 1mm or less. Don't wait until you hear the metal backing plate grinding against the rotor.
- You experience a significant, undeniable drop in braking performance.
- You hear a metallic grinding sound. This is a critical warning sign that the pad material is completely gone, and you are damaging your rotor.
- The pads have become contaminated with oil and cleaning them doesn't restore performance.
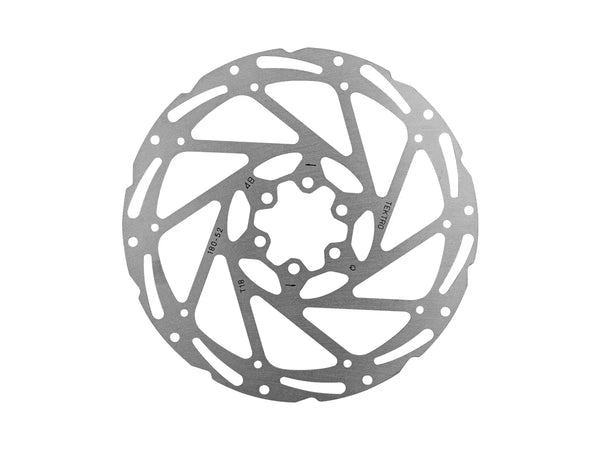
Brake Rotors
Rotors last much longer than pads, but they don't last forever. As a general rule, pads wear and rotors also need replacement when they wear past their minimum thickness. Look for these signs:
- Minimum Thickness: Most rotors are stamped with a minimum thickness, typically "Min. TH 1.5mm." They usually start at 1.8mm or 2.0mm thick. Once they wear down to the minimum thickness, they must be replaced as they can overheat and fail.
- Visible Damage: A rotor that is heavily scored, has a dished or concave surface from wear, or is visibly bent or warped should be replaced. A bent rotor can sometimes be straightened, but a worn or warped one cannot.
Hydraulic Fluid
The fluid in a hydraulic system is not a lifetime component. Over time, it absorbs moisture and breaks down, leading to a spongy or inconsistent lever feel. This is a sign that your brakes need to be bled.
- What is a Bleed? Bleeding is the process of flushing out the old fluid and any air bubbles from the system and replacing it with fresh fluid.
- When to Bleed: We recommend bleeding your hydraulic brakes at least once a year as preventative maintenance. If you ride frequently, in harsh conditions, or are a heavy braker, you may need to do it more often. If your brake lever ever feels soft, it's time for a bleed.
Real-World Ownership Costs
Understanding the potential costs helps you budget for bike ownership. Prices vary by brand (Shimano, SRAM, Tektro) and component level, but this chart gives a realistic average for both DIY and professional service.
| Service / Part | DIY Parts Cost (per wheel) | Professional Labor Cost (per wheel) | Total Pro Cost (per wheel) | Notes |
|---|---|---|---|---|
| Mechanical - Pad Replacement | $15 - $30 | $15 - $25 | $30 - $55 | The easiest and most common DIY job. |
| Mechanical - Cable/Housing | $10 - $20 | $20 - $30 | $30 - $50 | Needed when the cable is frayed or sticky. |
| Hydraulic - Pad Replacement | $20 - $40 | $20 - $30 | $40 - $70 | Simple DIY, but be careful of contamination. |
| Hydraulic - Brake Bleed | $25 - $40 (for bleed kit) | $30 - $50 | $30 - $50 (plus fluid) | Messy; many riders prefer a professional for this. It helps to understand how this all goes together. |
| Rotor Replacement (Either) | $25 - $60+ | $15 - $25 | $40 - $85+ | Price varies greatly with rotor quality and size. |
| Full System Replacement | $50 - $100+ (Mechanical) | $75 - $150+ | $125 - $250+ | A major repair or a performance upgrade. |
DIY vs. Professional Service
One of the best things about modern bikes is how serviceable they are. With a few tools and a little confidence, you can handle the most common maintenance tasks yourself.
When to DIY
Pad and rotor replacements are very achievable for a home mechanic with basic tools. Regular cleaning is a non-negotiable task for every disc brake owner. Performing these jobs yourself not only saves money but also deepens your understanding of your bike.
When to Call a Pro
We recommend seeking professional help if you're facing a hydraulic brake bleed for the first time, as it can be messy and frustrating without the right tools and experience. If a brake lever feels spongy, if you're not comfortable with tools, or if a problem persists after your own attempts to fix it, a good mechanic is worth their weight in gold.

A Simple Guide to Your First Pad Replacement
Ready to try it yourself? Replacing pads is the perfect entry into disc brake maintenance.
-
Preparation: Gather your supplies: a set of hex keys, your new brake pads (make sure they are the correct model for your brakes), a piston press or a clean plastic tire lever, isopropyl alcohol, and clean rags. Start by removing the wheel from the bike.
-
Remove Old Pads: Look at the caliper. The pads are held in by either a retaining pin with a small clip or a threaded bolt. Remove the clip with pliers and pull the pin out, or unscrew the bolt. The old pads should now be loose. Pull them out of the caliper, paying attention to how they and the spring between them are oriented.
-
Reset the Pistons: Your new pads are much thicker than the worn ones you just removed. You need to push the caliper's pistons back into the caliper body to make space. Never use a screwdriver for this, as you can damage the pistons. Use a dedicated piston press tool or the flat, wide end of a clean plastic tire lever. Gently and slowly push each piston until it is flush with the inside of the caliper body.
-
Install New Pads: Take your new pads and sandwich the metal spring between them—it should look just like the old set you removed. Carefully slide the new pad assembly into the caliper opening, ensuring the friction material is facing inward. Re-insert the retaining pin or bolt and secure it with its clip.
-
Reinstall Wheel and Bed-in Brakes: Put the wheel back on the bike. The rotor should slide between the new pads without touching. Squeeze the brake lever a few times; it will feel soft at first, then firm up as the pistons move into place. The final, most important step is to bed-in the new pads. Find a safe, clear area and ride at a moderate speed (10-15 mph). Apply one brake firmly and smoothly until you slow almost to a stop, but don't lock up the wheel. Repeat this 10-15 times. Do the same for the other brake. This process transfers a layer of pad material onto the rotor, which is essential for achieving maximum power and preventing noise.
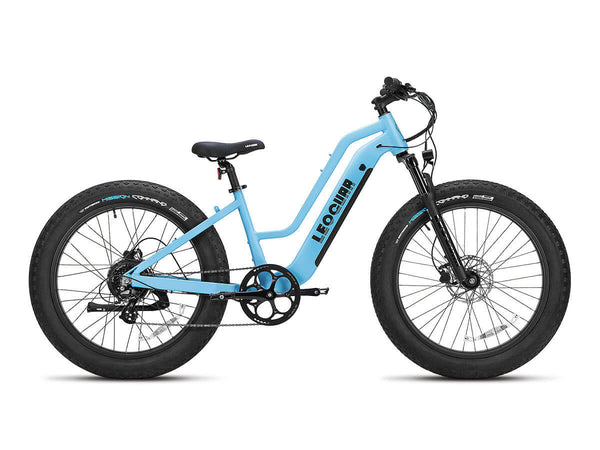
Reliable brakes aren’t just about stopping power — they’re about safety, lower maintenance hassle, and saving money in the long run. The Leoguar disc brake replacement eBike is built with durable components that keep service costs down while giving you consistent, confident braking every ride.
Frequently Asked Questions
1. Q: How often should I replace my disc brake pads?
A: It depends on your riding style and conditions, but most riders need to replace pads every 500-1000 miles. Check them monthly and replace when the material is worn down to 1mm thick.
2. Q: Can I use any brake pads on my disc brakes?
A: No, brake pads are specific to your brake model. Always check your brake manufacturer and model number to ensure you buy the correct replacement pads.
3. Q: Why do my disc brakes squeal?
A: Squealing usually means contaminated pads or rotors. Clean your rotors with isopropyl alcohol and a clean rag. If the noise continues, your pads may be contaminated and need replacement.
4. Q: How do I know if my hydraulic brakes need bleeding?
A: If your brake lever feels spongy, soft, or pulls closer to the handlebar than usual, your brakes likely need bleeding. This should be done at least once a year as preventative maintenance.
5. Q: Is it worth upgrading from mechanical to hydraulic disc brakes?
A: If you ride in wet conditions, do a lot of mountain biking, or want the best possible braking performance, hydraulic brakes are worth the upgrade. However, mechanical brakes are perfectly adequate for commuting and casual riding.


Leave a comment