Best Bike Holder for Water Bottle: Mounting Guide
Introduction: Quenching Your Thirst
Staying hydrated is key to a great bike ride. Most bikes have pre-drilled holes called braze-ons where you can mount a bike holder for water bottle on the frame. But what if your bike doesn't have them? We've got you covered with this complete guide to every possible mounting location.
Good hydration does more than just stop thirst. It directly affects your energy, how long you can ride, and how much fun you have on your bike. Experts say keeping fluid levels up is key to good performance, and having easy access to your water is the first step. For more details, you can read about proper hydration on a ride. In this article, we'll first look at all the places you can mount a water bottle holder, then walk you through how to install it step by step.
Why Placement Matters
Choosing where to put a water bottle holder for a bike is about more than just finding space. The spot you pick affects your whole ride experience. A full 750ml water bottle weighs about 750 grams, and where you put that weight matters for how your bike handles.
Here are the main things to think about:
Accessibility means you can reach your bottle without fumbling or taking your eyes off the road. The best spot lets you grab and return your bottle smoothly with one hand while riding. A poorly placed bottle can be distracting and unsafe when you try to reach it.
Bike balance and handling work best when weight sits low and in the center of your bike frame. Putting a bottle high up on handlebars or behind the seat can change how your bike feels during sharp turns. Road cyclists and triathletes also care about wind resistance, so a bottle on the down tube usually creates less drag than one on the seat tube.
Your water needs decide how many bottles you should carry. A short ride might need just one bottle, but long tours could need three or more depending on where you can mount them.
A Cyclist's Decision Guide
To find the perfect spot for your bike holder for water bottle, you need to match the location to your bike and riding style. Not all spots work the same way for every rider. This guide breaks down the most common mounting points so you can make a smart choice.
Use this table to compare your options, then read our detailed explanations below:
| Mounting Location | Best For (Bike Type) | Accessibility | Impact on Handling | Capacity | Pros & Cons |
|---|---|---|---|---|---|
| Down Tube | Road, MTB, Commuter, Hybrid | High | Low | Standard (1) | Pro: Low center of gravity, easy to reach. Con: Can collect dirt from front wheel spray. |
| Seat Tube | Road, MTB, Small Frames | High | Low | Standard (1) | Pro: Stays cleaner than down tube. Con: Not possible on some full-suspension or small frames. |
| Handlebars | Commuter, Kids', Casual E-Bikes | Very High | Medium | Standard (1) | Pro: Bottle is always in sight and easy to access. Con: Can clutter cockpit, may affect steering feel. |
| Under the Saddle | Triathlon, Time Trial, Road | Low | Medium | Multiple (1-2) | Pro: Very aerodynamic. Con: Difficult to access while riding, requires a special bracket. |
| Front/Rear Racks | Touring, Bikepacking, Commuter | Medium | High | Multiple/Oversized | Pro: Excellent for carrying large volumes of water. Con: Requires a rack to be installed first. |
| Fork Legs | Bikepacking, Adventure Touring | Low | Medium | Oversized (1 per leg) | Pro: Ideal for large Nalgene-style bottles or gear. Con: Can affect steering, requires specific mounts. |
Location Insights
Down tube and seat tube spots are classic choices for good reasons. They keep weight low and centered, so your bike handles normally. Most sport and long-distance bikes have mounts in both places because they work so well.
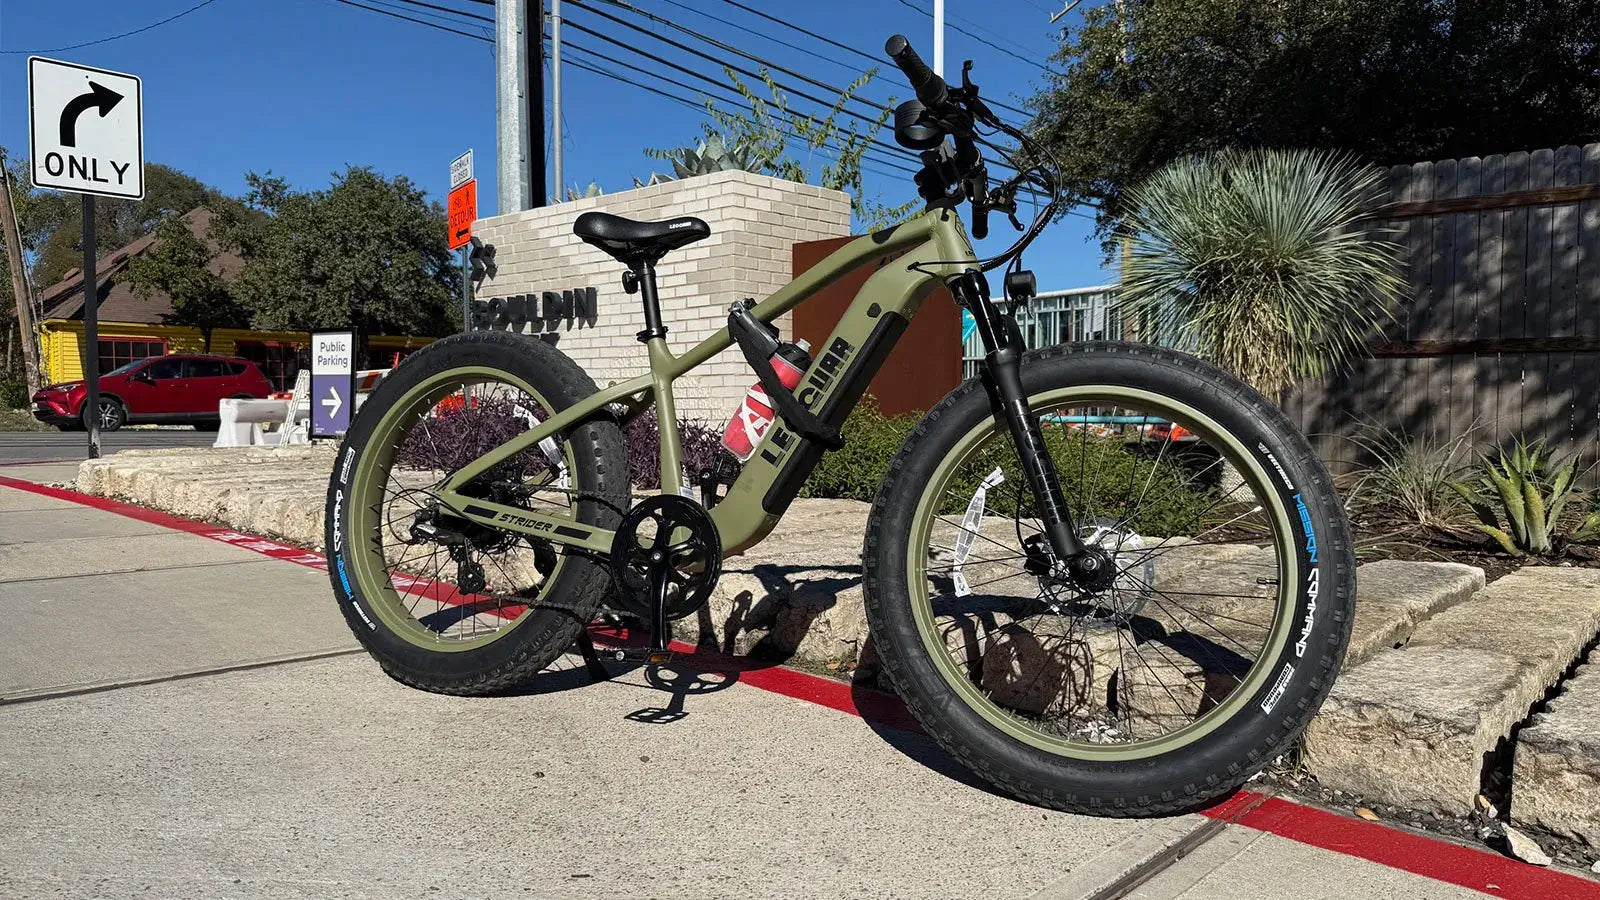
Handlebars work great for commuters who might carry coffee or for kids' bikes that lack frame space. You can see and reach your bottle easily, but the extra weight on your steering might feel different. Under the saddle placement is popular with triathletes and time trial riders who want to cut wind resistance.
The bottles hide behind the rider, but you need more flexibility and practice to reach them while riding. Racks and fork legs are perfect when you need lots of water capacity for touring or bikepacking trips. It's common to see setups with oversized cages for bikepacking that hold 1.5-liter bottles, which frees up frame space for gear bags.
The Gold Standard: Frame Braze-Ons
If your bike has built-in threaded holes called braze-ons, use them for the most secure way to mount a bike holder for water bottle. These small threaded holes appear on the down tube and seat tube of most modern bikes and are made specifically for water bottle cages.
These standard bottle cage mounts are spaced 64mm apart from center to center. This standard spacing means almost any bottle cage you buy will fit perfectly, and installation only needs one tool.
Here's our step-by-step guide for perfect installation:
Gather your tools first - you need your new bike water bottle holder, two bolts, and a 4mm or 5mm Allen key. If there are placeholder screws in the holes, remove them and check that the threads are clean. Position the cage so its mounting holes line up with the braze-ons on your frame, making sure it sits flat against the frame.
Hand-thread the bolts to prevent cross-threading by gently turning each bolt a few times until the threads catch correctly. Use your Allen key to tighten the bolts, but do it alternately - give the top bolt a few turns, then the bottom bolt a few turns, and repeat until both are snug. This prevents the cage from sitting crooked and avoids stress on the frame.
Be firm but don't overtighten, as this can strip threads or damage carbon frames. The cage should feel solid with no wiggling when you're done.
No Holes, No Problem
What if you have a cruiser, kids' bike, or older frame without braze-ons? This is common, and several reliable solutions let you mount a bike holder for water bottle without factory holes. These methods use clamps, straps, and other mounting points to give you the hydration access you need.
Option 1: Strap-On or Clamp-On Mounts
These versatile solutions work as adapters that create bottle cage mounts anywhere on your frame tubing. They have a base with threaded holes and a system to clamp onto your bike, using either hinged clamps with bolts or strong strap systems made of silicone or hook-and-loop fabric.
To install, place the mount where you want it - down tube and seat tube are still best for balance. Put a small piece of rubber between the clamp and your frame to prevent slipping and paint scratches - a strip from an old inner tube works perfectly. Pull the straps or tighten the clamp until the mount is completely secure and won't rotate under pressure, then attach your water bottle holder just like with standard braze-ons.
Option 2: Handlebar Mounts
A handlebar mount puts your water bottle right in front of you. These work great for casual riding, commuting, and bikes where frame space is limited, coming in designs from simple rings that clamp around the bar to more complex brackets.
The advantages include unbeatable access and visibility since you can grab your drink without looking down. They're also perfect for non-standard bottles like a morning coffee thermos, but a full bottle adds weight to your steering which can make handling feel heavier. Installation usually means simply clamping the mount onto an open section of handlebar, though it takes up space you might need for lights, a bell, or bike computer.
Option 3: Seatpost or Saddle Rail Mounts
This option moves the bottle behind you, either clamped to the seatpost or attached to your saddle rails. It creates a clean look and is popular for adding extra water capacity to your setup.
Seatpost mounts use a simple clamp around your seatpost to provide a mounting point for a standard cage. This works great for a second or third bottle, but make sure you have enough exposed seatpost without interfering with pedaling or rear lights. Saddle rail mounts are specialized brackets that attach to the metal rails under your saddle and are popular in triathlon because they're wind-friendly and often hold two bottles.
Reaching these bottles takes more practice than frame-mounted ones. Both options are part of a broader strategy for carrying gear on your bike efficiently while keeping the main frame triangle free for other bags or bike handling needs.

Frequently Asked Questions
Q: How tight should I make the bolts when installing a water bottle holder?
A: Tighten the bolts firmly so the cage doesn't wiggle, but don't overtighten. Use a 4mm or 5mm Allen key and tighten alternately between top and bottom bolts. If you strip the threads or crack a carbon frame from overtightening, you'll need expensive repairs.
Q: Can I use strap-on mounts on a carbon fiber bike frame?
A: Yes, but be extra careful to use padding between the clamp and frame. Carbon fiber can be damaged by concentrated pressure points, so always use rubber strips or frame protection tape. Make sure the clamp distributes pressure evenly across the tube.
Q: Which location gives me the easiest access to my water bottle while riding?
A: The down tube position offers the best balance of easy access and bike handling. You can reach it smoothly with one hand without taking your eyes off the road. Handlebar mounts are even easier to reach but can affect steering feel.
Q: How many water bottles can I mount on a typical road bike?
A: Most road bikes have two sets of braze-ons for the down tube and seat tube, giving you two bottles. You can add more using seatpost mounts, saddle rail systems, or handlebar mounts if you need extra capacity for long rides.
Q: Do I need special tools to install a water bottle holder?
A: You only need one tool - a 4mm or 5mm Allen key depending on your bolt size. Most bottle cages come with the correct bolts included. The installation takes just a few minutes and requires no special bike mechanic skills.


Leave a comment
Please note, comments must be approved before they are published.
This site is protected by hCaptcha and the hCaptcha Privacy Policy and Terms of Service apply.