


What Are the Best MTB Trails Near Me? Tips for Beginners and Pros
Your Modern Compass: How to Find the Best MTB Trails Near Me
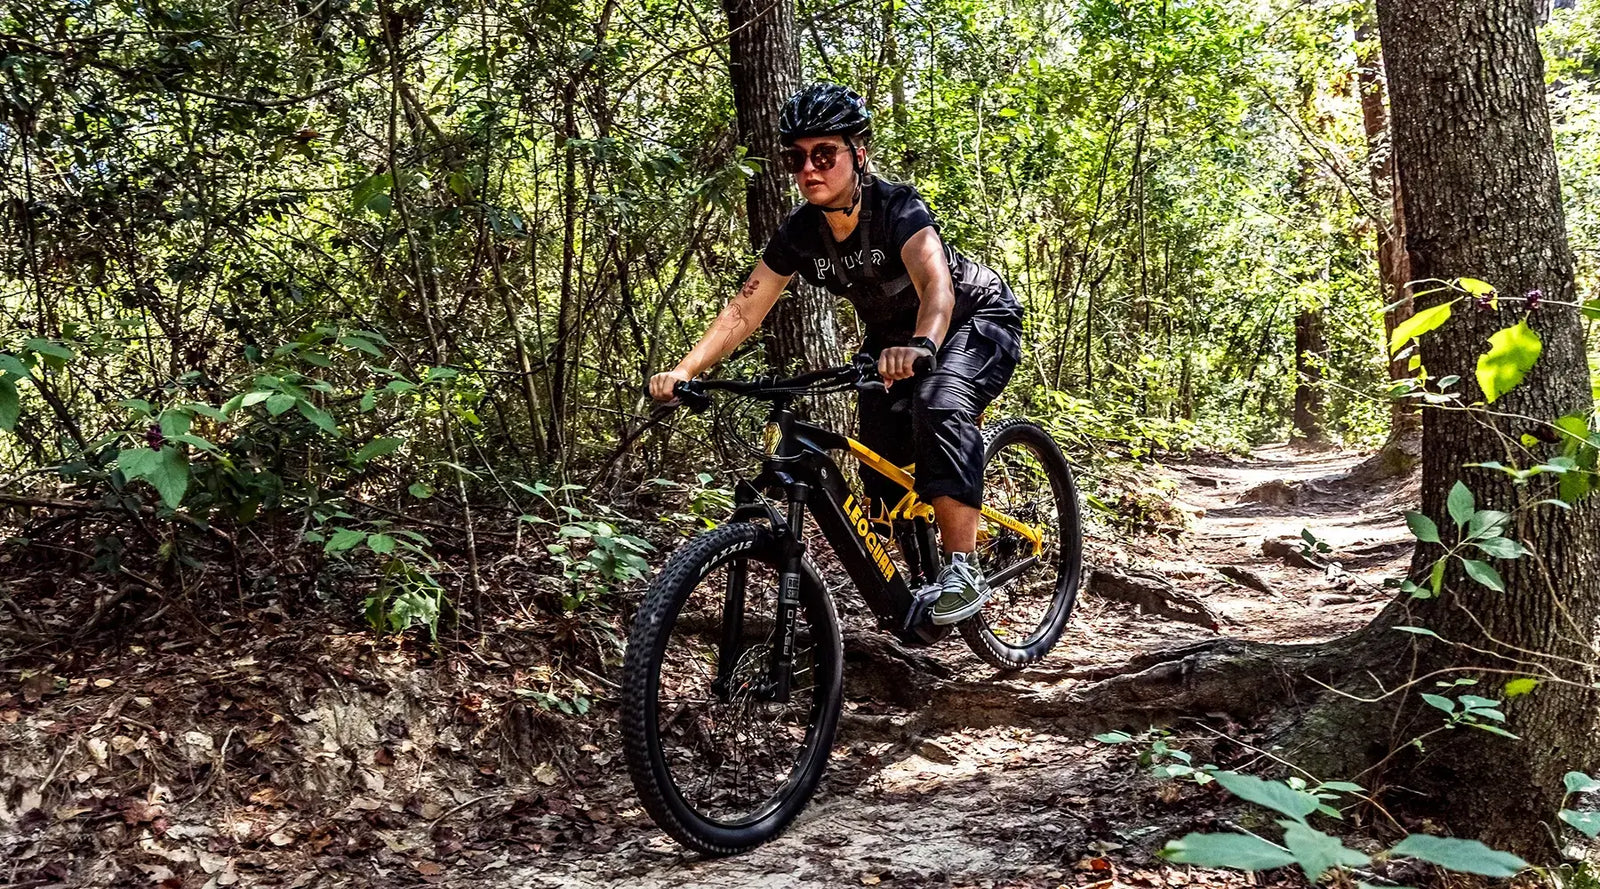
That exciting search for "mtb near me" starts every great adventure. It's a question we've all typed when we want to find our next ride. This isn't just about finding a line on a map. It's about finding the perfect trail that matches your skill, your bike, and what you want to do that day. Whether you're riding for the first time or you're an experienced rider looking for something new, this guide will help you. We'll show you exactly how to find, choose, and get ready for the best mountain bike trails right in your area.
Finding a great mountain bike trail used to need word-of-mouth and old paper maps. Today, we have powerful digital tools right at our hands. Let's look at the best resources that will take you from your computer to the trail quickly.
Digital Trail Maps
These apps and websites are the modern rider's best friend. They give you detailed maps, condition reports, and reviews from other riders. But they're not all the same. Each one has different strengths.
| App/Website Name | Key Features | Best For... | Cost |
|---|---|---|---|
| AllTrails | Huge trail database, user reviews with photos, filters for activity type. | All-around outdoor people who also hike and run. | Free / Premium |
| Trailforks | MTB-specific, very detailed trail data, real-time trail reports from users, heat maps. | Riders who want data and the most current trail conditions. | Free / Premium |
| Komoot | Advanced route planning, turn-by-turn directions, surface and elevation profiles. | Planners and explorers who love making custom long-distance routes. | Free / Premium |
| MTB Project | High-quality routes, supported by IMBA, excellent trail descriptions and photos. | Riders looking for proven, classic loops and reliable trail information. | Free |
Tapping Local Knowledge
While apps are great, they don't have all the secrets. The heart of the local riding scene lives offline. To find the real gems, you need to connect with the community.
Local Bike Shops: Your local bike shop is more than a place for tubes and tune-ups. It's the center of the local scene. The staff ride the trails every day. They know which trails work best after rain, which hidden paths are worth finding, and where to get food after your ride. Don't be shy about asking them for tips.
Local MTB Clubs and Groups: Search on Facebook, Reddit, or Strava for groups in your area. This is where you'll find group ride schedules, trail work days, and riders happy to share their favorite spots. It's the fastest way to find riding partners and get advice from people who know the area.
Official Park and Forest Websites: For the most reliable information, always check the website of the park, forest, or land manager. This is where you'll find official maps, rules, trail open and close status, and any alerts about wildlife or trail work. Just as publications highlight some of the best mountain biking hubs in the country, your local community holds the keys to its own hidden treasures.
Choosing Your MTB Ride for Local Trails Near You
Finding trails is the first step. The next step, and maybe more important, is choosing the right trail. A bad match between your ability and the trail's difficulty can lead to a frustrating or even dangerous day. We're here to make sure every ride is a great one.
Decoding Trail Ratings
The mountain biking community uses a fairly standard system to rate trail difficulty. It's largely based on the IMBA Trail Difficulty Rating System. Understanding these symbols is key to a good day.
Green Circle: Beginner trails are your starting point. Expect a wide, smooth surface with gentle slopes and few obstacles. They are perfect for building confidence and getting used to your bike on dirt.
Blue Square: Intermediate trails are the most common trail rating. Blue trails have narrower singletrack, moderate slopes, and obstacles like smaller rocks and roots. You'll need more bike handling skills and better fitness.
Black Diamond: Advanced trails are a real challenge. Black Diamond trails have steep climbs and descents, large technical obstacles like rock gardens and drops, tight turns, and sections that need commitment and advanced skills.
Double Black Diamond: These trails are for experts only. These trails have features with high consequences. Expect mandatory drops, large jumps, extremely steep terrain, and features that need expert-level bike control. Only ride these when you are completely confident in your abilities.
For the Beginner
We've all been there: the mix of excitement and nerves before that first real mountain e bike ride. Choosing the right trail is the most important thing for a positive experience. We've seen countless new riders quit in frustration after accidentally ending up on a technical blue trail. A great first trail should feel like a success, not a struggle. Look for these features:
Wide, predictable paths that give you room for mistakes. Minimal roots and rocks so you can focus on pedaling and braking. Gentle climbs and descents that won't overwhelm your fitness or brakes. Clear signs and a well-defined loop so you can navigate easily and focus on the ride.
Start on green trails. Ride them until they feel easy. Then, and only then, consider trying a short, easy blue trail to see how it feels.
For the Pro
When you've mastered your local blue and black trails, the hunt for the next challenge begins. You're looking for trails that push your limits and improve your skills. Here's what to search for in trail descriptions and apps:
- Technical Features: Use apps like Trailforks to filter for trails known for rock gardens, drops, jumps, and narrow bridges. Read comments to see what other riders say about the technical sections.
- Significant Elevation: Target routes with major elevation gain and loss. A 3,000-foot day in the saddle is different from a 1,000-foot one. This is where you build true mountain fitness.
- Bike Parks: If you want to focus purely on descending and skill-building, search for lift-served or shuttle-served bike parks. They offer purpose-built jump lines, downhill tracks, and skills areas designed to help you progress safely.
The Pre-Ride Ritual for MTB Trails Near Me
A great day on the trail starts before you even leave the house. A few minutes of preparation can be the difference between a perfect ride and a long walk home. We never hit the dirt without running through this simple checklist.
The ABC Quick Check
This is the classic, must-do bike check. It takes 60 seconds.
- A is for Air: Squeeze your tires. They should be firm, not rock solid. Use a pressure gauge to dial in the right tire PSI for your weight, tires, and trail conditions. Proper pressure is critical for both traction and preventing flats.
- B is for Brakes: Squeeze both brake levers. They should feel firm and engage well before they touch the handlebar. Spin each wheel and apply the brake to make sure it stops the wheel effectively.
- C is for Chain: Quickly run through your gears. The chain should shift smoothly up and down the cassette. Look for any stiff links and make sure it's clean and properly lubricated.
Pack the Essentials
Never assume a short ride will go perfectly. Always carry the basics to handle common trailside problems. At minimum, your pack should contain:
Helmet: This is not optional, ever. Water: More than you think you'll need, and a hydration pack is ideal.
- Multi-tool: One with a variety of hex keys, screwdrivers, and a chain tool.
- Tire levers and spare tube: Even if you run tubeless, a tube is the ultimate backup.
- Mini-pump or CO2 inflator: To get air back in that spare tube.
- Snacks: A simple energy bar can save a ride when you start to run out of energy.
- Phone: Fully charged, for photos, navigation, and emergencies.
Know Before You Go
Your bike is ready, your pack is set. One last check:
- Check Trail Conditions: A trail that was perfect yesterday could be a muddy mess today. Use Trailforks or check local club websites for the most current status, because riding wet trails can cause significant damage.
- Check the Weather: A sunny start can quickly turn into a thunderstorm in the mountains. Pack a light rain shell if there's any chance of rain.
- Tell Someone Your Plan: Let a friend or family member know where you're going and when you expect to be back.

Respect the Ride: Best Practices on MTB Trails Near Me
We are all part of a larger community of trail users. Being a good steward of the trails ensures they stay open and enjoyable for everyone. Following proper trail etiquette is as important as any bike handling skill.
- Ride on Open Trails Only: Respect closures for weather, wildlife, or maintenance. Leave No Trace: Pack out everything you pack in, including gel wrappers and old tubes.
- Control Your Bicycle: Ride within your limits at all times. Anticipate other trail users around blind corners.
- Yield Appropriately: This is the big one. Downhill riders yield to uphill riders because it's much harder to restart on a climb. Bicyclists should yield to both hikers and horse riders. Greet others with a friendly hello so they know you're there.
- Never Scare Animals: Give wildlife plenty of space. When passing horses, stop, speak to the rider in a calm voice, and ask for instructions on how to pass safely.
Your Adventure Awaits
The search for "mtb near me" is a universal starting line. Now you have the complete playbook: how to use modern tools and local knowledge to find the trails, how to decode their language to choose the right one for you, and how to prepare for a safe and successful day. The final step is the most important one.
Get out there and explore. Challenge yourself and be a positive force in the community. The trails are waiting, and we'll see you out there.
FAQ
1. What does "mtb near me" mean and how should I search for trails?
MTB stands for mountain biking, so "mtb near me" means you're looking for mountain bike trails in your local area. The best way to search is using apps like AllTrails, Trailforks, or MTB Project, combined with asking at your local bike shop and joining local MTB groups on social media.
2. How do I know if a trail is right for my skill level?
Mountain bike trails use a color-coded system: Green Circle for beginners (wide, smooth paths), Blue Square for intermediate (narrower trails with moderate obstacles), Black Diamond for advanced (steep terrain with technical features), and Double Black Diamond for experts only (high-consequence features requiring expert skills).
3. What essential gear should I bring on every mountain bike ride?
Always bring a helmet, water (more than you think you need), a multi-tool, tire levers, spare tube, mini-pump or CO2 inflator, snacks, and a fully charged phone. Even on short rides, these basics can save your day if something goes wrong.
4. What is the ABC quick check before riding?
The ABC check is a 60-second bike safety check: A for Air (check tire pressure), B for Brakes (test both brake levers and make sure they stop the wheels), and C for Chain (shift through all gears to ensure smooth operation). This simple check prevents most common mechanical issues.
5. What trail etiquette should I follow when mountain biking?
Always ride on open trails only, pack out all trash, control your bike and ride within your limits, yield to uphill riders when you're going downhill, yield to hikers and horse riders, greet other trail users with a friendly hello, and give wildlife plenty of space. Following these rules keeps trails open for everyone.


Leave a comment