


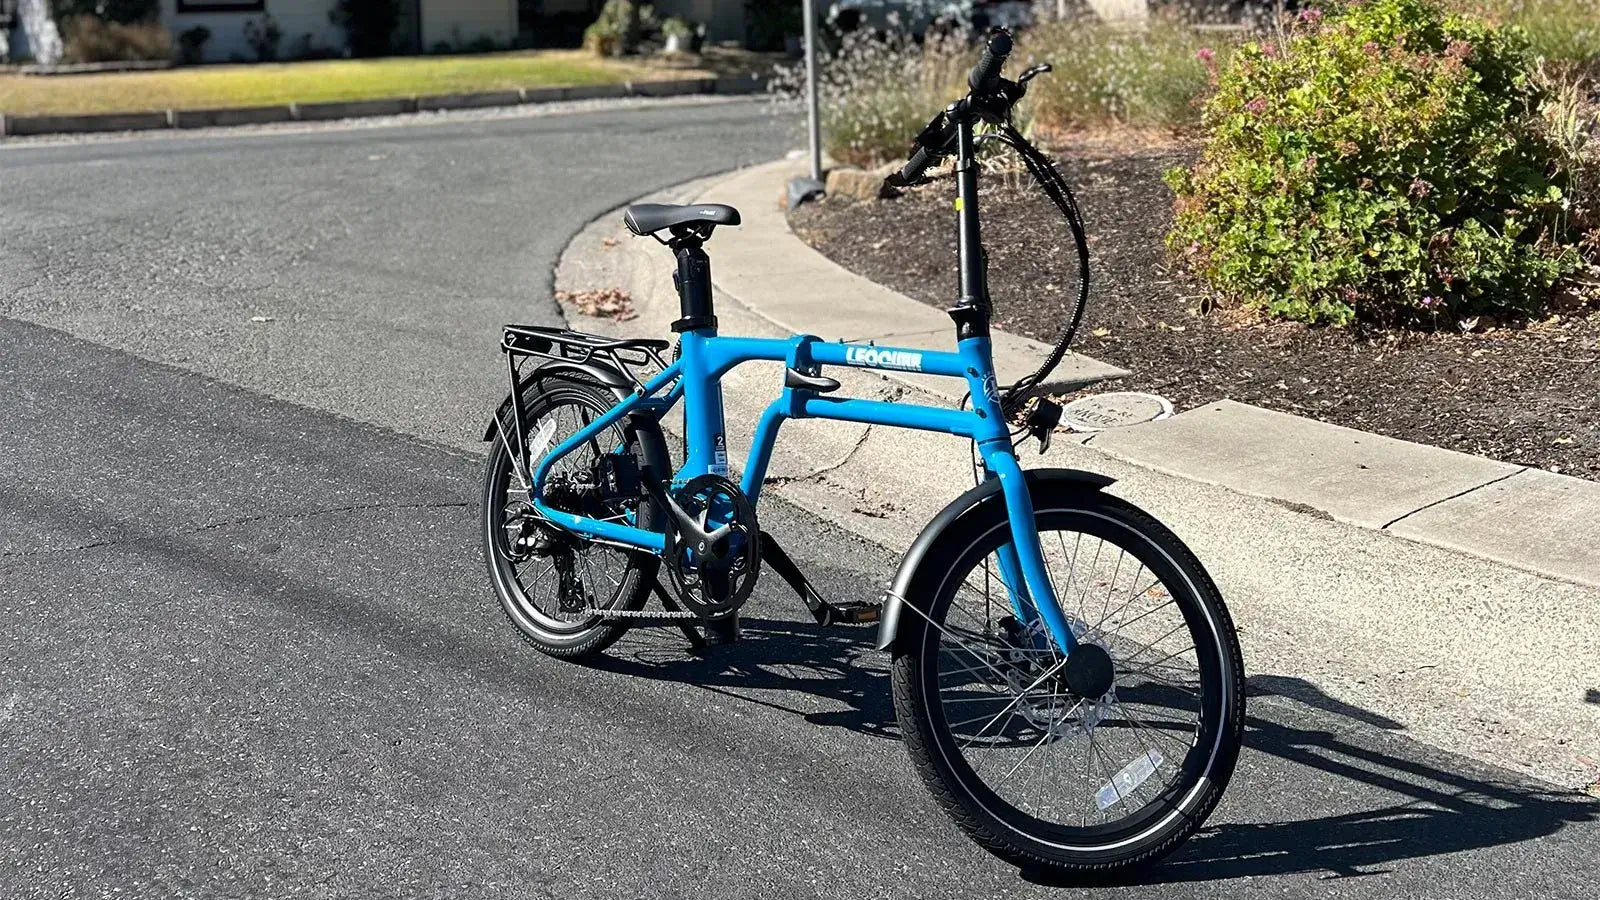
Best Bike Fender Brackets in 2025: Secure Your Ride with the Right Fit
That annoying rattle from your wheel on every bump is frustrating. The noise of a fender that won't stay centered shows your bike has problems. These are clear signs of a broken ride.
The bike fender bracket is the unsung hero that prevents this. It's a small but important part that controls stability and performance. A poor fit causes noise and bad protection, but the right one gives you a quiet, dry, and secure experience. This guide will walk you through everything from understanding bracket types and materials to choosing and installing the best one for your specific bike, ensuring a secure, quiet, and effective setup for the perfect fit.
Why Choosing the Right Bike Fender Bracket Matters
Choosing a quality bike fender bracket is about more than just holding a piece of plastic or metal over your tire. It's a direct investment in your safety, your bike's life, and the overall quality of your ride. Here's why it deserves your attention:
Stability and Safety: A weak or badly installed bracket is a safety risk. It can allow the fender to shift, rub against the tire, and cause early wear. In a worst-case situation, the fender could catch the tire tread and jam the wheel suddenly, leading to a dangerous crash. A solid bracket prevents this by locking the fender in place.
Eliminating Noise: The number one cause of fender rattle is a weak or poorly-secured bracket. Every vibration from the road transfers through the frame and gets louder with a loose fender. A strong, well-designed bracket provides a stiff, vibration-reducing connection between the frame and the fender, resulting in a perfectly silent ride.
Protecting Your Investment: A well-secured fender provides steady, best coverage. This protects your bike's most vulnerable parts—the drivetrain, bottom bracket, and headset—from the constant attack of water, dirt, and road grime. Better protection means less wear, fewer costly repairs, and a longer life for your bike.
Bike Fender Bracket Anatomy Explained
To make a smart choice, you need to know the language. A bike fender bracket system is simple, but understanding its parts is key to identifying what you need.
The Mount: This is the part of the bracket that attaches directly to your bike's frame or fork. It could be a simple tab with a hole designed for a frame eyelet, a loop that shares the fork crown bolt with a caliper brake, or a clamp that wraps around a fork leg or seat stay.
The Bridge/Arm: This is the structure that connects the mount to the fender itself. On some designs, like a sliding fork crown bracket, the mount and bridge are combined. On others, it's a separate arm that provides the necessary clearance and positioning.
The Fasteners: These are the nuts, bolts, and washers that hold everything together. The most common bolt size for bicycle frame eyelets is M5, so having a good set of M5 bolts in various lengths is essential for any DIY mechanic. Washers are critical for spreading pressure and preventing damage to the fender or frame paint.

Complete Guide to Bike Fender Bracket Types
Bike fender brackets are not one-size-fits-all. The right type depends entirely on your bike frame design. As noted by cycling experts, there are generally two main types of fenders and their mounting systems: those for frames with dedicated mounting points and those for frames without.
Direct-Mount Brackets
These are for bikes built with fender installation in mind, featuring threaded eyelets at key locations.
Fork Crown Bracket: This is the primary front mount. It's typically an L-shaped or sliding bracket that attaches via a bolt passing through the hole in the fork crown. It provides the main point of vertical stability for the front fender.
- Best for: Road, touring, and commuter bikes with drilled fork crowns.
Seat Stay Bridge Bracket: This bracket connects the top of the rear fender to the small cross-brace (the bridge) located between the seat stays. It is essential for preventing the rear fender from swaying side-to-side.
- Best for: Most bikes with a seat stay bridge, which is common on steel and aluminum frames.
Chainstay Bridge Bracket: This often-overlooked bracket secures the lower part of the rear fender to the bridge behind the bottom bracket shell. It is critical for stopping the fender from flapping and spraying water onto the drivetrain.
- Best for: Touring and all-weather commuter bikes designed for full-coverage fenders.
Adapter Brackets
These are clever solutions for mounting full fenders on bikes that lack traditional eyelets, like many modern carbon road bikes or older track bikes.
P-Clips/Rubber-Lined Clamps: These are the most common solution for bikes without eyelets. A P-shaped metal or plastic clip, often lined with rubber to protect the frame, wraps around a fork leg or seat stay. The fender stay then bolts to this clip.
- Best for: Attaching fender stays to frames and forks lacking dedicated eyelets.
Axle-Mounting Brackets: These adapters are designed to be secured by the wheel's quick-release skewer or thru-axle. They provide a sturdy mounting point near the dropouts when no other option is available.
- Best for: Bikes with disc brakes or unusual dropout designs where eyelets are absent.
Seatpost-Mount Brackets: While more common for quick-release or "clip-on" style fenders, some full-fender systems use a robust clamp around the seatpost as the primary upper mounting point for the rear fender.
- Best for: Rear fenders on bikes without a seat stay bridge, such as some aerodynamic or minimalist frames.
Bike Fender Bracket Compatibility Matrix
Choosing the right bike fender bracket requires matching your frame, fender style, and available mounting points. This matrix simplifies the process.
| Bike Type | Common Fender Style | Required Front Bracket | Required Rear Bracket(s) | Key Considerations |
|---|---|---|---|---|
| Road/Gravel Bike (with eyelets) | Full-Coverage Aluminum/Plastic | Fork Crown Bracket | Seat Stay & Chainstay Bridge Brackets | Check tire and brake caliper clearance. Ensure brackets match fender width. |
| Commuter/Hybrid (with eyelets) | Full-Coverage Plastic/Steel | Fork Crown Bracket | Seat Stay & Chainstay Bridge Brackets | The most straightforward setup. Often sold as a complete kit. |
| Modern Road Bike (no eyelets) | Full-Coverage Plastic | Axle-Mount Adapters, P-Clips for stays | Axle-Mount Adapters, P-Clips for stays, Seatpost Clamp | Compatibility with disc brakes and thru-axles is crucial. |
| Mountain Bike (Hardtail) | Clip-On or Full-Coverage | Fork Steerer or Arch Mount | Seatpost Mount, P-Clips for stays | Suspension fork compatibility is key. Arch mounts work best for suspension. |
| Vintage Road Bike | Full-Coverage Metal | Fork Crown Bracket (often shared with brake bolt) | Seat Stay & Chainstay Bridge Brackets | May require longer bolts or creative washer use for clearance around older brakes. |
Which Bike Fender Bracket Material Is Best?
The material of your bike fender bracket affects its durability, weight, and price.
| Material | Pros | Cons | Best For |
|---|---|---|---|
| Stainless Steel | Extremely durable, corrosion-proof, stiff, classic aesthetic. | Heavier, typically more expensive. | Touring, commuting, and custom builds where reliability is paramount. |
| Aluminum | Lightweight, good corrosion resistance, modern look, often adjustable. | Can fatigue and crack over many years of vibration, less durable than steel. | Road bikes, gravel bikes, and performance-oriented commuting. |
| Plastic/Composite | Very lightweight, inexpensive, will not corrode or scratch the frame. | Can become brittle in extreme cold, least rigid, may flex and break under stress. | Lightweight setups, clip-on fenders, or budget-conscious builds. |
Installing and Troubleshooting Fender Brackets
A successful installation is about process and patience. With a few pro tips, you can achieve a secure, rattle-free setup that lasts.
Part 1: The Pre-Installation Checklist
Before you touch a wrench, get organized.
- Tools: Gather a set of metric Allen keys (especially 4mm and 5mm), a small wrench set (8mm and 10mm are common), and pliers.
- Parts: Lay out all your brackets, bolts, nuts, and washers. Confirm you have everything needed for your specific mounting points.
- Dry Fit: Hold the fender and brackets in place on the bike without any bolts. Check for major clearance issues with the tire, brakes, or frame. This five-minute check can save an hour of frustration.
Part 2: Step-by-Step Installation Tips
Our process focuses on achieving the perfect fender line—the consistent, even gap between the fender and the tire.
- Loosely Attach All Points: Do not fully tighten anything at first.
- Start at the Top: For the rear fender, attach the bracket to the seat stay bridge first. For the front, attach the bracket to the fork crown. This sets the primary position.
- Attach the Lower Bracket: Secure the rear fender to the chainstay bridge bracket. This fixes the front-to-back alignment.
- Set the Fender Line: Now, attach the side stays. With all other points loosely in place, you can gently push, pull, and rotate the fender to create a perfectly round line around the tire.
- Final Tightening: Once the fender line is perfect, systematically tighten all bolts. Start with the main bridge brackets, then the stays. Don't overtighten—snug is sufficient.
Part 3: Solving the Dreaded Rattle
Even with a good installation, rattles can appear. Here's how to hunt them down.
Problem: Rattle from the top of the fender.
- Solution: The main bracket bolt at the fork crown or seat stay bridge is the likely culprit. Ensure it's tight. For a truly silent setup, add a rubber or leather washer between the bracket and the fender. As experts in the field recommend for keeping your metal fenders quiet and rattle-free, this small addition can work wonders in reducing vibration.
Problem: Rattle from the sides.
- Solution: This is almost always the fender stays. Check that they are securely seated in their mounts on the frame and the fender. If they have adjustable length, ensure they are under slight tension—not loose, but not so tight they deform the fender.
Problem: Fender is rubbing the tire.
- Solution: Loosen the bracket bolts and re-center the fender. If you have a sliding-style bracket, this is easy to adjust. If the fender is warped, you may need to gently bend it back into shape by hand. Check for even spacing all around the tire.

Top Recommended Bike Fender Brackets in 2025
Based on our experience with countless installations, these are our top bike fender bracket picks for their durability, design, and value.
Best Overall Workhorse
A high-quality, sliding stainless steel fork crown bracket is the gold standard. It offers maximum adjustability to achieve a perfect fender line, and its stainless construction means it will likely outlast the bike. It's versatile enough for road, gravel, and commuter ebikes.
Best for Bikes Without Eyelets
A comprehensive P-Clip kit is the go-to solution. Look for a kit that includes rubber linings to protect your frame's paint and a variety of clip sizes to fit different tube diameters. A quality kit provides a surprisingly secure fit for full-coverage fenders.
Best Premium Option
For the enthusiast building a custom bike, beautifully machined aluminum brackets offer superior looks and low weight. These are often designed with elegant, minimalist lines that complement a high-end build, providing a rock-solid connection with a touch of class.
Best Rear Fender Bracket
A dedicated, fixed-position seat stay bridge bracket made from thick-gauge steel or aluminum offers the best stability for a rear fender. Unlike sliding or L-shaped brackets that can pivot, a solid, single-piece bracket for this location is the best defense against side-to-side wobble on daily commutes.
A bike fender bracket is far more than a simple piece of hardware; it is the critical link that ensures your fender system is stable, quiet, and effective. By taking the time to follow a few key steps—correctly identifying your bike's mounting options, choosing the right bracket type and material for your needs, and being patient and methodical with the installation—you can transform your ride. Say goodbye to rattles and spray, and enjoy the quiet confidence of a perfectly secured setup.
FAQ
1. Q: What size bolts do I need for my bike fender brackets?
A: Most bike frame eyelets use M5 bolts. However, you should always check your specific frame and bracket requirements. Having M5 bolts in various lengths (15mm, 20mm, 25mm) will cover most installations. Some older bikes may use different sizes, so measure first.
2. Q: Can I install fender brackets on a bike without eyelets?
A: Yes, you can use adapter brackets like P-clips, axle-mount adapters, or seatpost clamps. P-clips are the most common solution and wrap around the frame tubes. Make sure to use rubber-lined clips to protect your frame's paint finish.
3. Q: Why does my fender still rattle after installation?
A: Rattling usually comes from loose bolts or missing vibration dampening. Check all connection points and tighten them properly. Adding rubber or leather washers between metal parts can eliminate vibration transfer. Also ensure your fender stays are under proper tension.
4. Q: What's the difference between stainless steel and aluminum brackets?
A: Stainless steel brackets are more durable and corrosion-proof but heavier and more expensive. Aluminum brackets are lighter and often adjustable but can crack over time from vibration. Choose steel for touring and commuting, aluminum for performance riding.
5. Q: How do I know if my rear fender bracket is compatible with my bike?
A: Check if your bike has a seat stay bridge (the small tube connecting the two seat stays). Most rear fender brackets attach here. If your bike lacks this bridge, you'll need alternative mounting like P-clips on the seat stays or a seatpost clamp system.


Leave a comment